


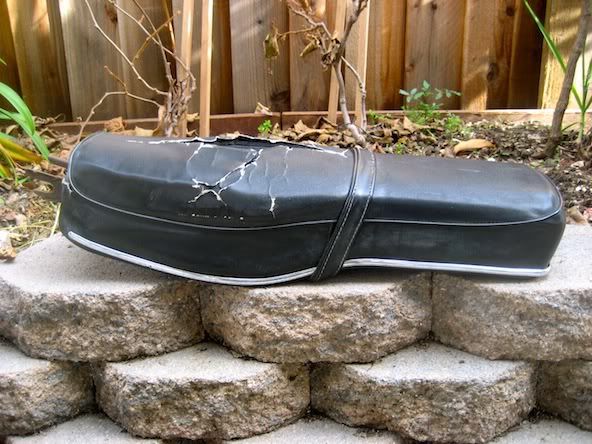
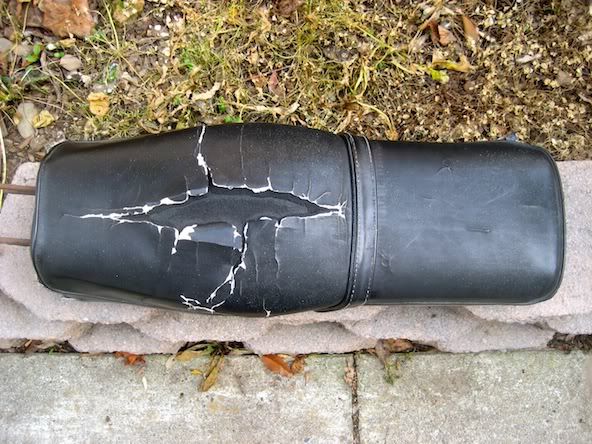
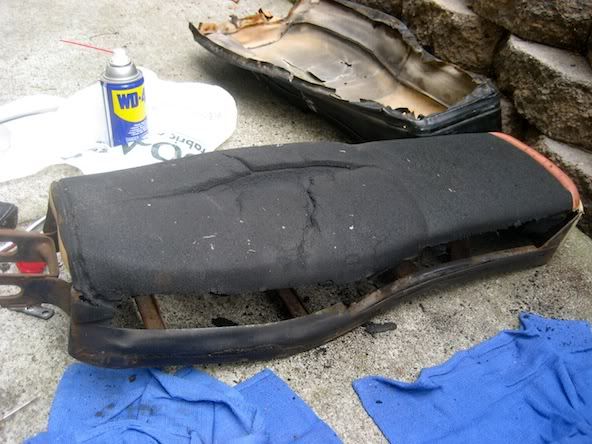
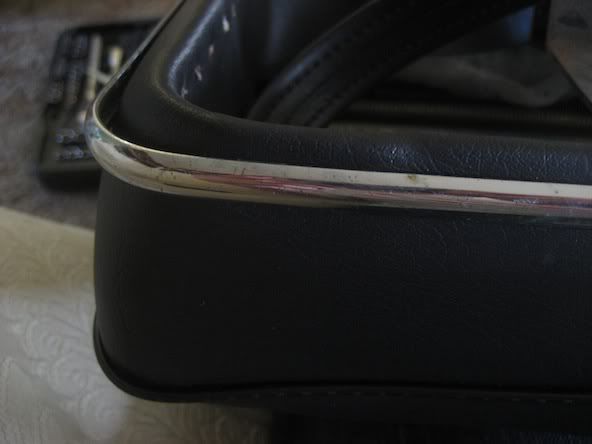
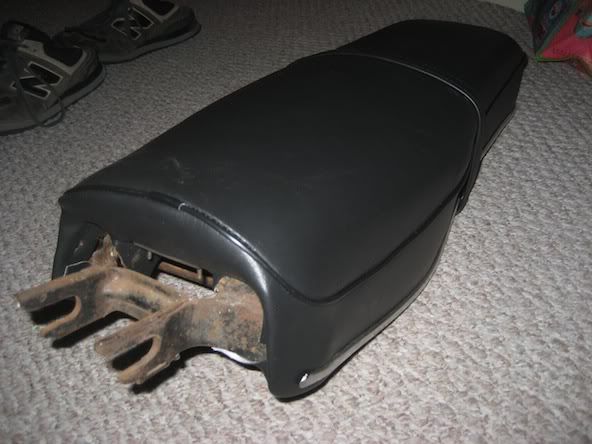
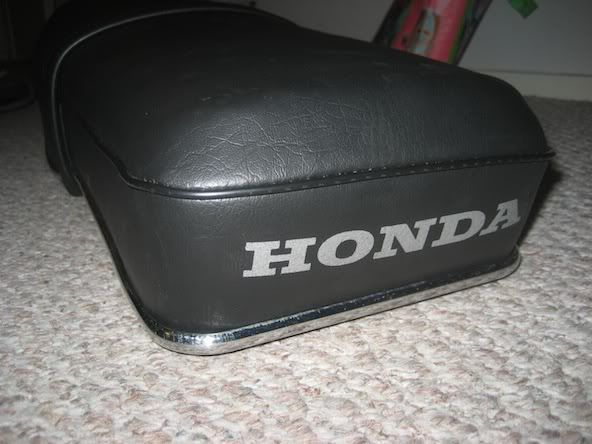
This is what it looked like before: cracked and dry leather with busted up foam. Overall not too bad, but I wanted to make it look swanky.
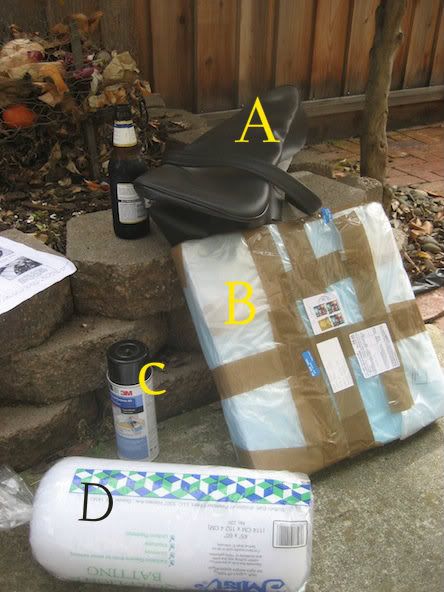
I gathered the following items:
- A: New Seat Cover ($50 from ebay (seller gumtwo))
B: High Density Foam (15" x 15" x 2" thick and $14 from the internet. I could have also gotten this from JoAnn Fabirc and Craft for a little cheaper I think)
C: Adhesive Spray (3m General Purpose 45 - $8 - $10 from JoAnn's)
D: Quilting Batt ($5 - $10 from JoAnn's)
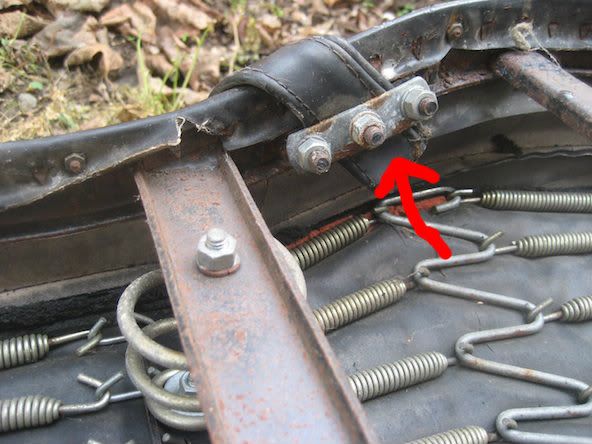
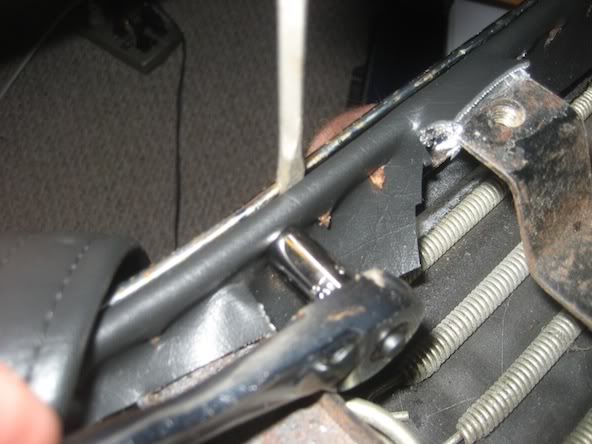
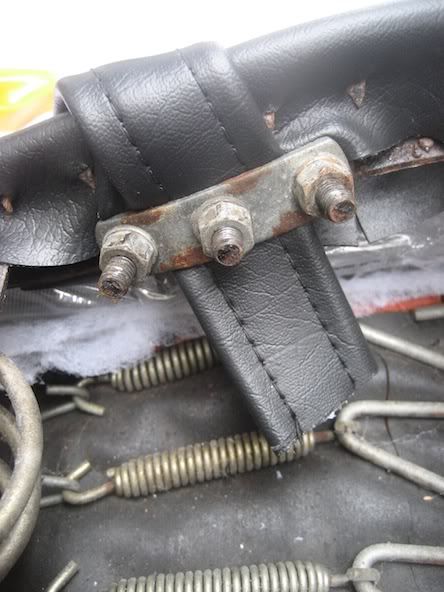
This first step was to take off the leather strap. This involved removing the three nuts with lock washers on each side of the seat (from underneath)
Taken Off!

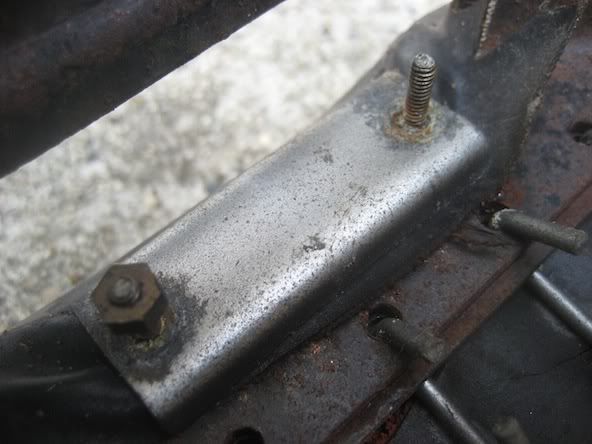
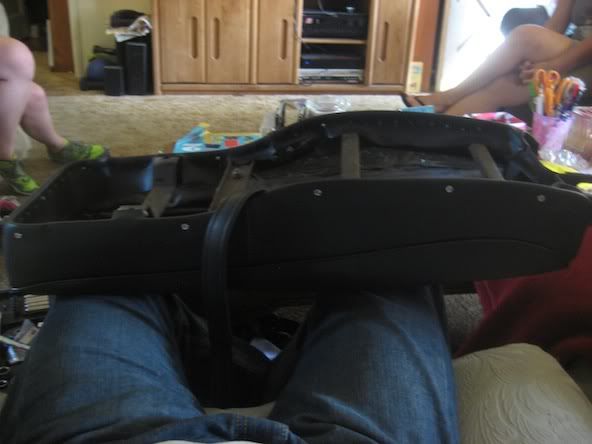
Next the chrome strip had to come off. You have to unscrew 10 of these screws from around the inside of the seat. Taking these screws off will also force you to take off this random metal part shown below.
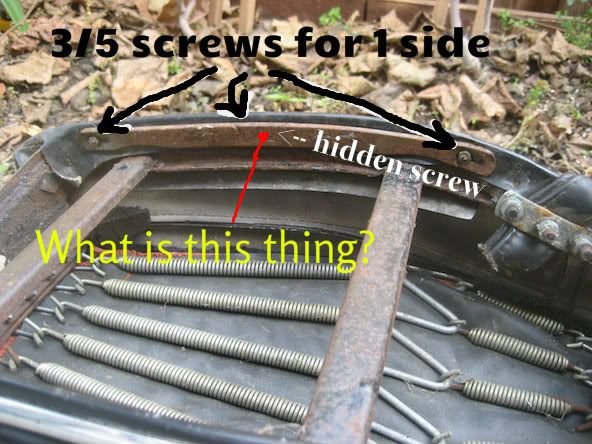
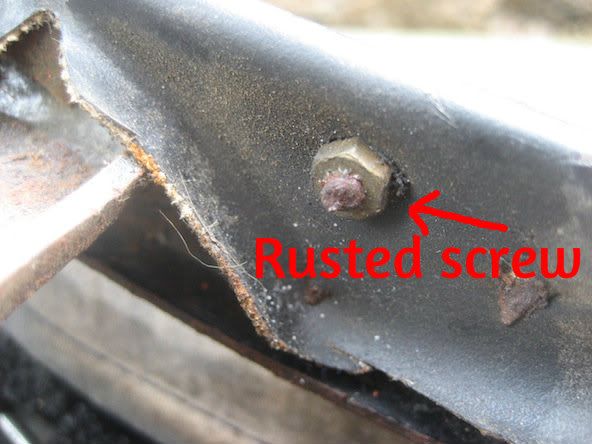
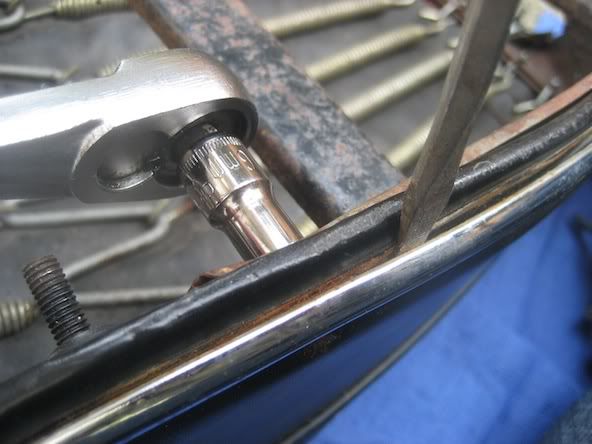
This difficult part with taking off the chrome strip is that the nuts are probably rusted on. Also, the heads aren't physically constrained by anything and will just spin if the nut doesn't come loose. So I ended up using a screw driver and the socket wrench to remove the screws. The screw driver put some pressure on the head to keep it from freely spinning. I think maybe 4 nuts came off and the other 6 actually broke the screw from torquing it too hard.
Take note of the screw positions! This will help when putting the screws back in because the holes will be covered!
The inside of the chrome strip looks like this! The heads of the screws slide in!
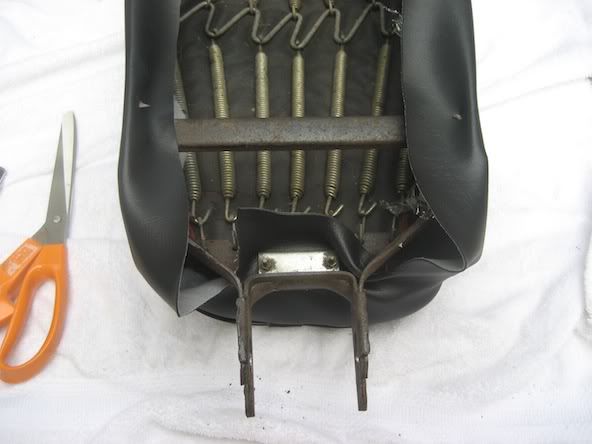
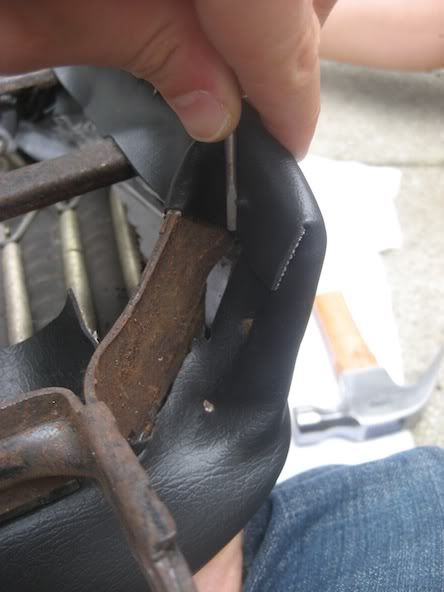
Now it's time to take off the old nasty leather. Unscrew the little clamp holding some leather down at the front of the seat.
Then start pulling the leather up from underneath...
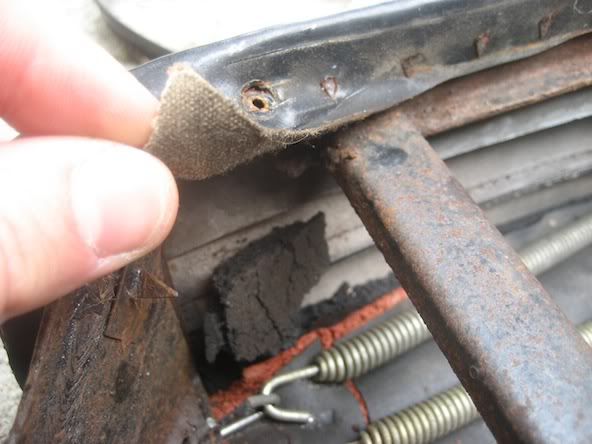
It comes off pretty quickly from just pulling the leather!
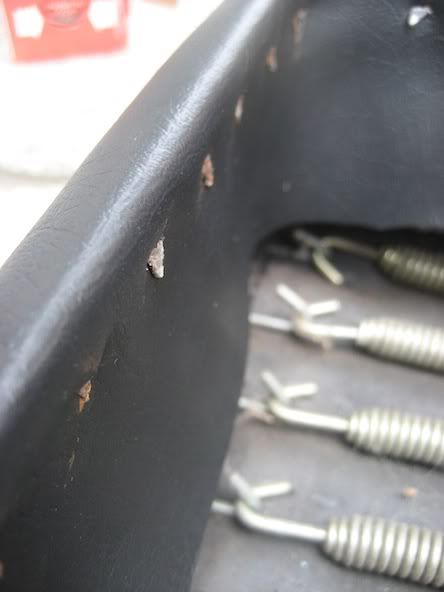
Careful they're sharp and tetnus-y!
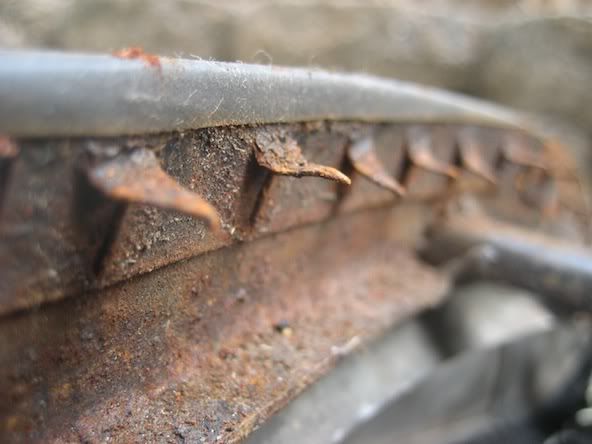
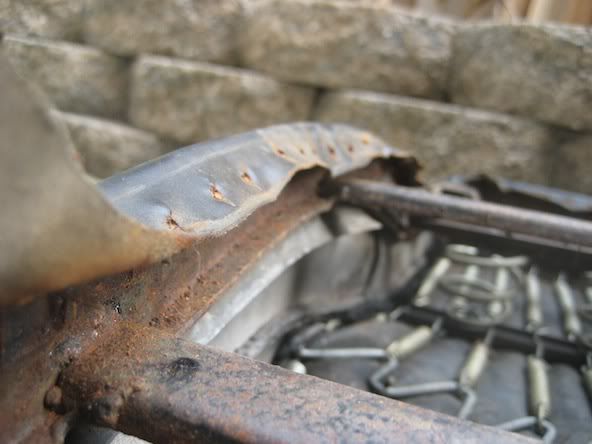
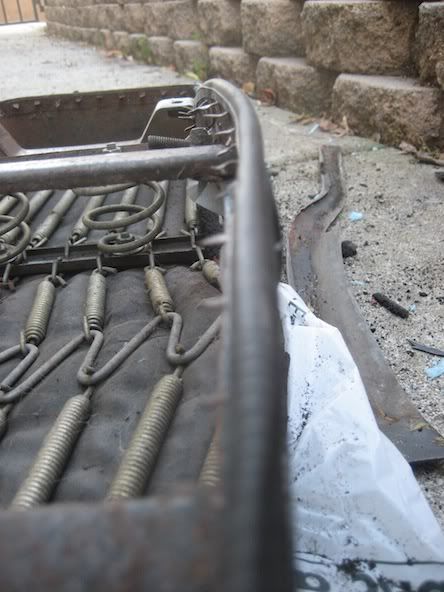
Naked Seat
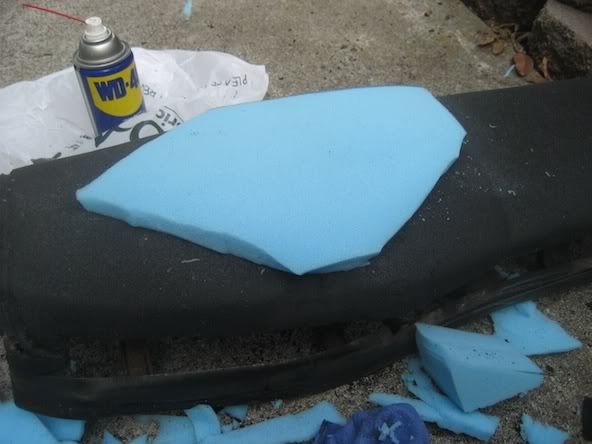
Next I cut into the foam that was cracked - down to the level where I got rid of all the cracked foam.
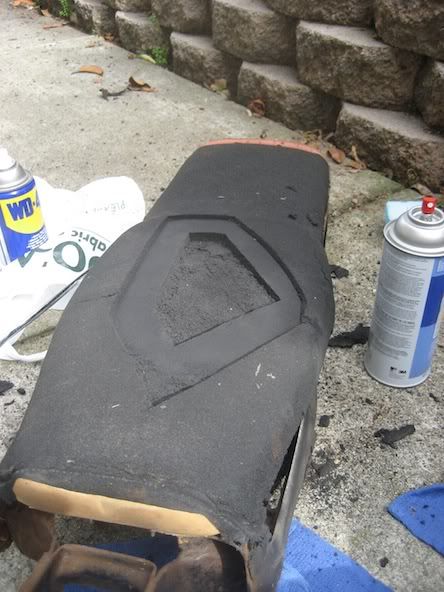
The I used the high density foam and cut a shape similar to the deepest pocket I made.
To use the 3M spray you spray both the seat and one side of the foam, let them sit for maybe 30-45 seconds so it gets tacky, and then put the two sides together. Then you let it sit for a while. There are directions on the can. Once it dried I cut away the excess high density foam with a blade. The instructions suggested an electric meat cutter...Just make sure the foam conforms to the shape of the original foam.
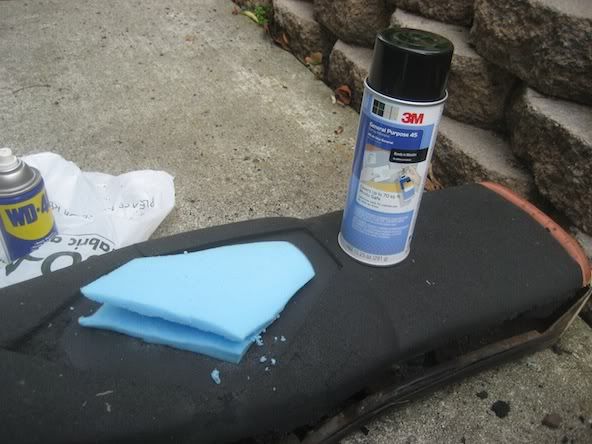
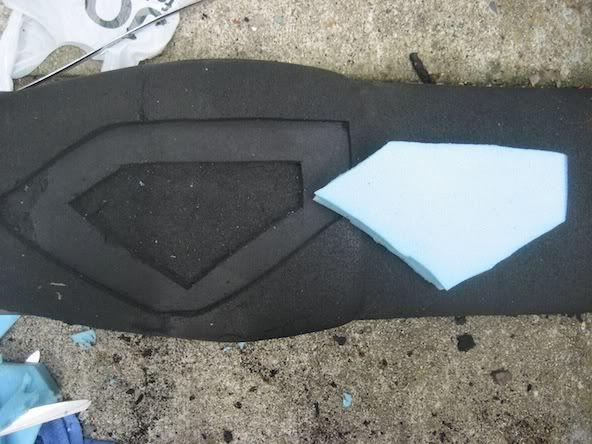
Next I cut more of the high density foam for the second (and less recessed) cut out I had made. As you can see I oversized it a bit so that it would be a slight press-fit. Again use the spray adhesive to glue the high density foam to the seat.
Used gravity to hold the foam in place while it dried.
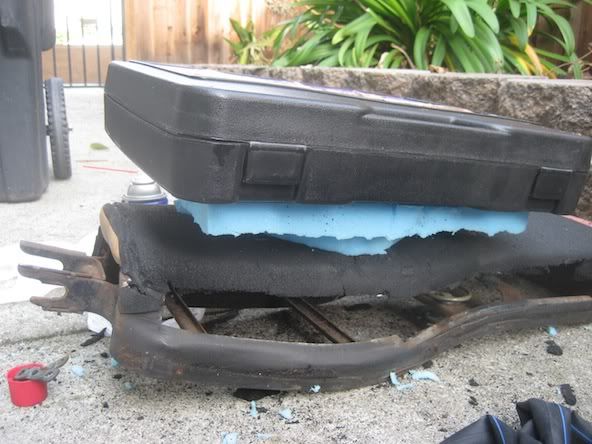
And here is the second layer cut to "shape".

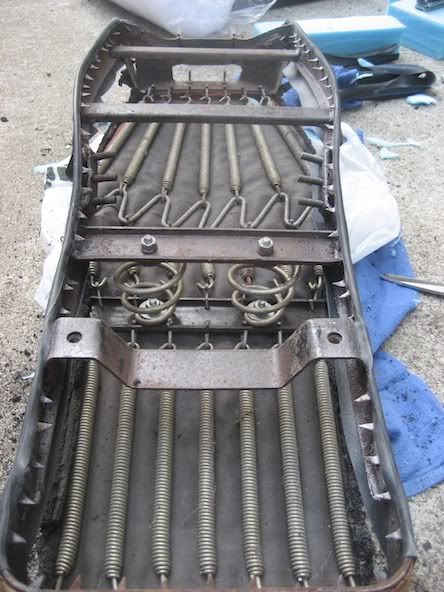
After I was confident the glue had dried I turned the whole seat over - CAREFUL! The foam will just fall off the springs. You'll have to support it as you turn it. I took off the old rubber strips because they are OLD AND NASTY. Replacing these will prevent the metal from cutting into the new and supple leather you're going to put around your seat.
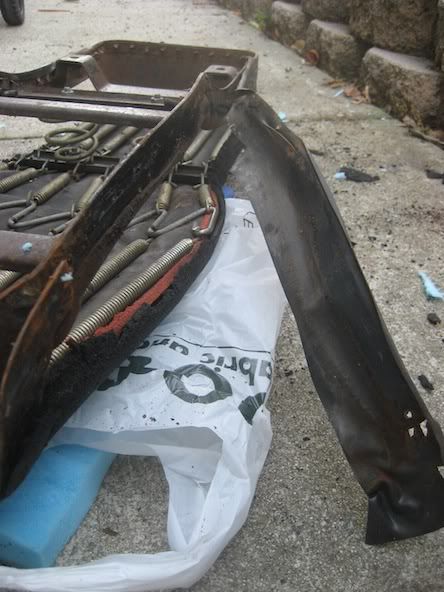
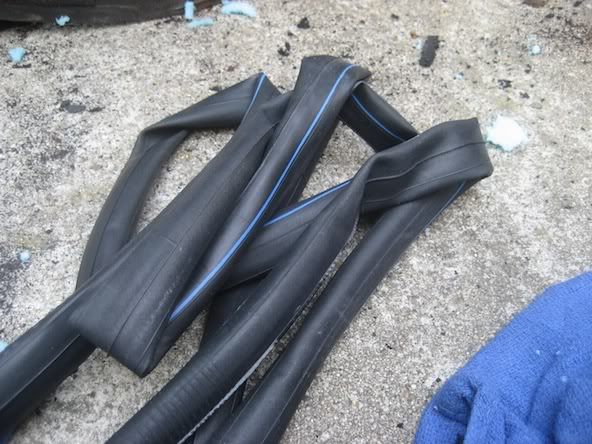
Old bike inner tubes to the rescue again! I cut some strips from these tubes.
Rubber on the metal:
Full shot of the new rubber strips.
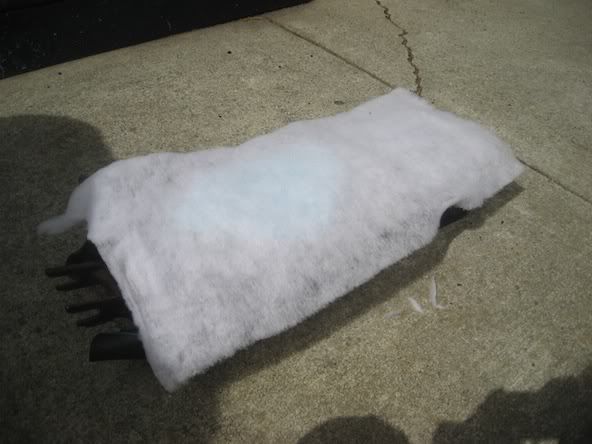
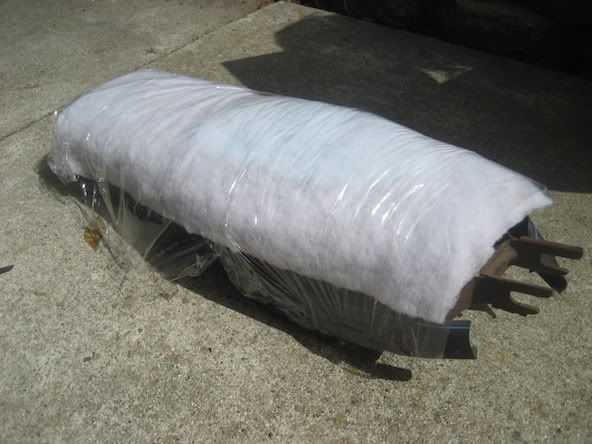
Turning the seat back over it was time for the quilting batt. This will even out all the bumps from your imperfect cutting job. Fully spray the seat with adhesive as well as one side of the quilting batt. Then place them together, cutting off the excess after it has dried.
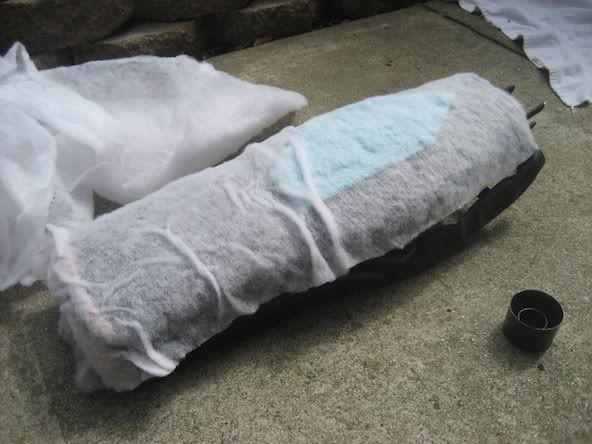
One layers was not enough. I think I only put two layers on.
Next I put a layer of saran wrap around the quilting batt. This will help the leather slip on easier.
Now you just have to go for it! Slip the leather on!
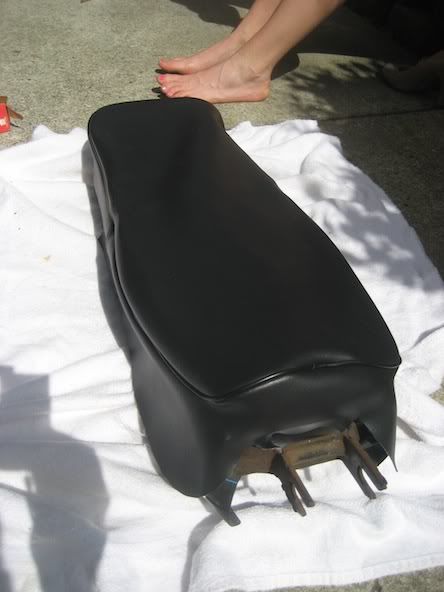
Start from the front and work your way back. Punch some holes for the screws of the clamp at the front to fit through. The leather is pre-cut to have a flap here. I also pushed two of the tangs through the leather to hold its place. Make sure to pull the leather TIGHT!
Keep pulling tight and pushing the tangs through the leather.
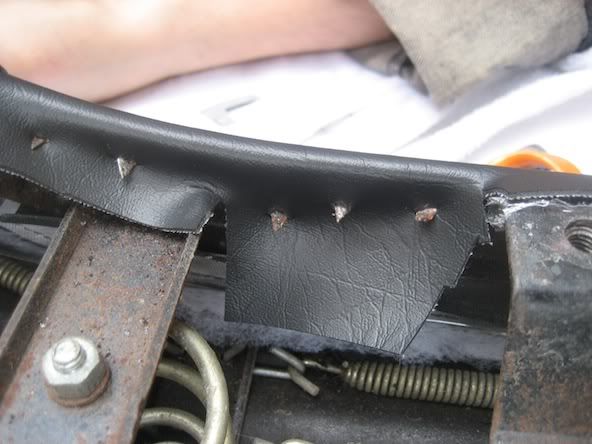
There will be some tough positions like this one. I used a small screw driver to push the leather on the tang.
A hammer helps push the tangs down easily
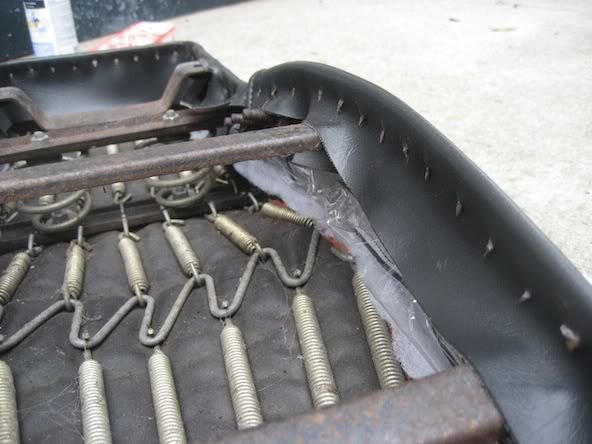
Getting close!
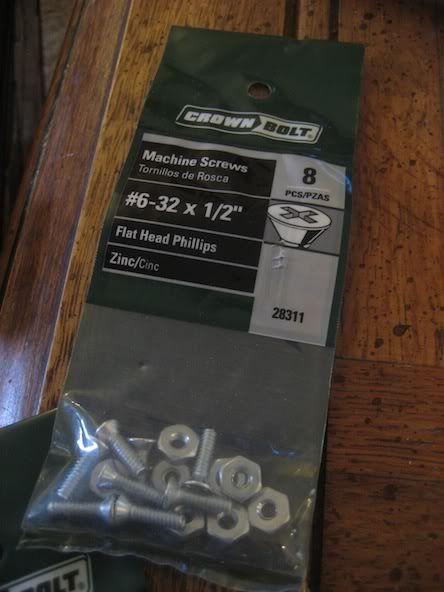
Now we have to put the chrome strip back on. Since I destroyed the screws, I went and bought some. These worked!
You have to find the holes in the metal and this is where remembering the general position of each screw with help. I had to push through two layers of leather and bicycle tire rubber with a small screw driver to make a hole. Then I pushed the screw through as a place holder.
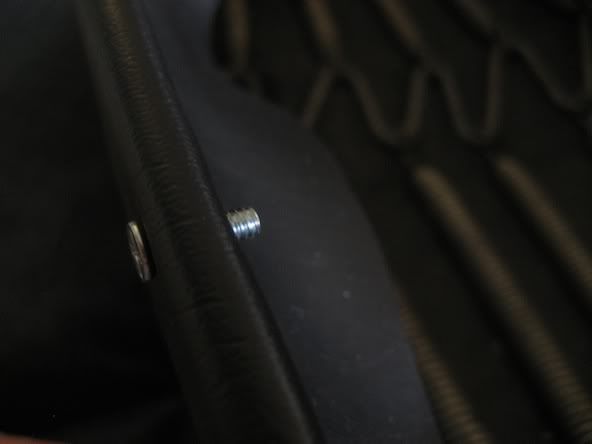
There are 10 total screws (5 per side)
Next take all the screws out and slide them into the chrome strip. It will take a bit of wiggling, but you need to put all the screws back through the leather while the heads of the screws are in the chrome strip.
Once this is done, push the chrome strip all the way up against the back of the seat (toward the front of the seat). Then tighten the screws the same way we unscrewed them (with a screw driver putting pressure on the head, as the heads will want to rotate freely again).
Time for the leather strap! Punch a hole in one side and slip it over the center screw. This new strap doesn't have a grommet in it - oh well.

After putting the strap on one side, punch a hole in the other side of the strap and put it over the center screw on the other side. Make sure the strap is tight! Cut off any excess strap.
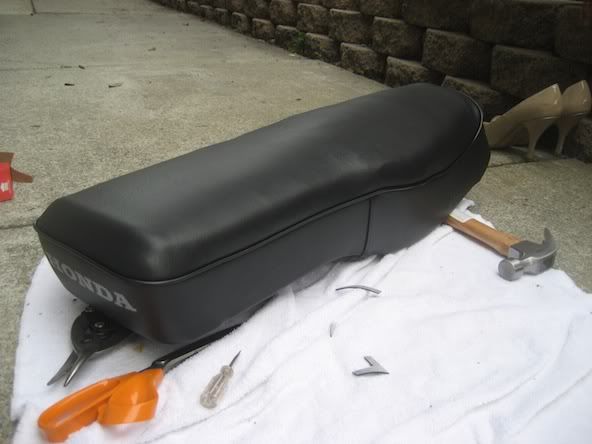
The end!
I'll put a picture of it on my bike sometime...