CYP77 - Police | Race Bikes | Choppers, Bobbers and Mods
-
MBellRacing
- honda305.com Member
- Posts: 178
- Joined: Sat May 15, 2010 2:23 pm
- Location: San Mateo, Ca
Post
by MBellRacing » Sun Jan 22, 2012 8:05 pm
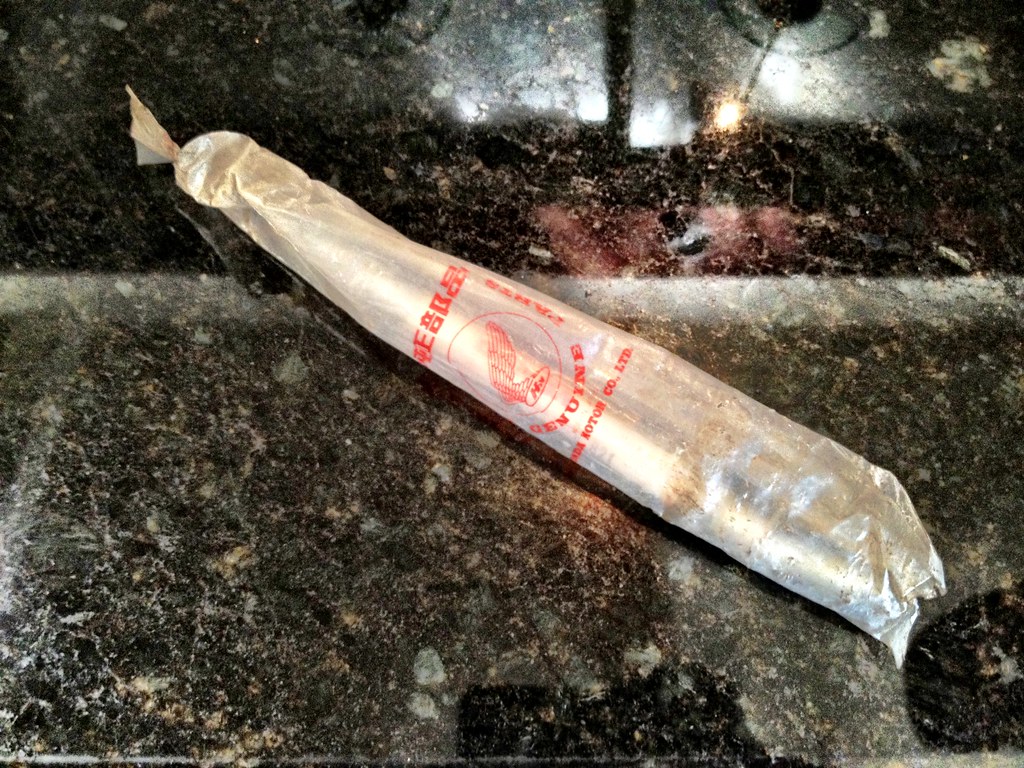
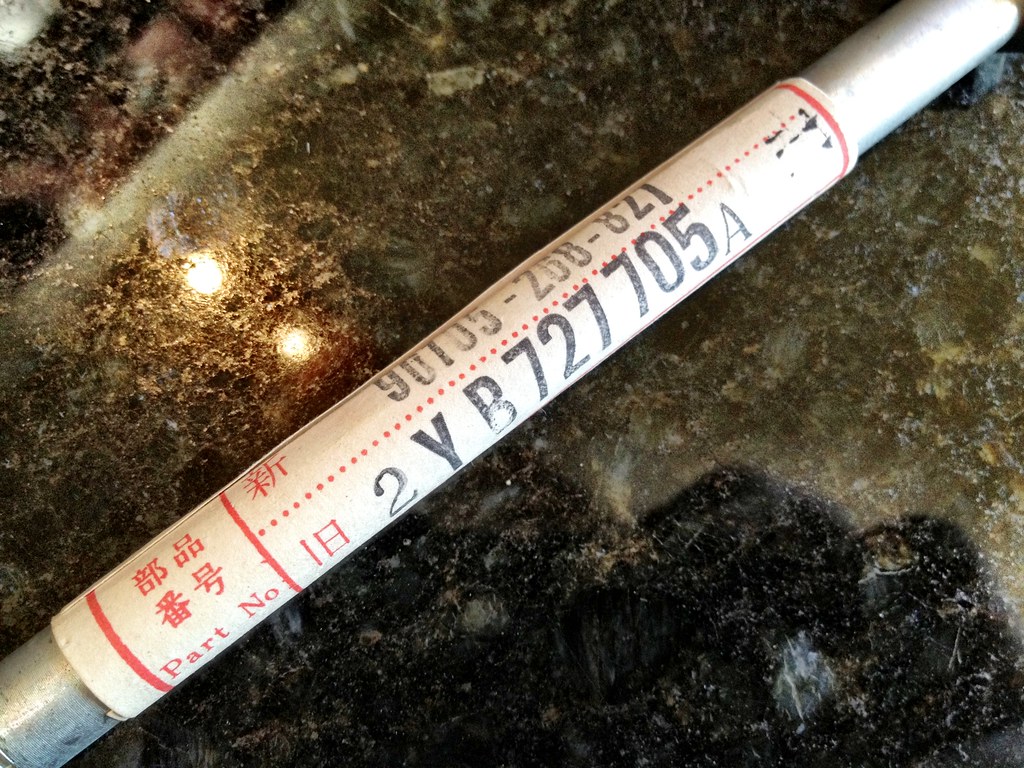
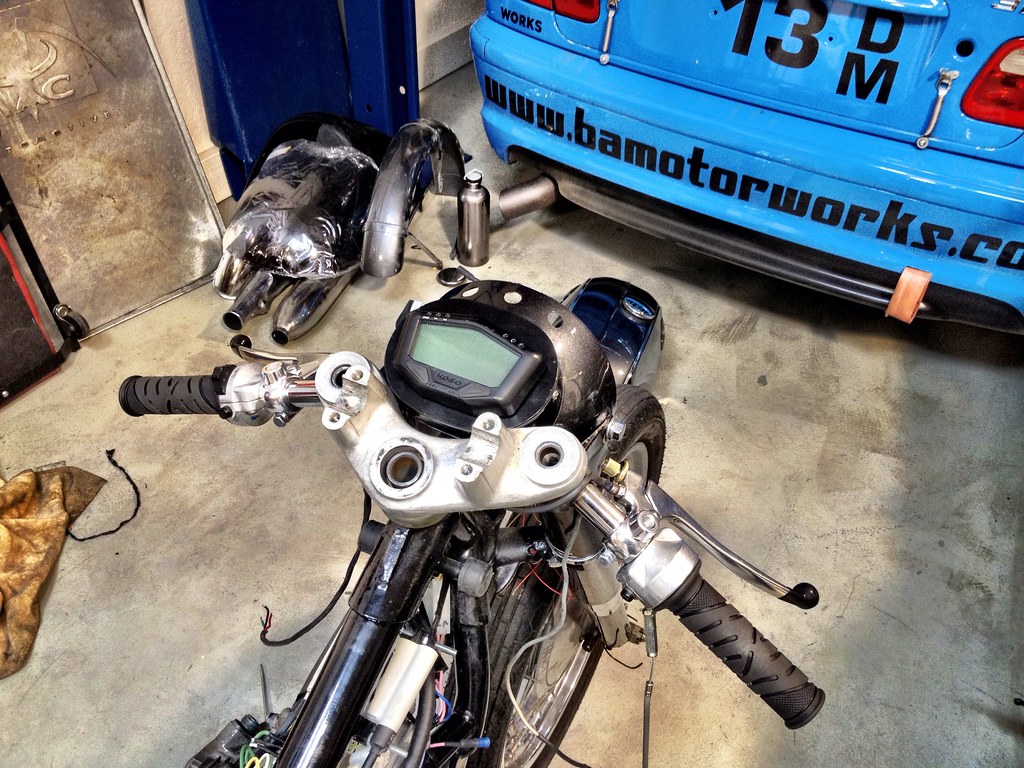
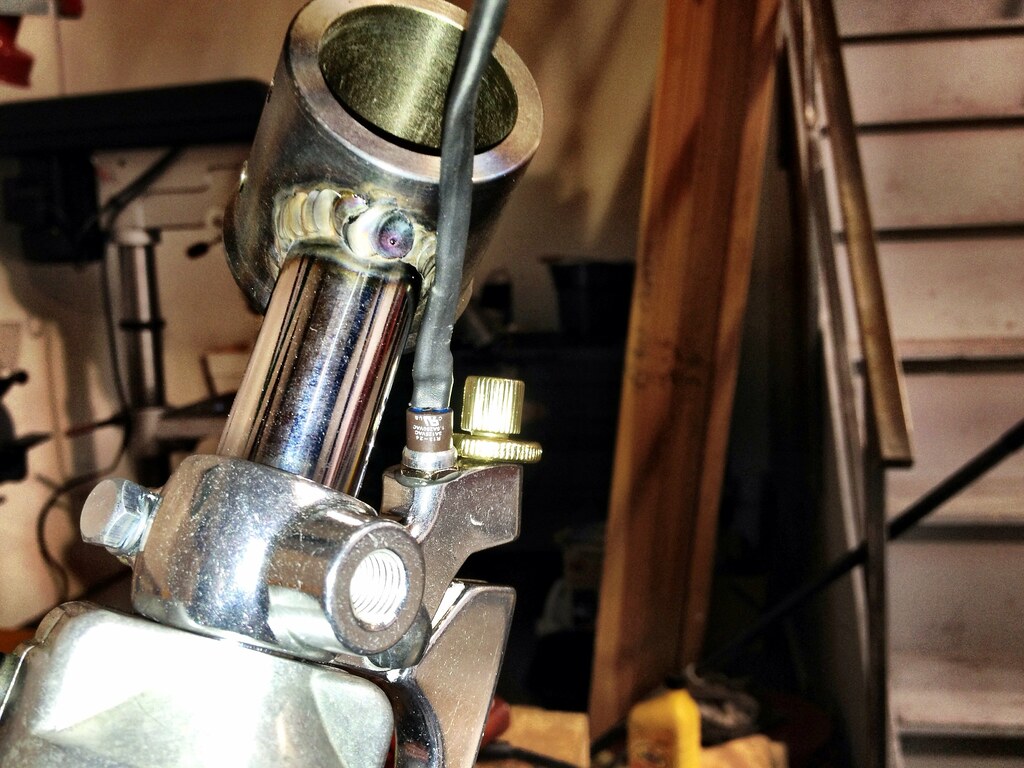
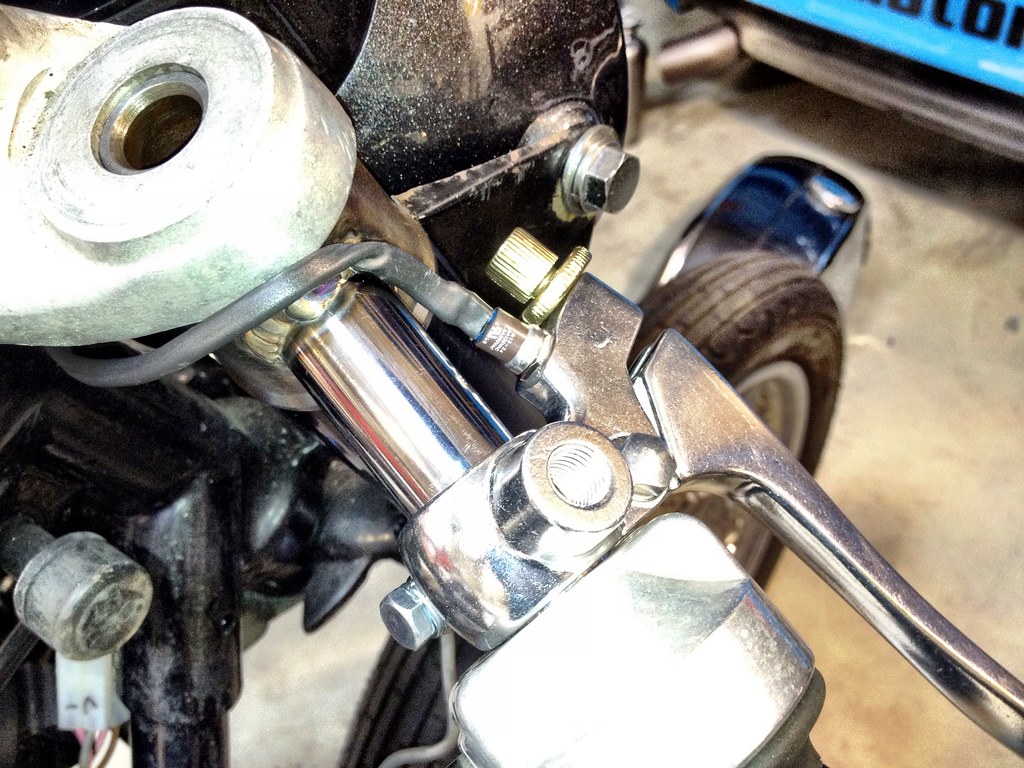
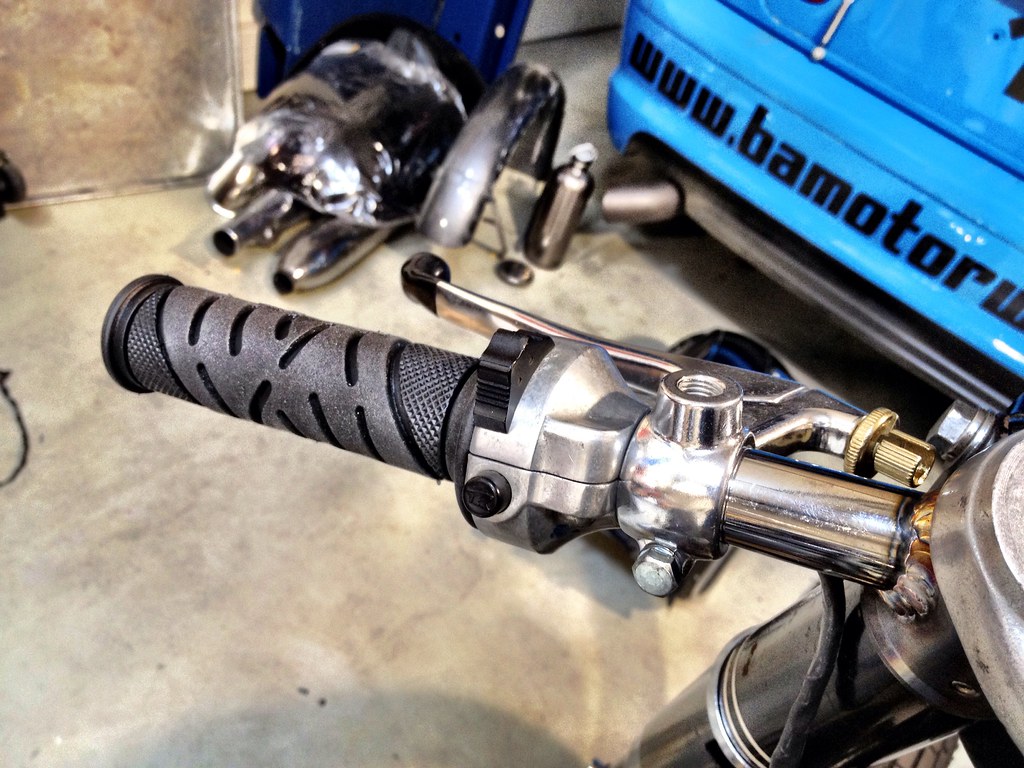
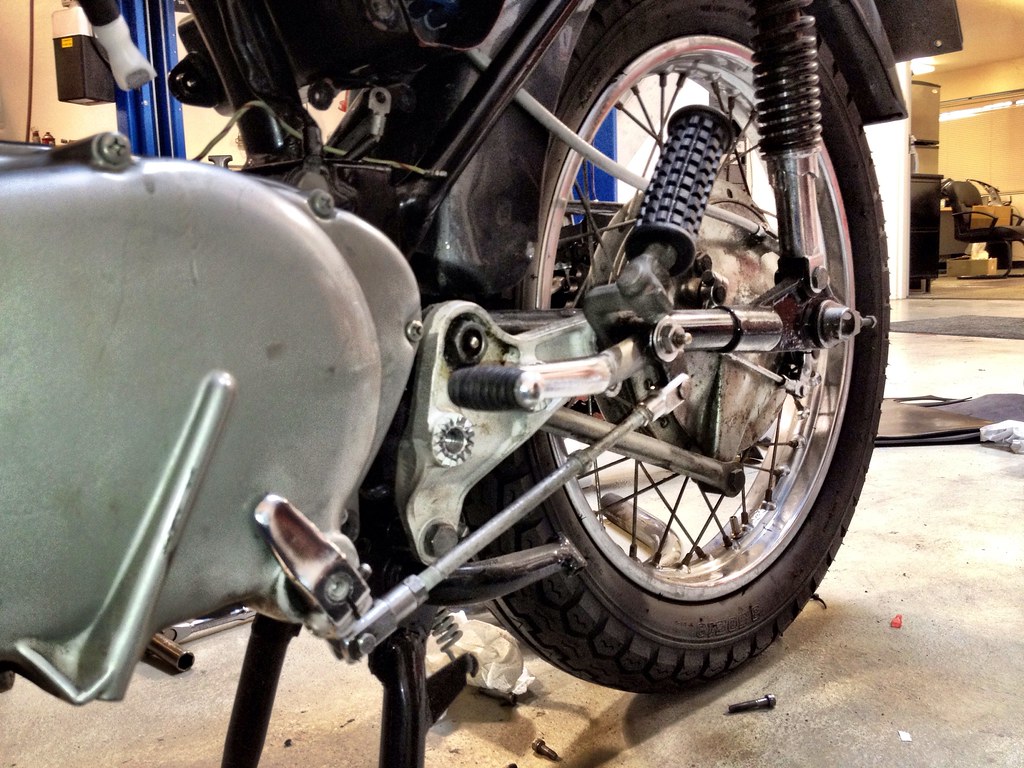
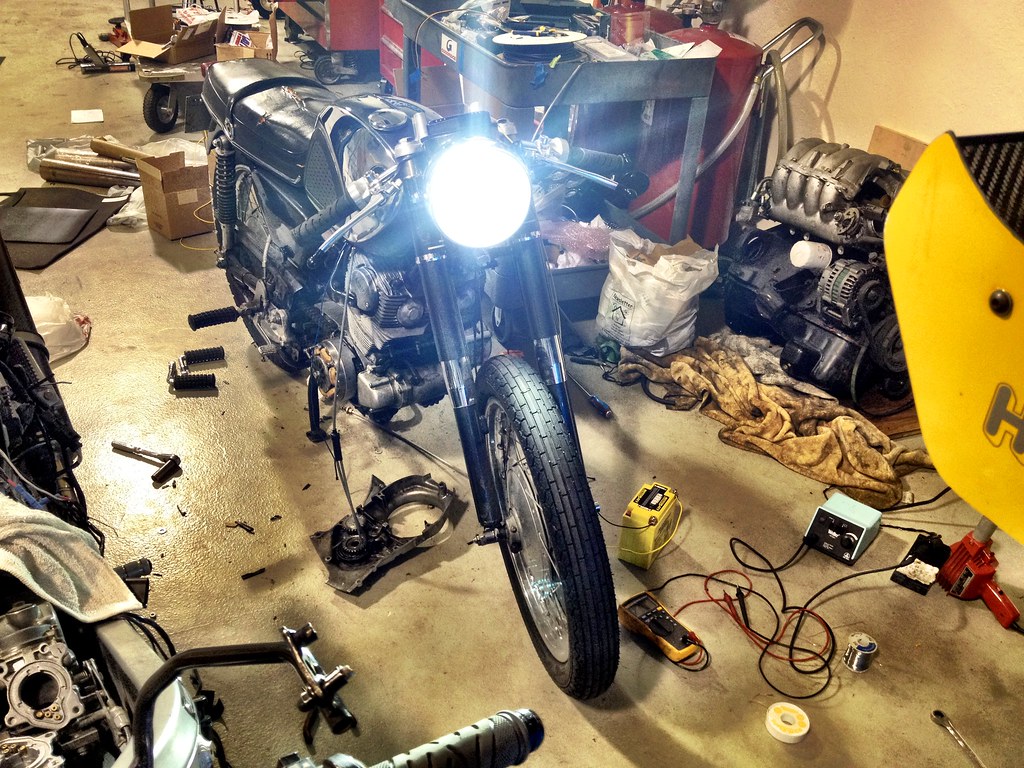
Alright, haven't had a huge amount of time to work at this stuff, but I did get a couple steps done. First off, I got the bars on. This wasn't a difficult process, just involved a few more well-placed holes drilled without weakening the relatively thin steel. I routed the starter, horn, and high/low beam wires through the holes, down the bars themselves, out another small hole in a slightly less conspicuous spot by the triple clamp, and into the headlight case where they will meet up with the main harness and LED headlight. I found out that the JC Whitney/EMGO brake and clutch levers are based off the Honda CL/CB72/77, so they look exactly the same as my stock ones but shinier and with some condoms on the tips. The brake lever boss even has a little hole that, I assume, is for some front brake light switch. Now that would be a big improvement for this bike. I don't use the rear brake all that much, and it's a choice between setting the rear brake switch too high as to flicker or so low that you really have to be serious about stopping to trip it. Having a front brake light switch would be outstanding. Unfortunately, EMGO is out of Thailand or someplace and nobody was around to tell me what that part is supposed to be. All the easily available non-hydraulic brake light switches I found online were way too big to fit where I need it. I went to my electrical fallback: Radio Shack. They had some little momentary, normally-open switches that roughly fit in the little hole. I epoxied one in (I'm going to say 50% of this bike is now epoxy) with a little #4 nut on the end to reach the switch point. It works fine, if it's a bit ugly. I also had some time to install little thing like the longer shift rod after some clocking of the shaft. It looks a bit weird being that long and is kind of hard to use with that long shifter, but it should be fine for every day use. On the hydraulic steering damper front, I had to order the special angled bolt that replaces one of the front engine mounts. It is a whopping $75 (SEVENTY-FIVE DOLLARS!!!) since they are so rare. As stupid as that price is, it's kind of like gum at the airport, where you going to go for a better price?
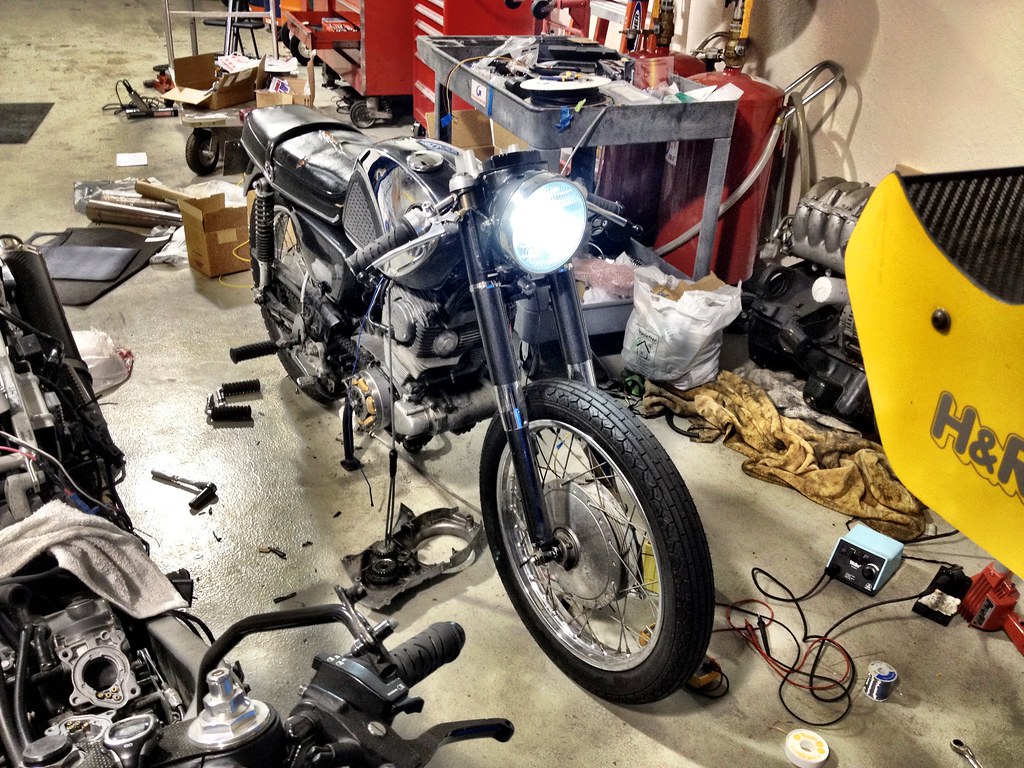
The LED headlight went in to the bike with the correct wiring so I could test it all out in the proper application. It work pretty damn well. With the high beam on it uses about 15W, with the low beam on, it uses a measly 3W. That's 1/3 of what the stock taillight used, about 12% of what the stock low beam required! I don't think I'll really use it for night riding, but it'll certainly keep the piggies off my back for needing a light on during the day.
Below are a few more videos of testing the light throughout the finishing touches:
http://www.youtube.com/watch?v=VlrxBZ3165A
http://www.youtube.com/watch?v=hjUHdeP7XbI
http://www.youtube.com/watch?v=kiaZU2QWm5Y
Pictures:
-
Snakeoil
- honda305.com Member
- Posts: 1150
- Joined: Wed Aug 04, 2010 6:45 pm
- Location: Upstate NY
Post
by Snakeoil » Mon Jan 23, 2012 6:36 pm
If the Radio Shack switch does not hold up, look for a late 60's Triumph switch. They are installed directly into the cable by cutting the housing and installing between the two halves. Squeezing the brake compresses the switch. Two tabs for connectors allow you to install the wiring. Nice part is you can make your own cable and put the switch where you want it along the cable length and keep it out of view. Here is a link that shows the switch available at MAP Cycle. http://www.mapcycle.com/details.aspx?item=60-2085.
This is a great switch to use on any mechanical front brake bike that does not have a front brake light switch.
regards,
Rob
-
davomoto
- honda305.com Member
- Posts: 2508
- Joined: Sat Nov 18, 2006 7:36 pm
- Location: Marin County CA
Post
by davomoto » Mon Jan 23, 2012 8:12 pm
Here's a correct switch on Epay. Almost $20 but free shipping! It installs on the lever side, pull the wires through the hole, and index the groove with the perch.
Davo
http://www.ebay.com/itm/Honda-SL70-SL10 ... 2c625b92e1davomoto
64 CB77
63-7 CB77 Cafe'
67 CL77
64 CL72
66 CL77 big bore flat tracker
Many others!
-
MBellRacing
- honda305.com Member
- Posts: 178
- Joined: Sat May 15, 2010 2:23 pm
- Location: San Mateo, Ca
Post
by MBellRacing » Sun Feb 05, 2012 2:09 am
-
Vince Lupo
- honda305.com Member
- Posts: 1371
- Joined: Wed May 04, 2005 7:17 am
Post
by Vince Lupo » Sun Feb 05, 2012 5:10 am
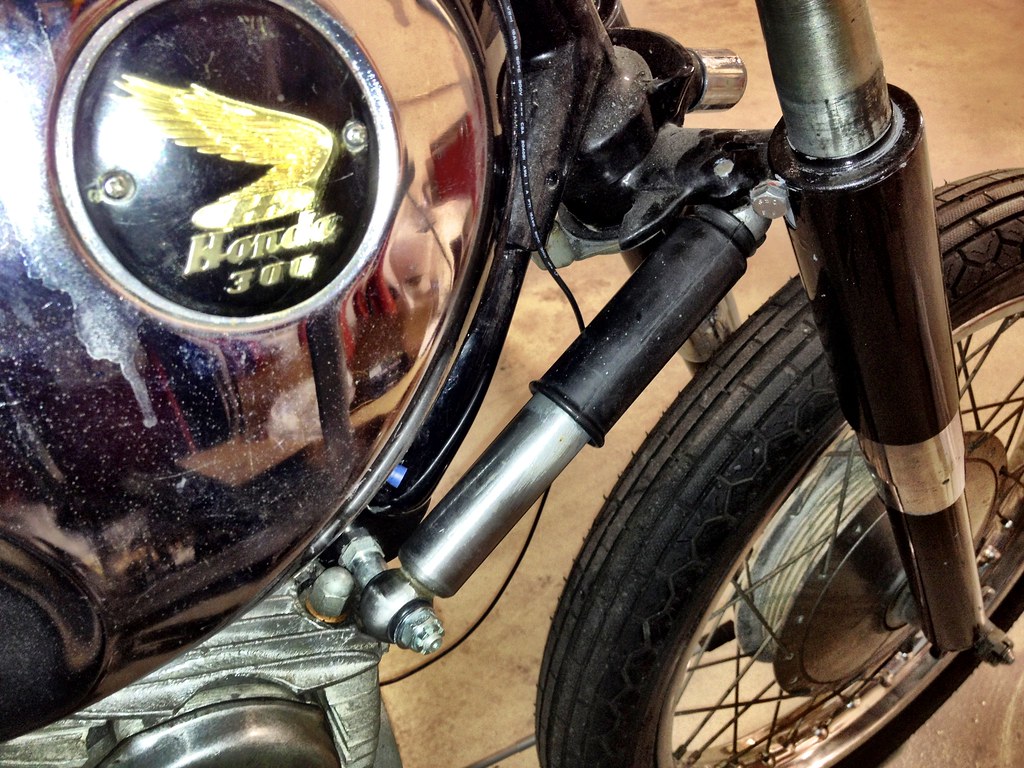
Goofy question -- did you also get the rubber grommets and the metal collars that go into both ends of the steering damper? Hard to tell in the photos.
As well, how did you end up resolving the mounting bolt on the lower triple tree? Make sure that one's Loctited in there really well!
So far, looking good!
-
MBellRacing
- honda305.com Member
- Posts: 178
- Joined: Sat May 15, 2010 2:23 pm
- Location: San Mateo, Ca
Post
by MBellRacing » Sun Feb 05, 2012 10:51 am
I did get the little rubber bushings as well as the steel inserts in the steering end. Ohio Cycle sells repro versions of all of them. I went to OSH and bought an 45mm M8 bolt, hacked off the hex head, and threaded it into the lower clamp. Unfortunately, that is about 10mm too short to use the castle nut so, yes, I'll either need to use a TON of Loctite or get a longer stud. 50mm+ is kind of an odd length for M8 bolts and no stores around here seem to carry them, they'll have to be ordered.
Thanks for the kind words! I'm not as free to work on this project as I was when I started it, but I'm excited to be in, more or less, the home stretch!
-
MBellRacing
- honda305.com Member
- Posts: 178
- Joined: Sat May 15, 2010 2:23 pm
- Location: San Mateo, Ca
Post
by MBellRacing » Sun Feb 05, 2012 11:29 pm
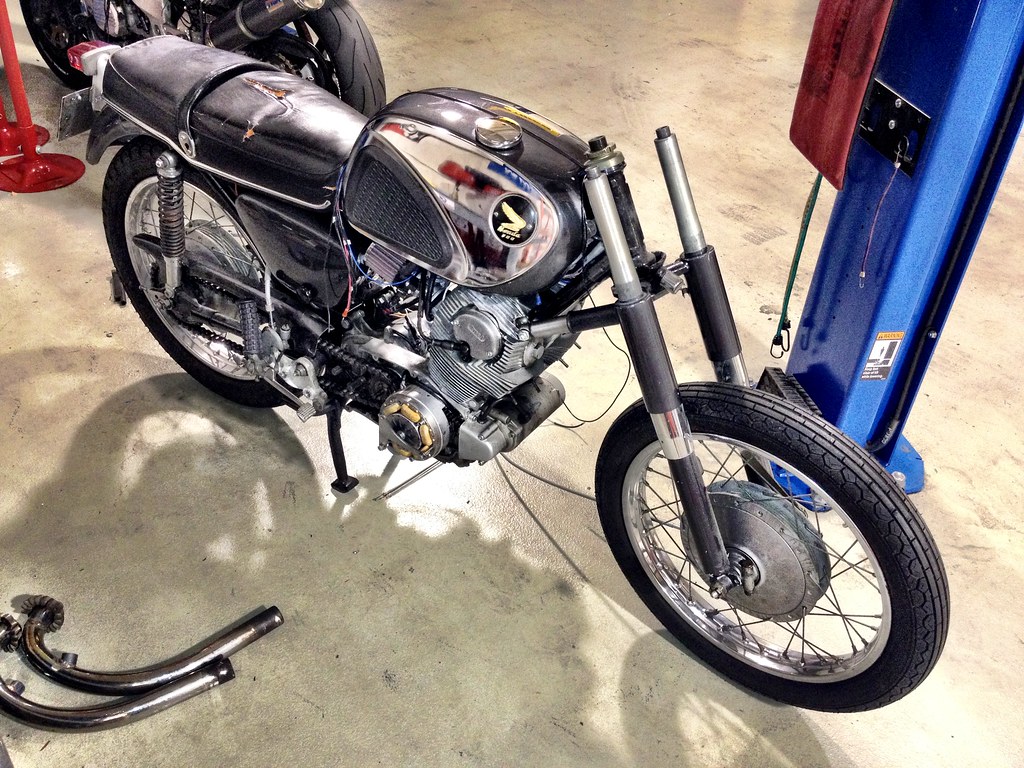
Real quick update. Spent the day buying bolts, unfortunately, the only ones I found were for my center stand. It seems the vibration from riding knocked one nut completely off, leaving a crooked bolt to hold on one side. Even the other nut had loosened.
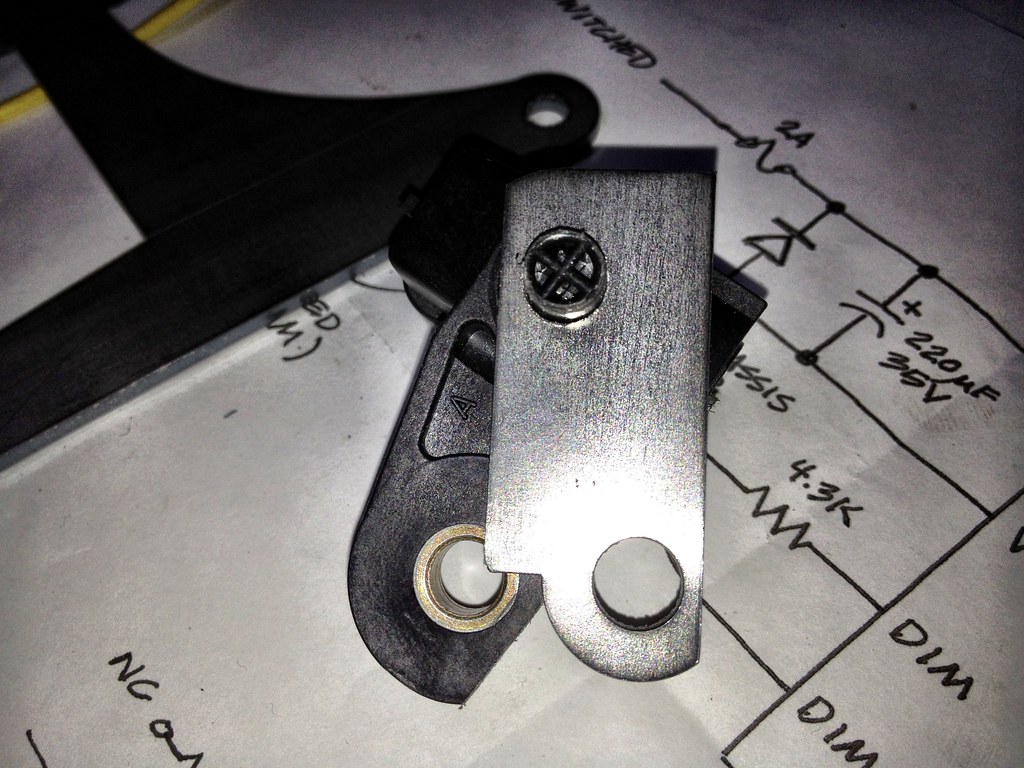
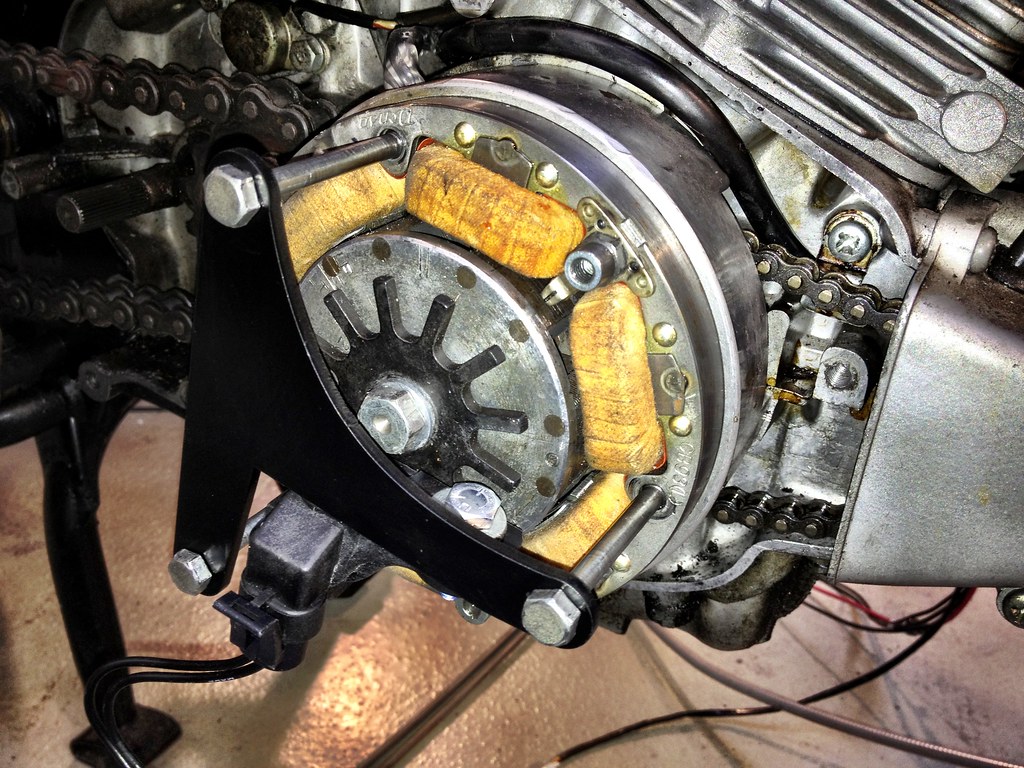
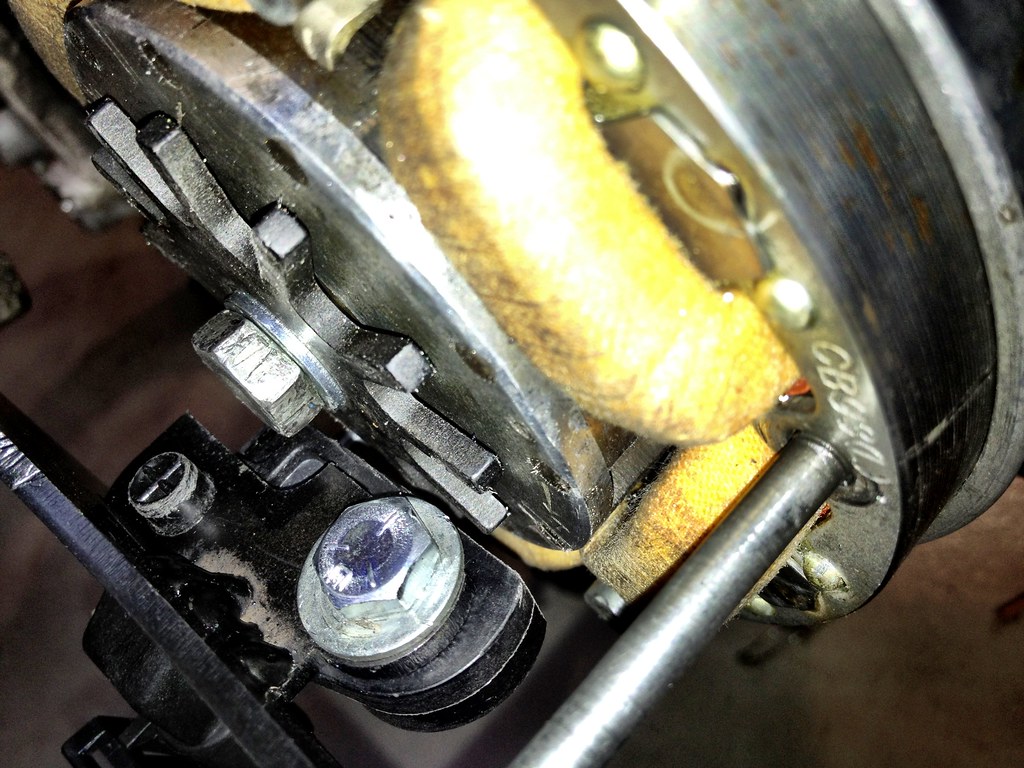
I test fit my freshly painted VR sensor bracket which looks and seems to mount perfectly. As I said, all I need to do now is wait for the proper hardware. As you can probably better see now, there's a little cut in the plate so I can still check the timing with a light.
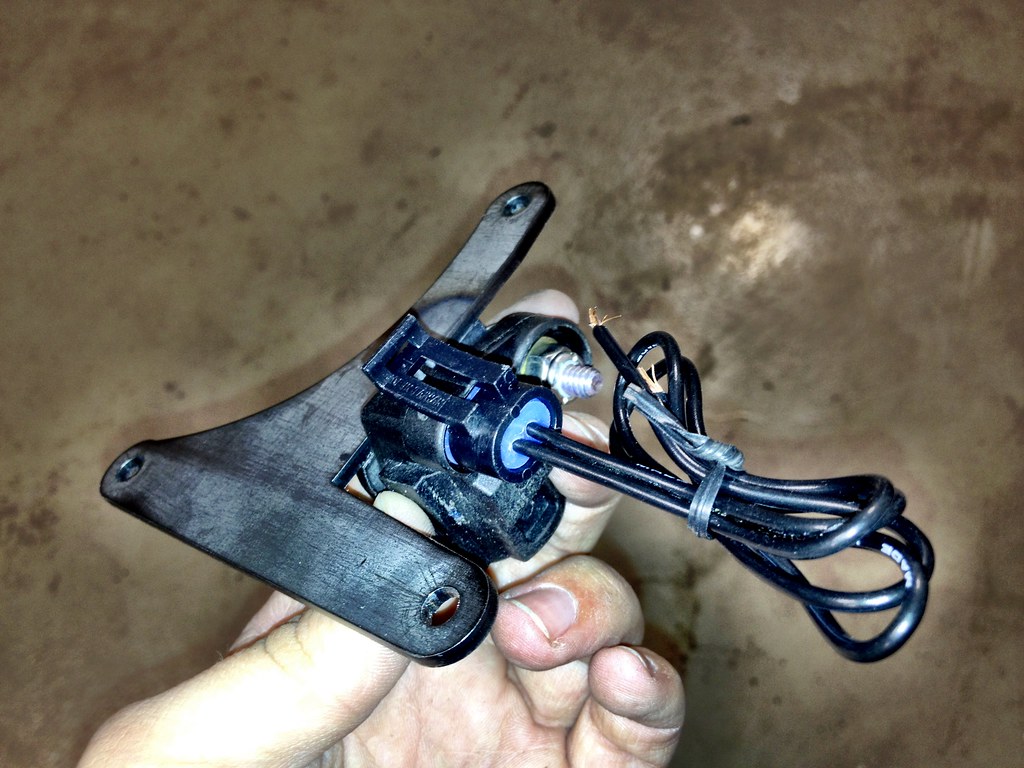
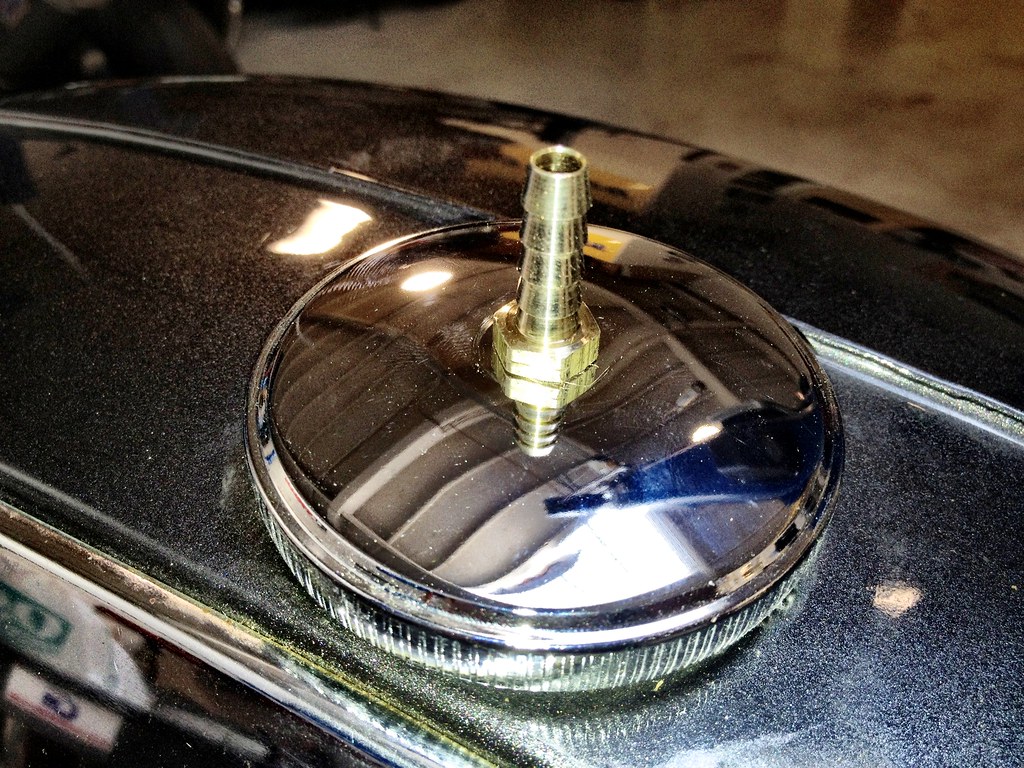
I also ruined a gas cap trying to figure out how to fit the barb fitting so I can send the return fuel back to the tank. I slowly drilled bigger and bigger holes, deeper into the assembly. Without knowing what exactly was inside, I accidentally bent the little dual-sided clip that grabs the gas tank itself. After realizing my mistake, I hacked off the bottom to better look for a solution for next time. I think I've got it, I just need to wait for the replacement to arrive. Below is what it should look like once it's not all useless and stuff.
|