


My mistake. I thought you had simply expoxied the sensor to the surface of the filter end cap. Reading your reply and looking again, I see that the epoxy is a sealer for the wire coming out the end cap. Now I understand your dilemma. I have to agree, you did not have much choice here.
regards,
Rob
Electronic Fuel Injected CB77
Had a few hours to work today so I did my best to be efficient. First thing is I got in a new LED bulb for the Dime City taillight I had bought a little while ago for my cut-down rear fender. I was trying out a couple but settled on the 3-emitter one. It is VERY bright and saves a lot of energy. With the upgraded charging system and little modifications like this the bike should have plenty of electrical ability to keep that ECU and fuel pump going.
I got a big step out of the way today with the wiring. I spend a solid four hours or so cutting, soldering, test-fitting, and covering of the ECU wiring harness. I'm pretty happy with it. It's nowhere near perfect, and the later wires were routed smarter than the earlier ones I did, but it is very well hidden under the gas tank. I still need to make a main harness and incorporate the fuel pump wires, the ECU battery power wires, and the VR sensor wires. Overall, not a bad day. Unfortunately, I'll be gone for about a week. Hopefully I don't lose my momentum when I return! 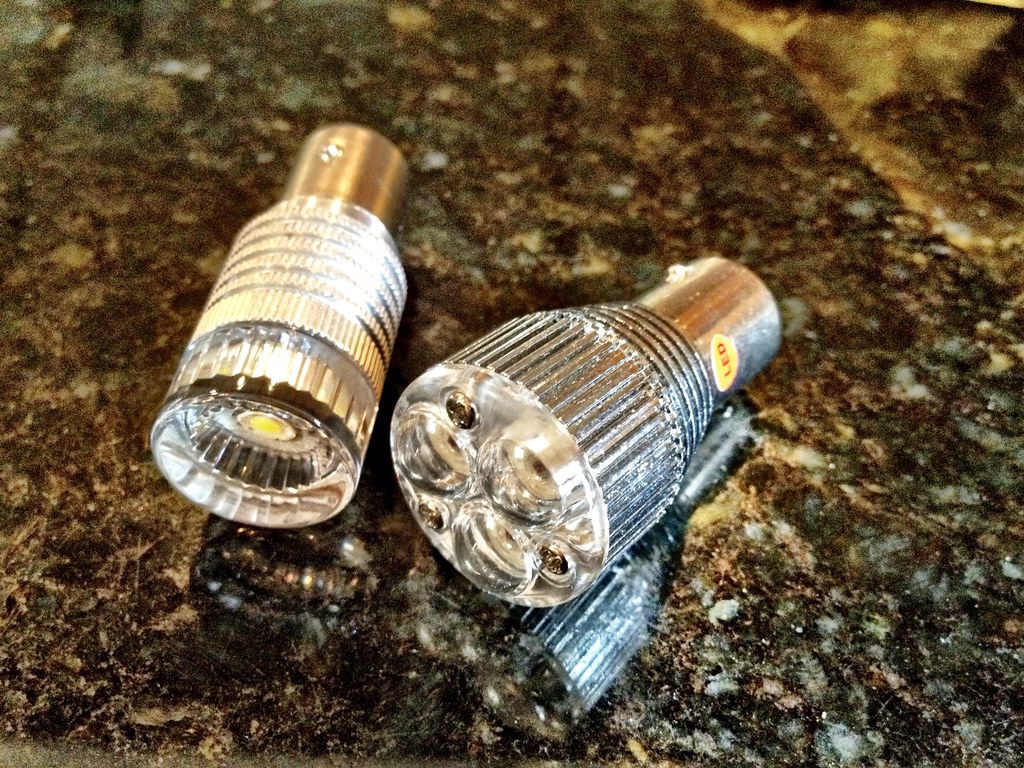 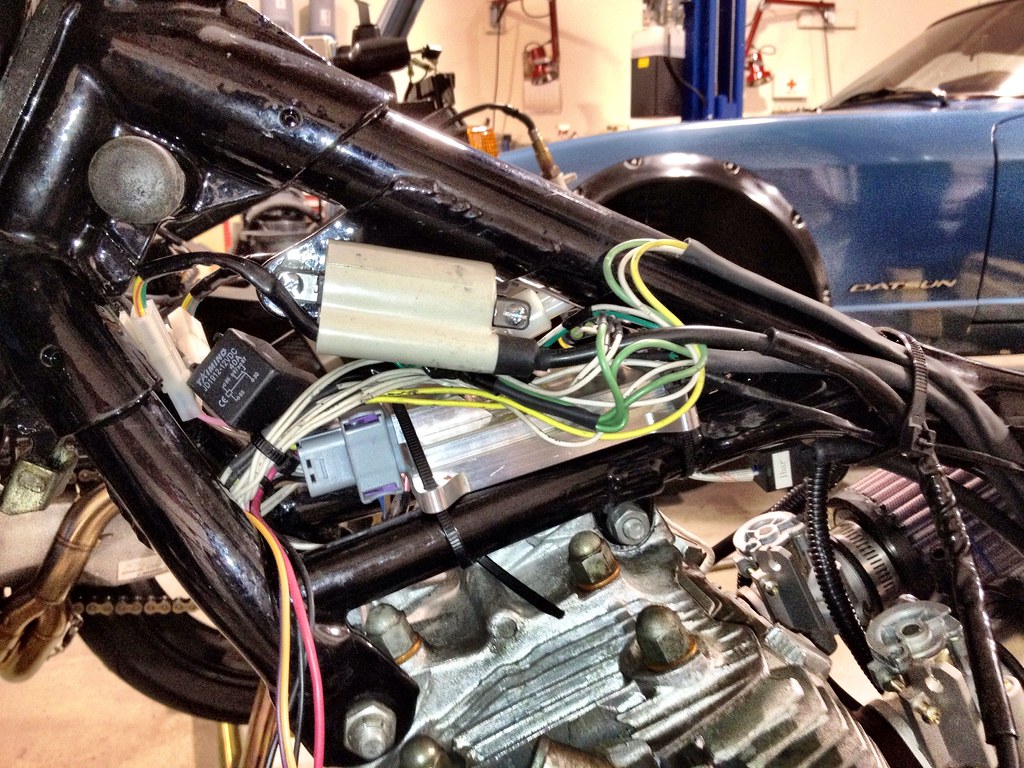 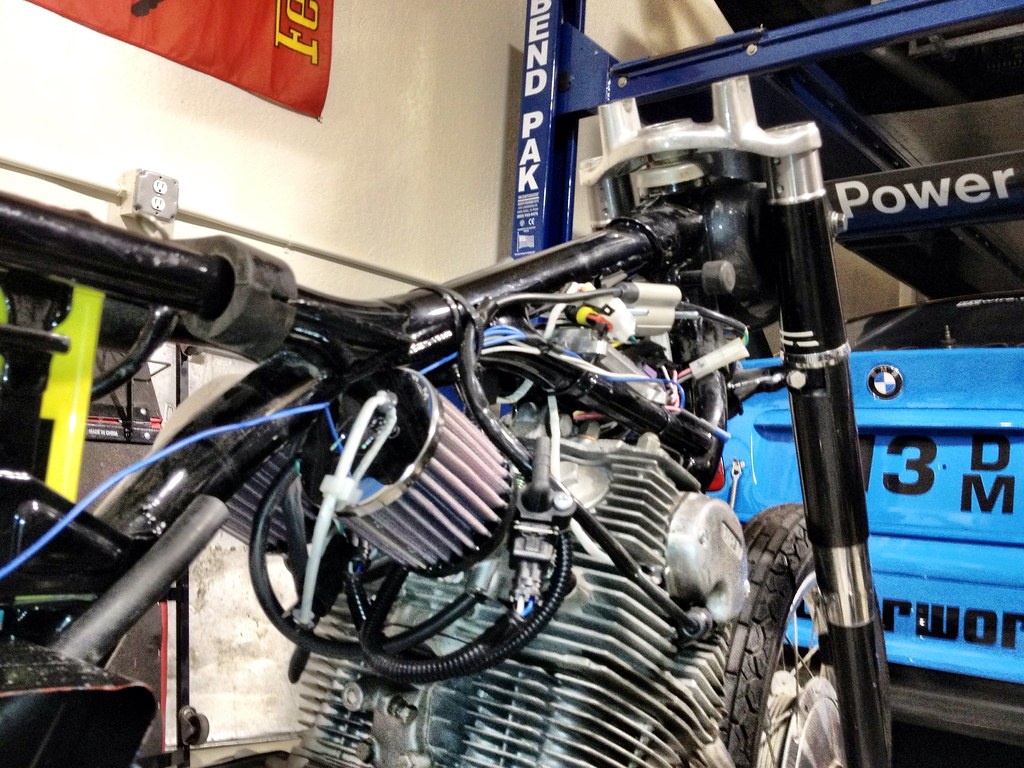 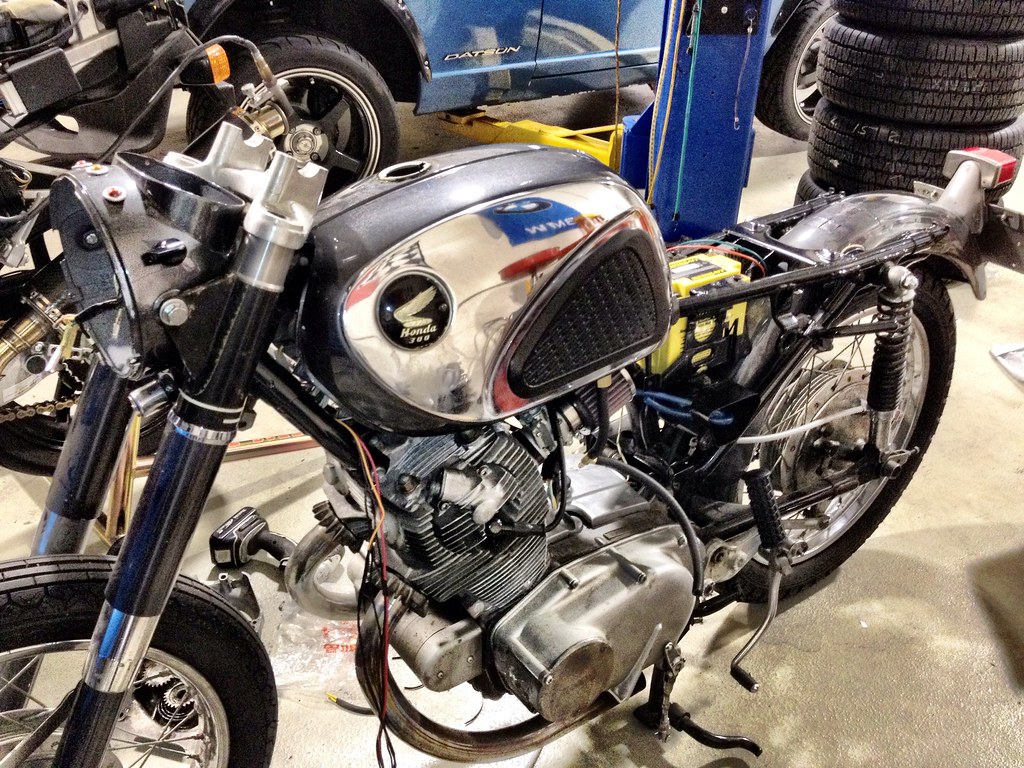 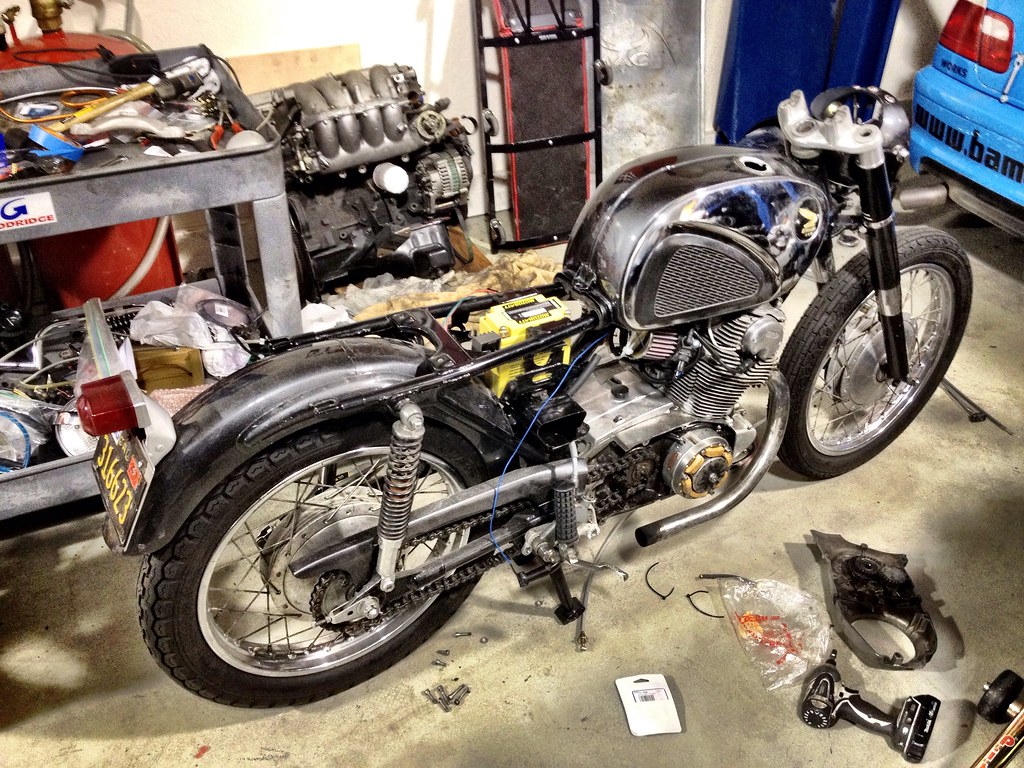 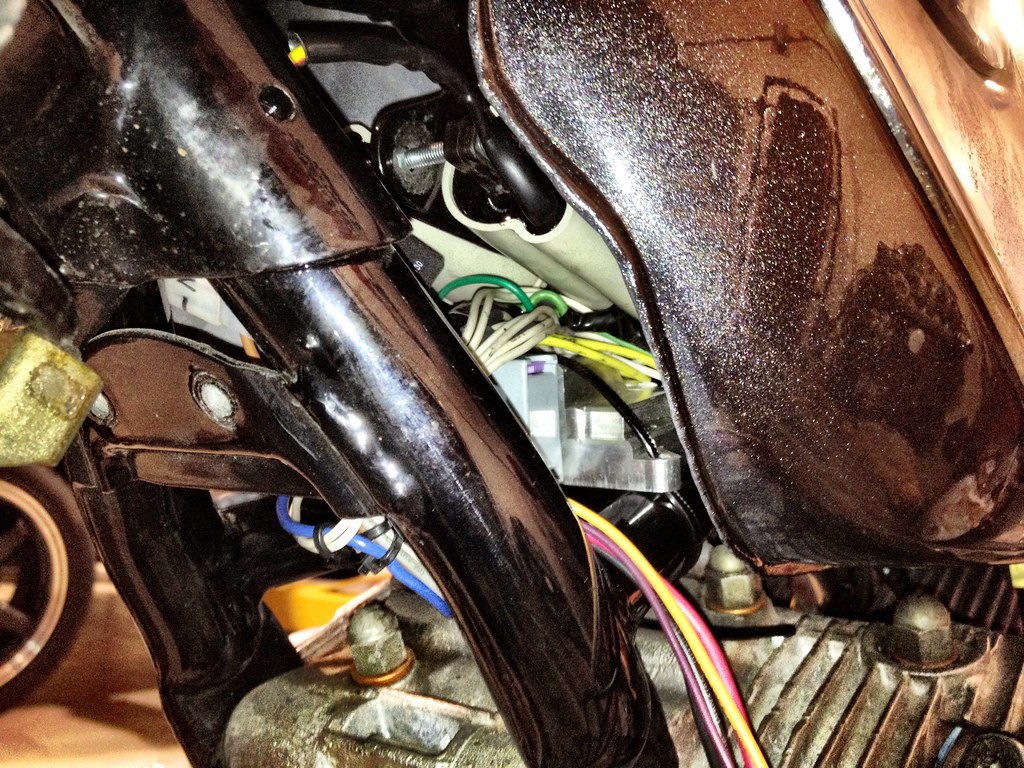
I'm committing the taboo of replying to my own post! I also lied. I had some time today to work on the bike. Not very long, but enough to get the fuel system all sorted with the exception of sending the return fuel line to the gas cap. It all looks pretty good. A little cluttered with the covers off, but like pulling a duvet over a messy bed, the side covers and tank hide my mess well. As I write this, I also realize that I forgot my fuel filter, so add that to the list. 99.8% done with the fuel system I'd say, then!
I also had some time to play with the digital dash I'm using. I love the Koso product line. I use one on my RVF400. The problem is that it is a very modern dash in a very conspicuous place on a very old motorcycle's headlight. I mocked it up using my plan for the mounting plate. The actual part will be painted black, so hopefully the relative lack of contrast will hide it a bit-- at least while it is off. I briefly spoke to my neighbor Bob Guynes. He's something of a classic Honda guru. He's built a number of race bikes from the 60s and 70s as well as broken many Bonneville records. He is now making some replica race parts for the Superhawk (and other Hondas using the same parts) built from original castings. He said he'll trade me a set of ducted brake backing plates for the price of my old carbs that he's planning on using on some wild project... Not a bad deal! To anybody else that uses the CB77-style brake hubs, these plates are amazing. They're drilled using a jig that is dead on and really adds some functional flare that you rarely see on drum brake bikes. Here's Bob in the 70's with some S90 and Superhawk race bikes. You can see the sort of brake ducting I'm talking about: 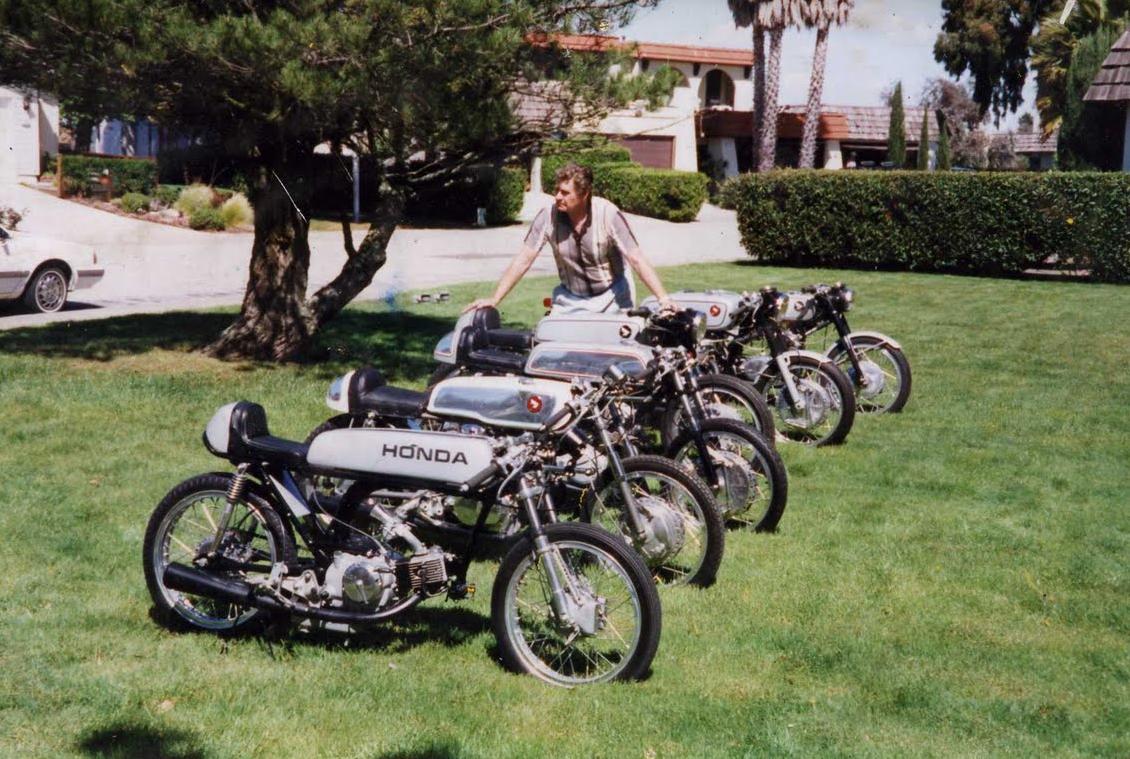 I'm off for good now, though! I'm sitting at San Francisco airport waiting for my New Year redeye to Costa Rica for three days of R&R before my race season officially kicks off again in Daytona. As I said above, hopefully I can keep up this momentum!!! Pictures of today's mild progress:      This is how I leave it for a week or so... I think I'm going to miss her!... 
Taboo x2...
First day back to work on the bike. That said, today was not very productive. My mess-to-accomplishment ratio was definitely pretty poor. Much of my time was spent pulling different parts out of their boxes to test fit, then leaving them wherever they fall. I also spent a lot of time welding up stuff that didn't work to try and mount the VR sensor over the trigger wheel on the stator. The result came from a cooperative effort between my brother and I, and may I say, it doesn't look pretty. I can only hope it works. The worst that can happen is the sensor bracket moving as it heats up and causing the sensor to lose signal or impact the trigger wheel. Either one would cause a pretty fast complete collapse of everything running the motor. I finally nutted up and cut the ends off some crappy Ebay clubman bars I had to make my clip-ons. It went surprisingly well. I estimated the angle of my RVF400 bars (which I find comfortable) and set them in the drill press vise at the specific angle and cut them with a 1-3/4" hole saw which is the diameter of the middle of the bar boss I had machined previously. I put the old seat and tank on once they were tacked to test them out. I love them. So that's it for now, maybe more work tomorrow. Picture time... 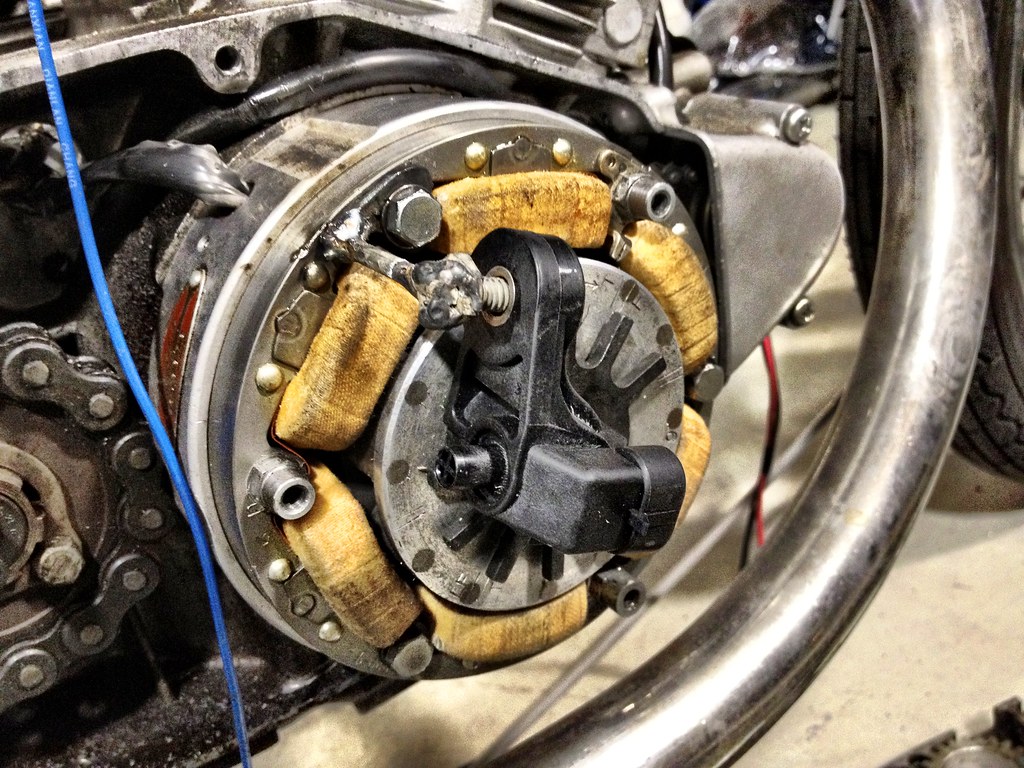 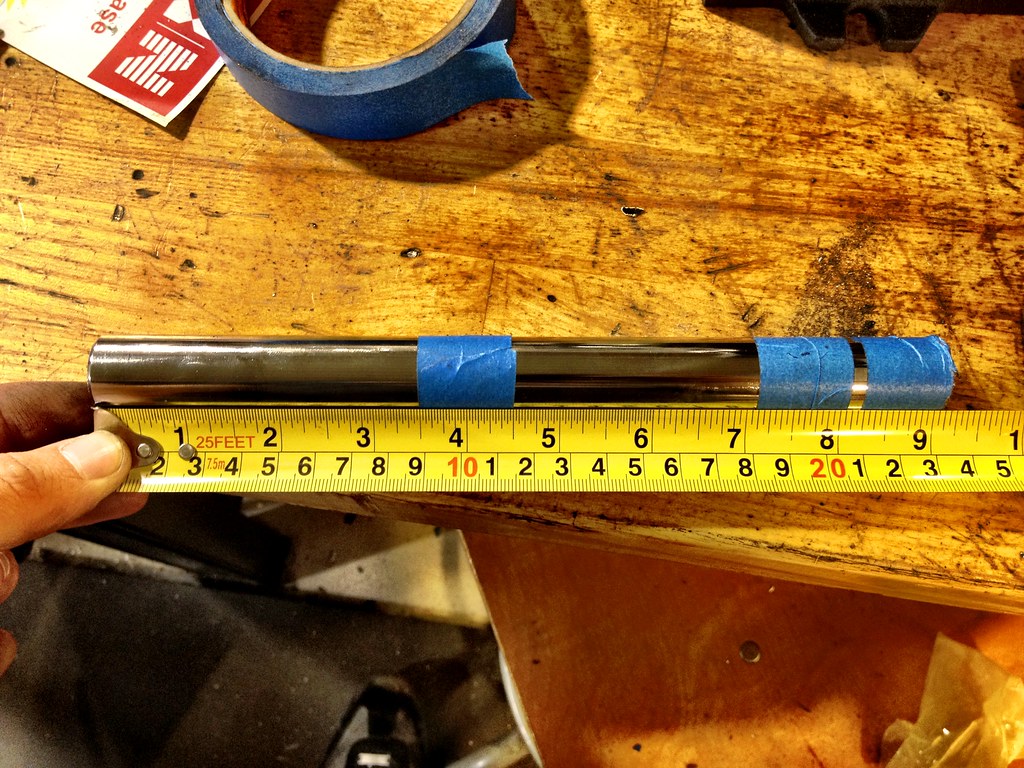   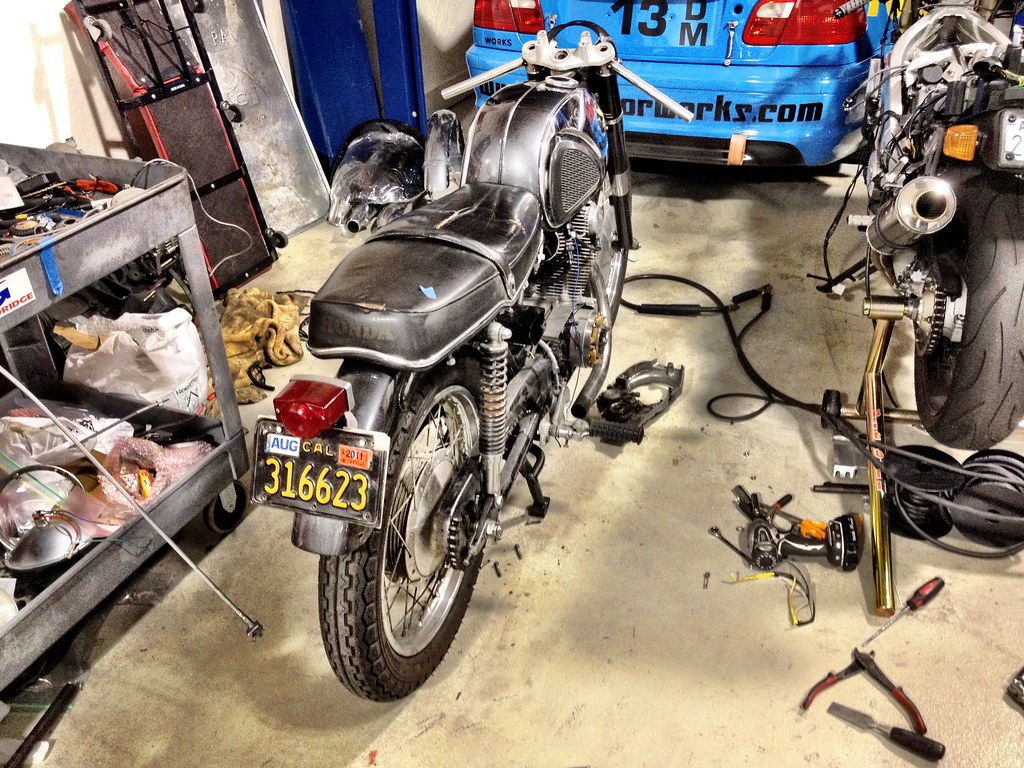  First, replying to your own thread is fine in my book. This is a build thread and most of the input should be from you, not us. So carry on. It's fun to watch you progress.
Regarding the pick up mount for the iggy. What you show there is just not going to be reliable. Why not build a cage that mounts off the 3 female threaded mounting studs? Make a ring or plate with standoffs if necessary to clear the coils and mount to those threaded bolts, using similar bolts or studs and nuts so you still have a way to attach a cover when you are done. Then you just need a cover with more depth to clear the pick-up assy. You could make a spacer ring and sandwich it between the cover and the side cover or weld it to the cover so the cover is one piece instead of two. The plate or ring, I prefer a plate, will give you all kinds of surface to which you can mount your sensor. You could even make the mounting slotted to allow for timing adjustments if that applies here. Cut a hole for timing light access in the case of a plate and you should have a rock solid set up. regards, Rob
| |||||||||||||||||||||||||||||||||||||||||||||||||||||||||||||||||||||