


LM
Thanks. I thought it might be.
G
1961 CB72 ProjectNo much progress in the last couple of weeks but I managed do a bit of therapeutic carb reassembly today. The carbs on the bike were in a rather nasty state but everything seemed to move OK. They were in fact an odd pair - one round bowl and one, later square bowl.
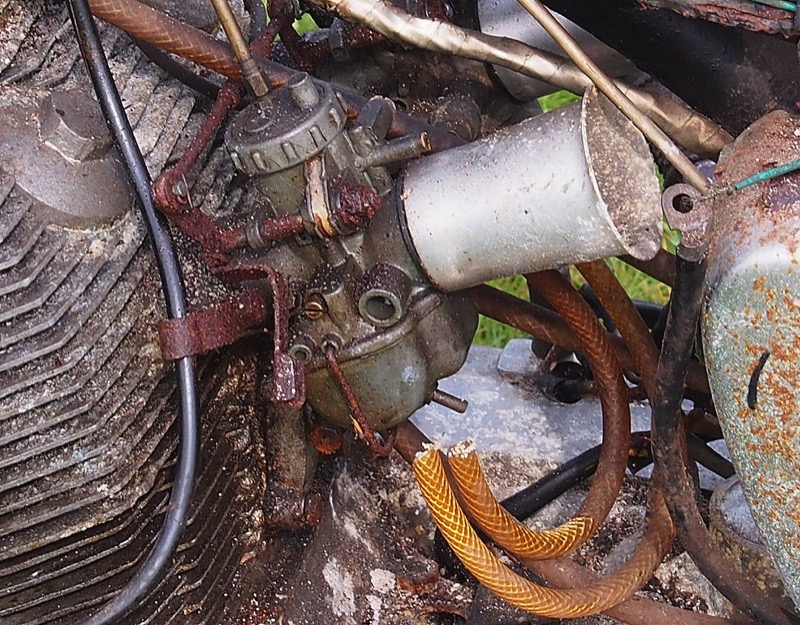 After they were off the bike they were treated to repeated sessions of bead blasting and dunking in the ultrasonic cleaner. A matching right-hand round bowl carb turned up in my spares box so I had a pair. The flanges on both carbs were badly warped so they were carefully mounted in the lather for truing.. 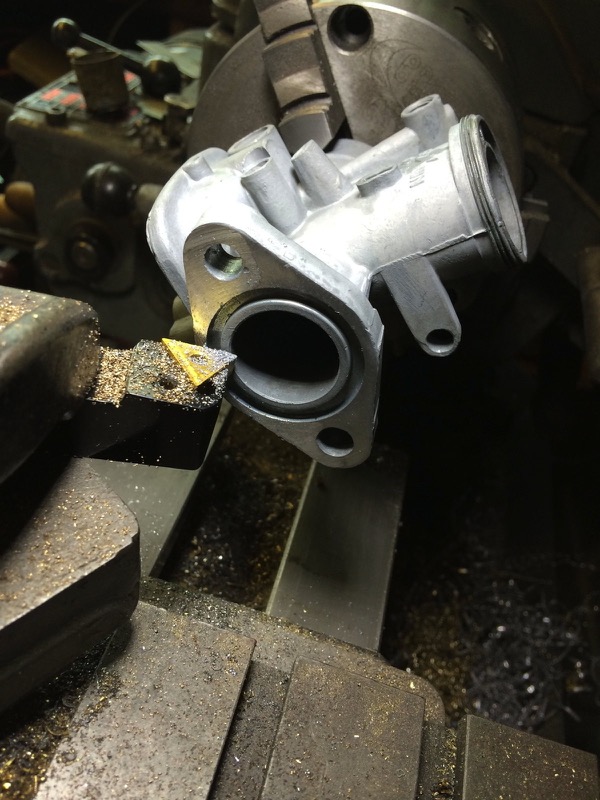 All of the linkages and clips were sent off for plating - choke levers chrome, everything else zinc. Unfortunately I sent a whole load of parts for zinc plating and it was a struggle finding the matching operating lever for the choke slide. It turns out the the PW22 carbs have a slight crank in the little lever. Once I discovered that everything worked smoothly. 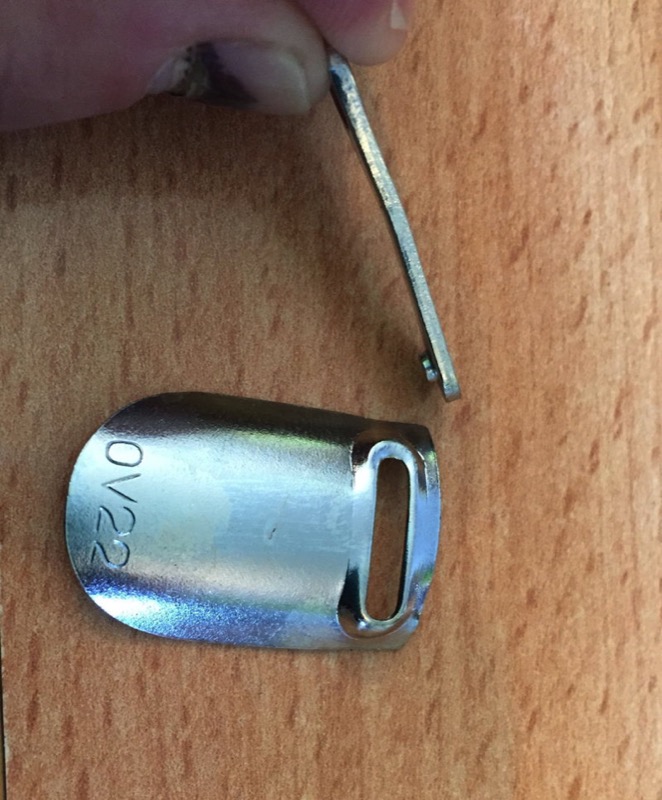 Both of my floats had some dents so I tried the trick of dunking them in a cup of boiling water. This, if you are lucky, expands the air in the float and should push the dent out. I was partially lucky and got a little bit of improvement. 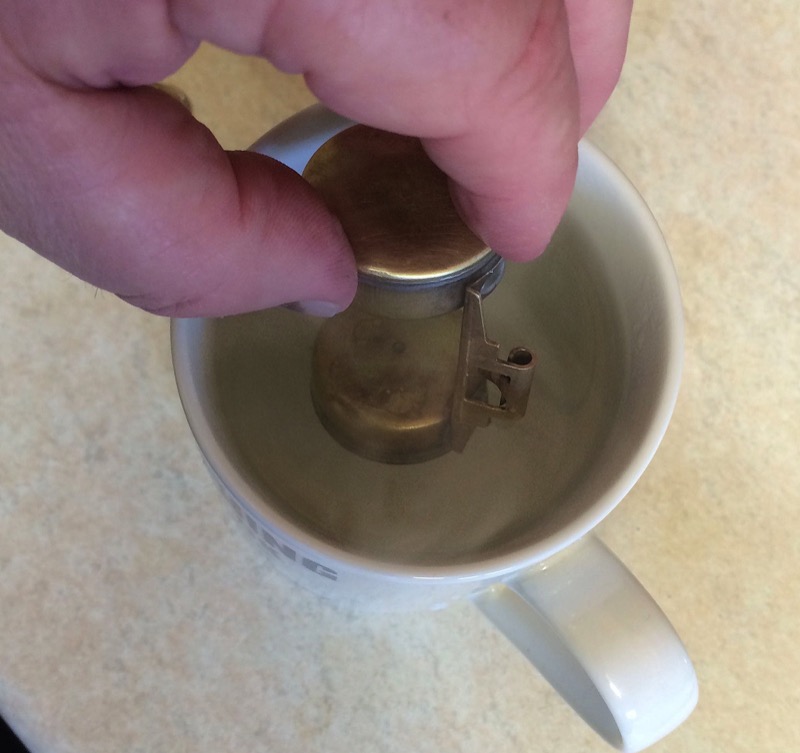 The jets on these carbs seem to be a bit of a mystery and I didn't have much to go on as my bike had been fitted with a 350 kit and. I assume, non-standard jets. By searching the forum and reading the confusing parts manual, I settled on #160 power jets with #90 air jets and #90 mains. The mains will probably need to go up in size but I didn't have anything nearer at the time. 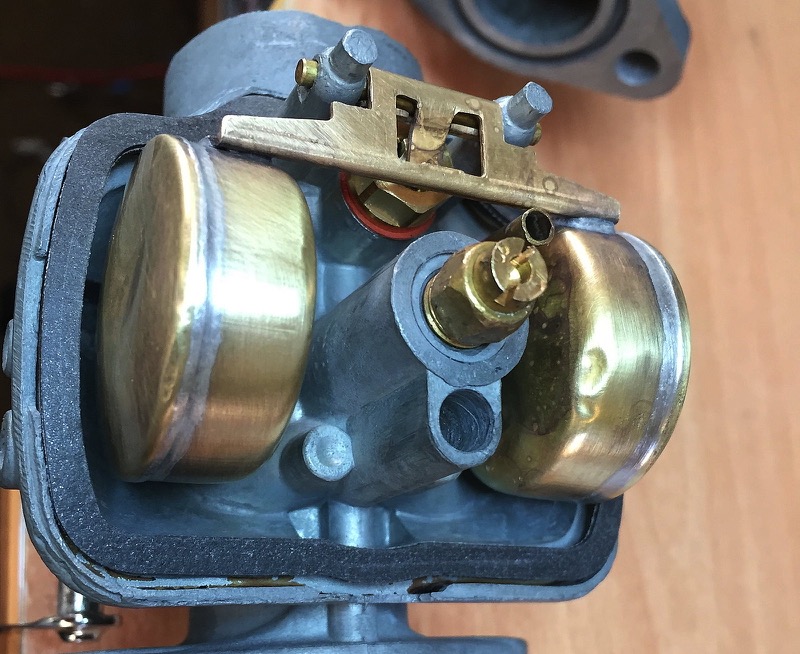 The original needles looked fine but I renewed the rubber gaskets which were rather crusty. I got my own top baskets made in 1.5mm Viton by a friend with a laser cutter. I only have around 30 spares...... :-)  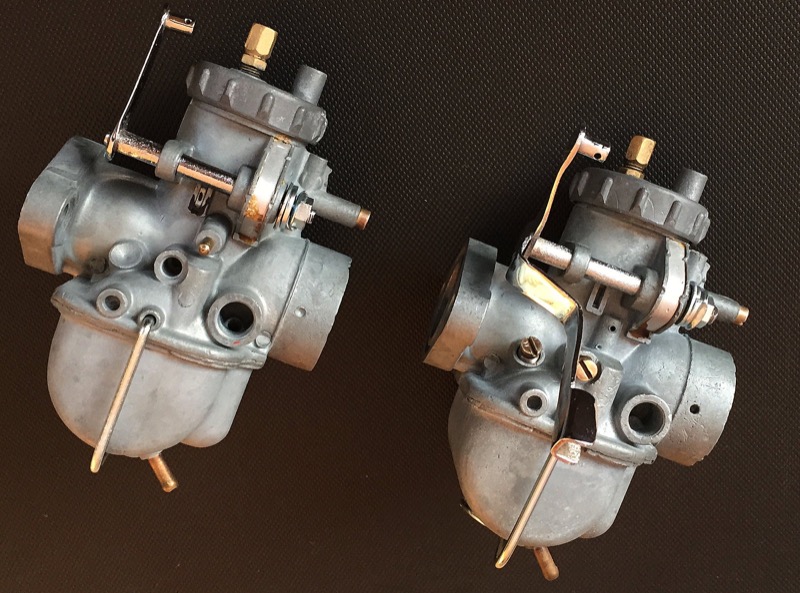 All jets were cleaned and reused originals but I did put in a pair of new genuine needle jets as one had gone missing in the cleaning process. I just need an engine to put these on now, G '60 C77 '60 C72 '62 C72 Dream '63 CL72
'61 CB72 '64 CB77 '65 CB160 '66 Matchless 350 '67 CL77 '67 S90 '77 CB400F
1961 side panelsHello,
I am new to the site but a long time cb 72 77 enthusiast, and have enjoyed reading through about your project. I am also restoring a 1961 cb72 that I found on eBay earlier in the year it is frame number ending 910 an original blue bike. Reading through this thread I noticed that both the 61 bikes mentioned here both have had chrome side panels my bike also has these, it seems very coincidental that the three have this, perhaps this is another feature of the early bikes? My bike was far from complete although all the main parts where there, there are some items that I require. I am currently restoring the bike the engine is nearly complete and the frame is sat with front wheel in place and swing arm attached, I would upload some pictures but do not know how. I purchased my first 1965 cb 72 in 1972 and raced that in 250 production races, my second 1964 cb72 was in the same year as an "in boxes" but complete bike for spares for my racing, These are both complete and running. Regards, Michael
61cb72looking good Graham.
welcome Michael, use photo bucket to put your pics up . Re: 1961 side panelsMichael
Welcome! It would be great to see some pics of your bike. Where there any other unusual chrome parts? Mine had a chrome plated chain guard, too. Also the rear shocks had chrome springs but they were covered up. I use Flickr (www.flickr.com) for my pics but you can upload directly to the page using the "add an attachment" option below. To do that you need to make the file size smaller but reducing the size of your picture. About 600-800 dots across works OK. With Flickr I can just put links to my pictures. They are all (and more) here for this project ..... https://www.flickr.com/photos/63154743@ ... 171842864/ Feel free to post a couple to this thread. G
'60 C77 '60 C72 '62 C72 Dream '63 CL72
'61 CB72 '64 CB77 '65 CB160 '66 Matchless 350 '67 CL77 '67 S90 '77 CB400F I think that it's surprising that so many of these early CB72s have turned up. I know of five blue ones and now three that had the chrome parts added (or supplied from the factory). What we need are some early pictures from original owners.....
G '60 C77 '60 C72 '62 C72 Dream '63 CL72
'61 CB72 '64 CB77 '65 CB160 '66 Matchless 350 '67 CL77 '67 S90 '77 CB400F I managed to get started on sorting out the parts for my engine build. The original crank feels pretty good but looks like it could do with stripping just to check the condition of the bearings. Luckily I have a guy about 5 minutes away who offers a strip and rebuild service.
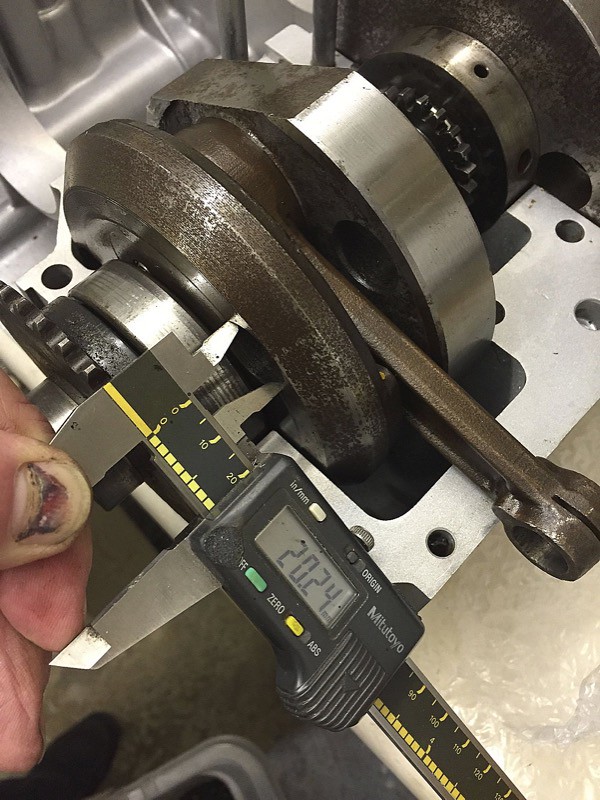 The balancing holes in this one are around 20mm, whereas the 305 ones I have are around 23mm. It took ages to find the revcounter drive that I had cleaned and put in a safe place. The 1961 ones have a different casting design from the later ones with a 'squarer' round end - if you know what I mean. The end of the casting has a little bit of gravel rash but I am going to leave that as matching the color and texture of the original would be too difficult. 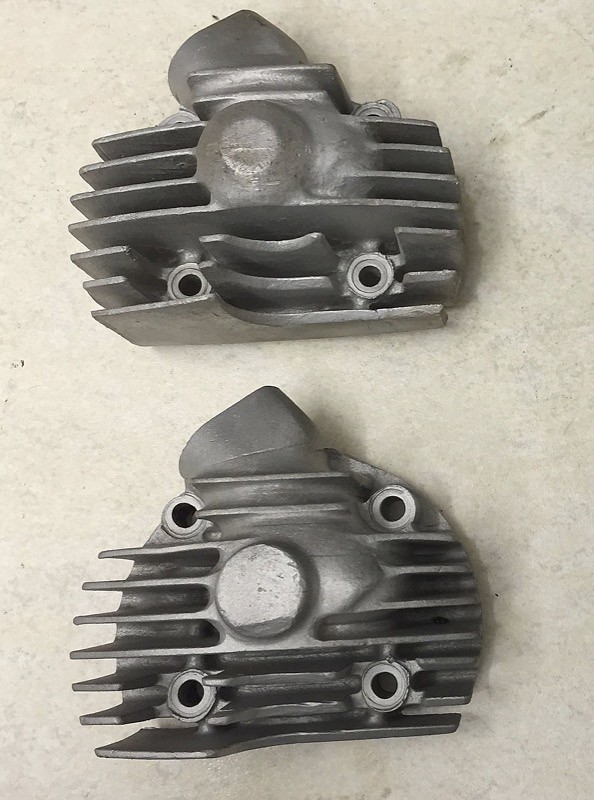 Unfortunately mine had a couple of broken fins so I set about repairing them. I use "Techno Weld" an aluminium solder to repair damage like this. 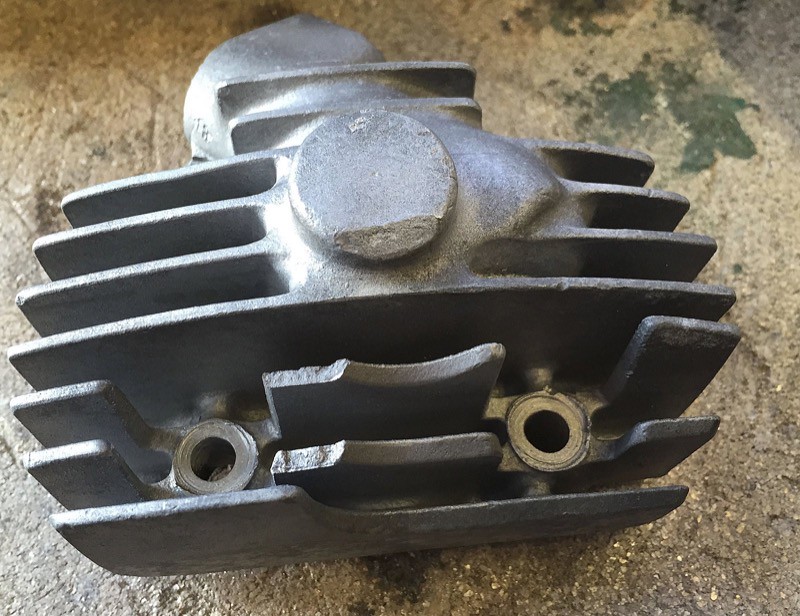 I cut a couple of "new" fins from a scrap cylinder barrel and shaped them to suit. 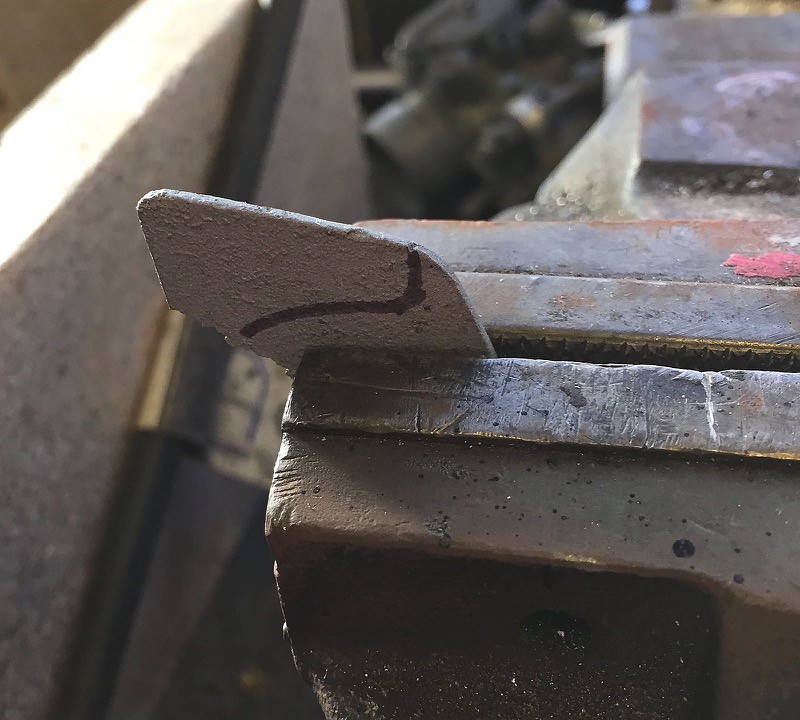 Even with a small part like this it is good to use some fire bricks and insulating blanket to keep the heat in. It really helps control the temperature of the work. 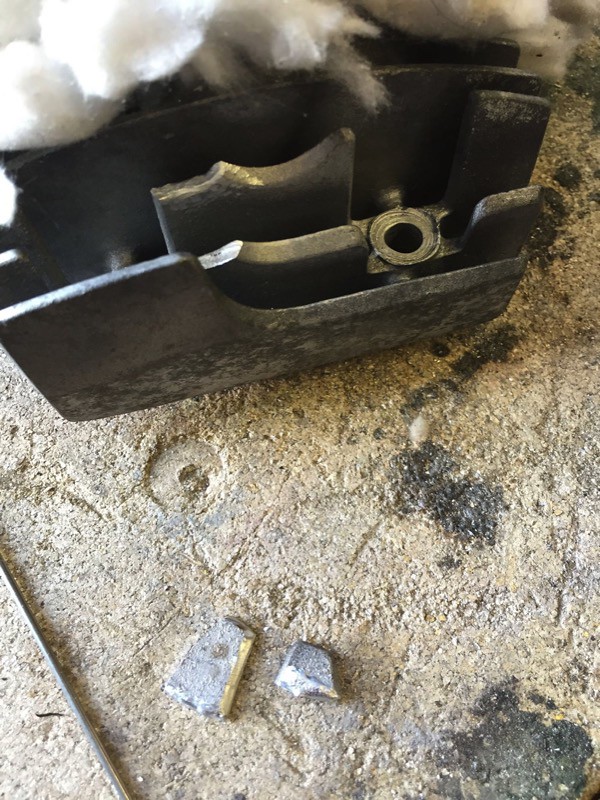 With both parts 'tinned' it was a simple matter of keeping the temperature correct and just offering up the new parts. I covered the piece with the blanket to cool slowly then finished off with files and dremel grinding bits. 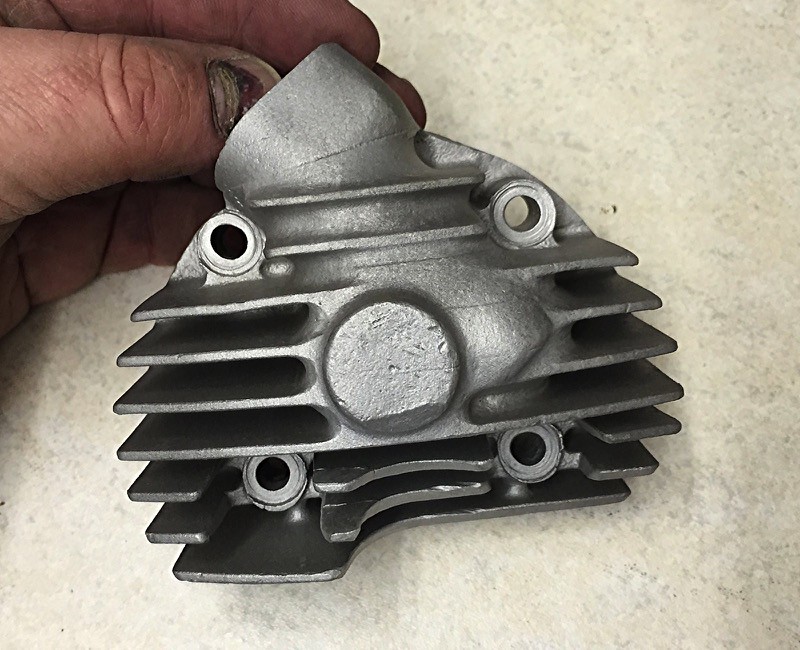 When I offered the drive up to the head it was a very tight fit so I need to relieve the spigot a little bit. At the moment it won't seat properly and leaves a 3mm gap at the joint face. 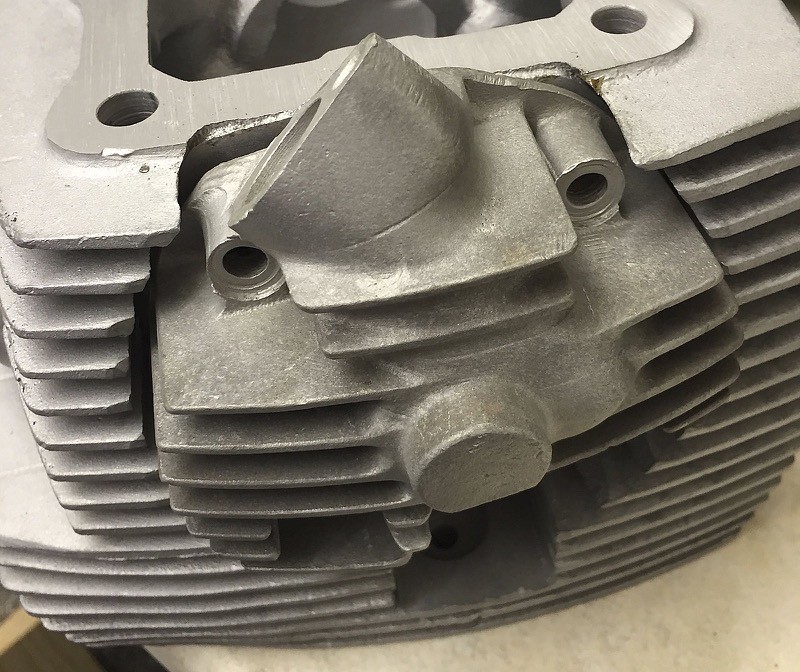 As well as cutting the valve seats there are one or two little burrs that need tidying up. 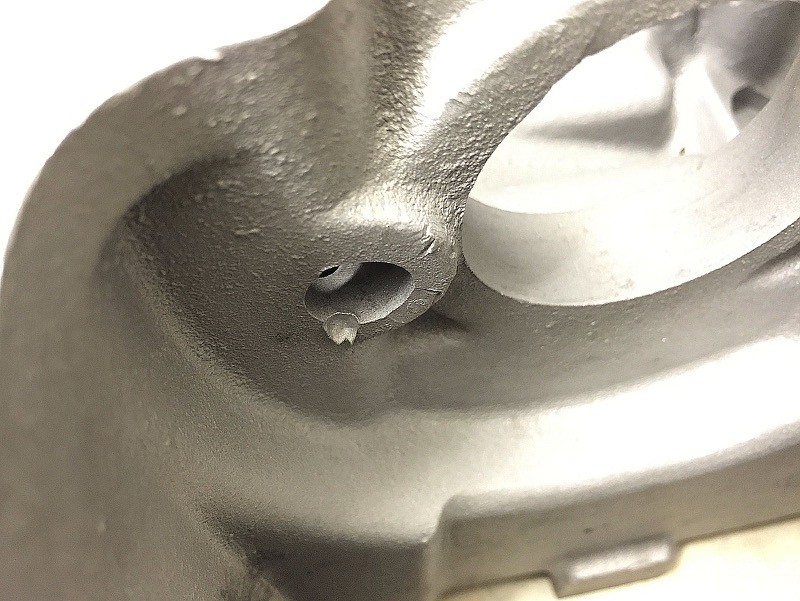 The cam is all cleaned up ready so I should be able to get this back together with new cam bearings when I next get some workshop time. Work and travel keeps getting in the way... :-) G '60 C77 '60 C72 '62 C72 Dream '63 CL72
'61 CB72 '64 CB77 '65 CB160 '66 Matchless 350 '67 CL77 '67 S90 '77 CB400F
| |||||||||||||||||||||||||||||||||||||||||||||||||||||||||||||||||||||