Page 3 of 6
Posted: Tue Oct 22, 2013 9:29 am
by sarals
That carb is not so bad on the inside. Brewsky said it, you're on a roll!
Continues...
Posted: Wed Oct 23, 2013 9:33 pm
by Bradha562
After a bath;


I cleaned the gunk out of all the passages in the carb body and adjustment screws. Should I put anything on the adjustment screws before I put them back in?

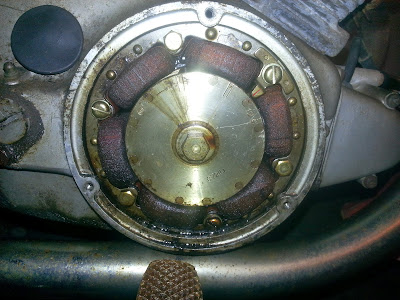
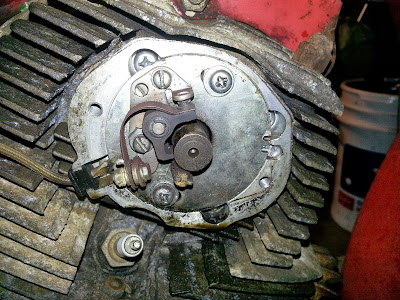
Points:
Under the points:
Should I be concerned that there is/was leakage under that shaft?
The fun continues...
Posted: Fri Oct 25, 2013 12:32 pm
by Bradha562
Posted: Fri Oct 25, 2013 12:58 pm
by Hahnda
Many switch to allen head fasteners.
An impact driver (the kind you hit with a hammer) is your friend on these old screws. Sometimes they are still stubborn. I typically drill the heads off. First an 1/8" bit and then a 1/4" bit. Head pops right off. 1 minute total time spent.
You will probably want to pull that filter cover off and clean it out.
Keep track of the order of assembly on that filter assembly. Washer goes on outside the filter cover and before the pin. Also that shaft has a pin in it that need to be in the correct position when putting the cover back on.
Posted: Fri Oct 25, 2013 1:09 pm
by Bradha562
Hahnda wrote:Many switch to allen head fasteners.
An impact driver (the kind you hit with a hammer) is your friend on these old screws. Sometimes they are still stubborn. I typically drill the heads off. First an 1/8" bit and then a 1/4" bit. Head pops right off. 1 minute total time spent.
You will probably want to pull that filter cover off and clean it out.
Keep track of the order of assembly on that filter assembly. Washer goes on outside the filter cover and before the pin. Also that shaft has a pin in it that need to be in the correct position when putting the cover back on.
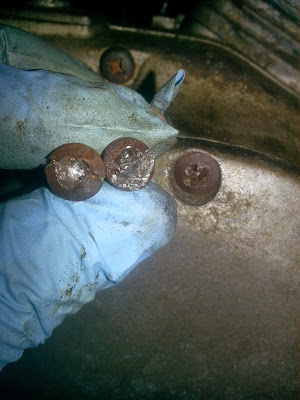
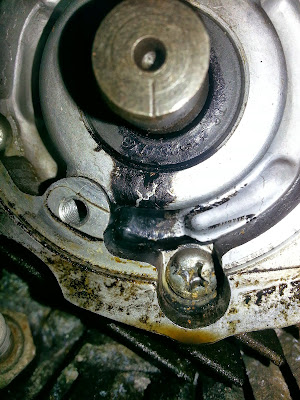
The screws were well chewed before I went at them with an impact driver which worked on the first screw (furthest right in the picture) but not the other two, then went with the easy out whose tip broke on the last screw. So I ended up whacking it with a punch. I'll go with the drill technique if I run into the problem again.
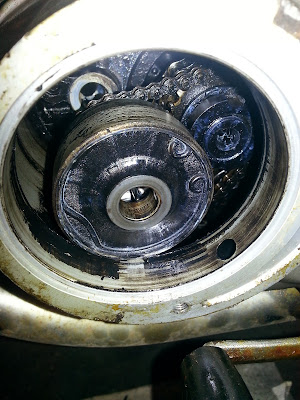
I'm trying to take pics (and a few vids) of everything as it comes apart to ensure proper reinstallation. Would you say that filter assembly seems to be in decent condition? Anything that stands out to you?
Thanks again
Posted: Fri Oct 25, 2013 1:23 pm
by Hahnda
Your filter shaft looks like it could be scored where the filter was spinning on it? Hard to tell from that pic.
Posted: Fri Oct 25, 2013 1:53 pm
by cknight
It really helps to have a set of the JIS screwdrivers (and 1/4" drive bits) to cope with these unhappy bolts. It will make your task much easier. Regards, Chase