Posted: Thu Oct 29, 2009 10:17 pm
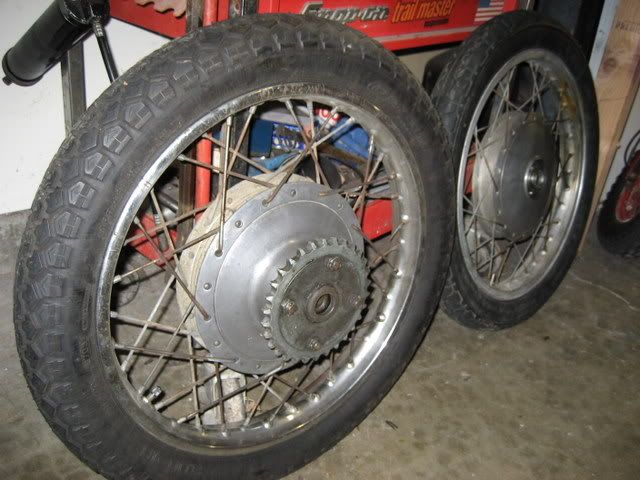
Now it's wheel time. My old wheels were mismatched, bent, rusty and ugly. The front was an aluminum shouldered rim, of unknown brand. It was the bent rim that caused my front tire blowout, mentioned at the beginning of my restoration thread. The rear was one of the original chromed steel rims. The hubs showed the usual oxidation and staining. I found a few bent spokes but mostly they were just rusty.
As removed from the bike:
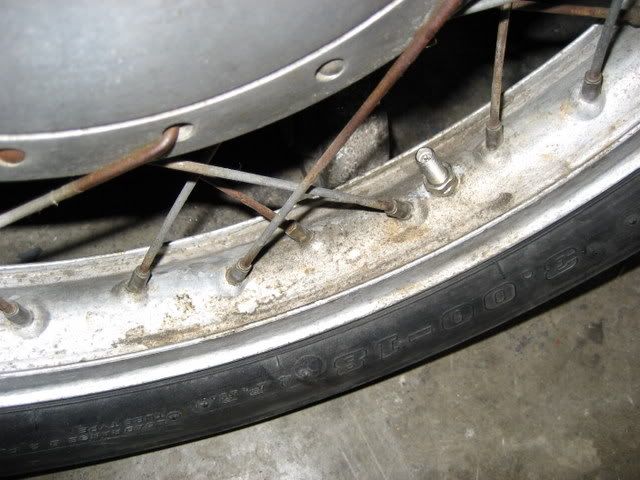
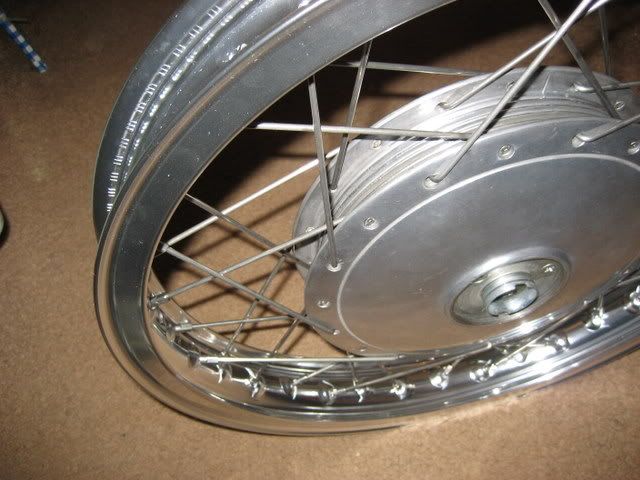
Front aluminum rim:
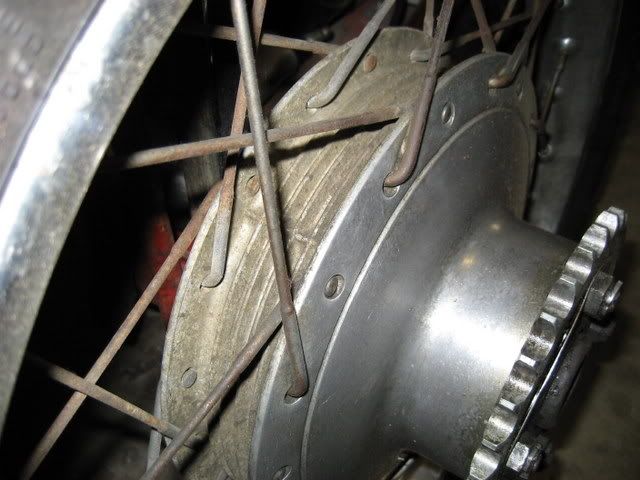
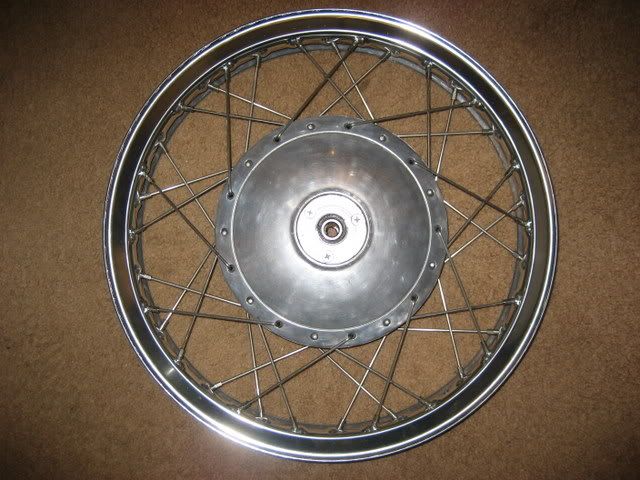
Front hub:
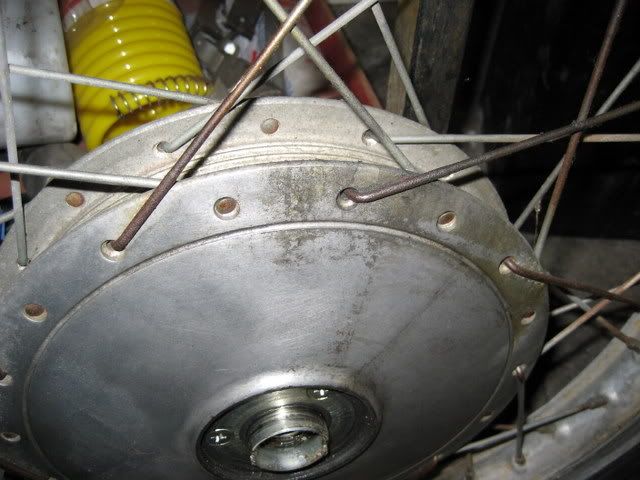
Rear hub:
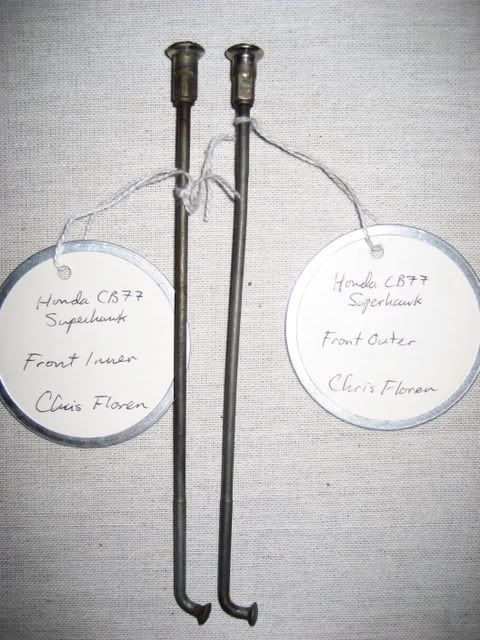
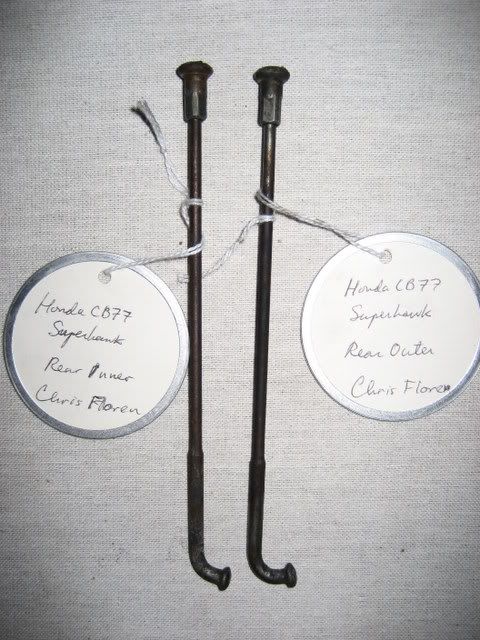
I cut the old spokes out but saved an inner and outer from each wheel for reference. I cleaned the hubs thoroughly, then had a go at polishing them myself. The thing was, my cheap Harbor Fright (sic) buffing wheel leaves a lot to be desired in the power department. I couldn't apply enough pressure for long enough to get a good shine. Knowing that polishing labor is cheap, I decided to leave this job to the pros and dropped them off at a local shop, along with the brake backing plates.
The spokes went out to Buchanan's Spoke & Rim as examples for new stainless steel parts. I ordered my rims through them too. I settled on the Excel shouldered aluminum, WM2 (1.85) x 18" for the front and WM3 (2.15) x 18" for the rear. Originally I was going to lace them up and call the wheels done, but then something possessed me to have the rims polished and anodized black. I really dig the results.
Spokes identified and ready to go meet the spoke meisters:
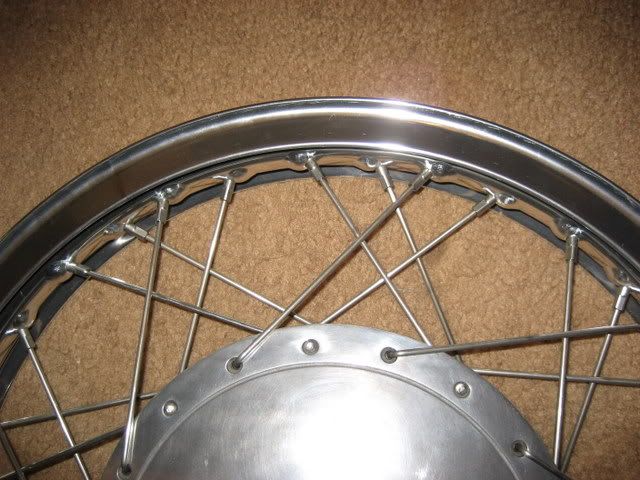
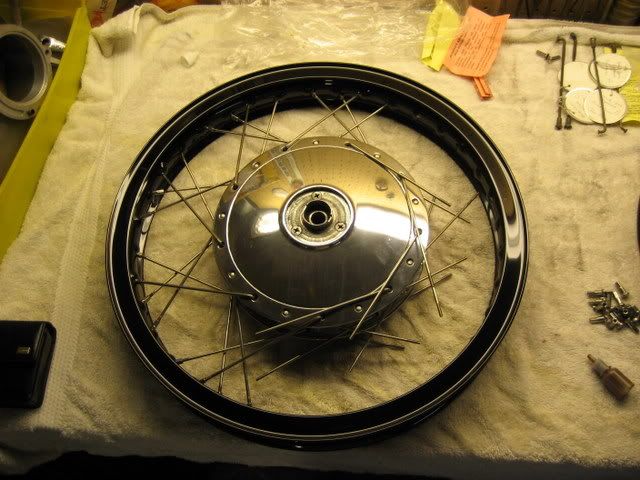
New stainless spokes laced to new Excel rims, hubs are shown after my mediocre polishing attempt:


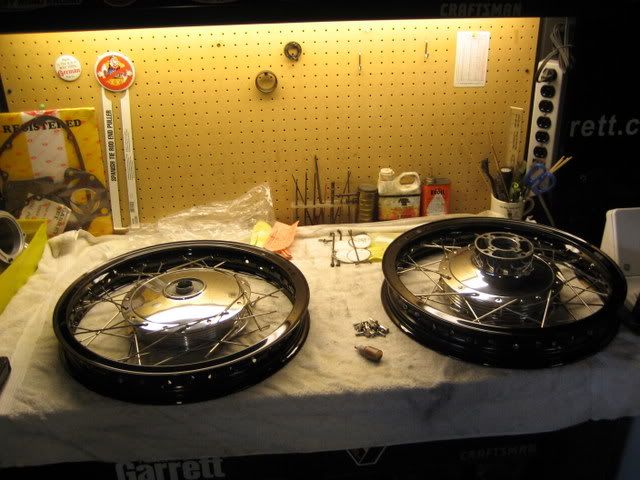
And finally, polished hubs + stainless spokes + stainless nipples + polished & black anodized rims =
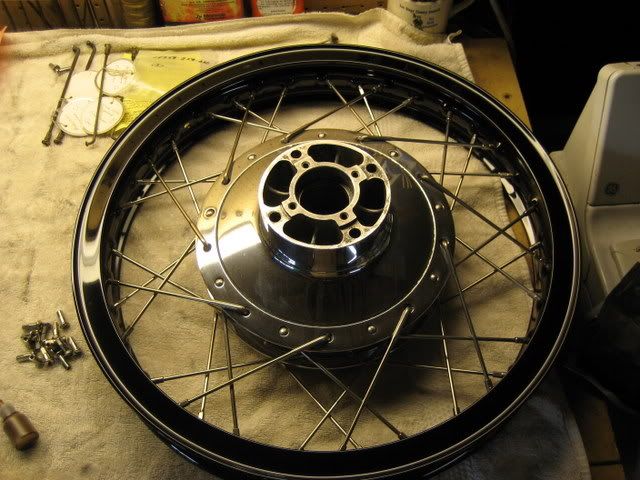
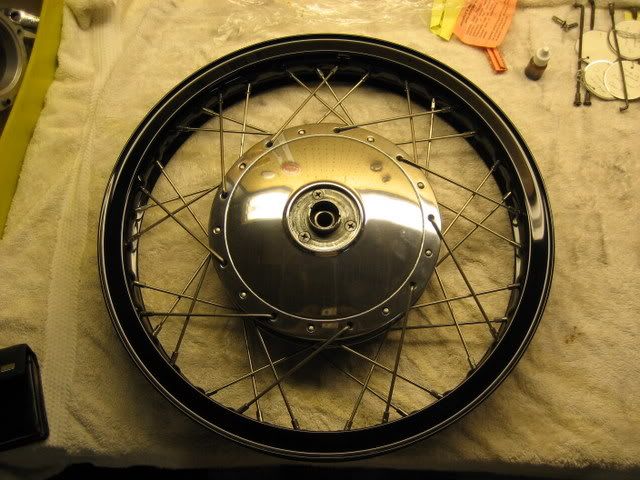
Lacing was not so bad. It was tricky to get all the spokes in without scratching the rims, but I'm sure I didn't use the easiest method. I just looked at my photos of the old wheels and duplicated the pattern.
I recently trued them up myself, down to under 0.010" of runout both axially and radially.
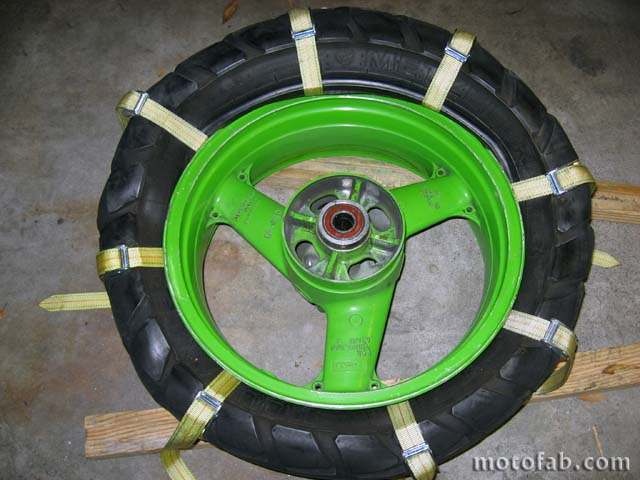
And last night I finished mounting the tires.
More photos to come.
As removed from the bike:
Front aluminum rim:
Front hub:
Rear hub:
I cut the old spokes out but saved an inner and outer from each wheel for reference. I cleaned the hubs thoroughly, then had a go at polishing them myself. The thing was, my cheap Harbor Fright (sic) buffing wheel leaves a lot to be desired in the power department. I couldn't apply enough pressure for long enough to get a good shine. Knowing that polishing labor is cheap, I decided to leave this job to the pros and dropped them off at a local shop, along with the brake backing plates.
The spokes went out to Buchanan's Spoke & Rim as examples for new stainless steel parts. I ordered my rims through them too. I settled on the Excel shouldered aluminum, WM2 (1.85) x 18" for the front and WM3 (2.15) x 18" for the rear. Originally I was going to lace them up and call the wheels done, but then something possessed me to have the rims polished and anodized black. I really dig the results.
Spokes identified and ready to go meet the spoke meisters:
New stainless spokes laced to new Excel rims, hubs are shown after my mediocre polishing attempt:
And finally, polished hubs + stainless spokes + stainless nipples + polished & black anodized rims =
Lacing was not so bad. It was tricky to get all the spokes in without scratching the rims, but I'm sure I didn't use the easiest method. I just looked at my photos of the old wheels and duplicated the pattern.
I recently trued them up myself, down to under 0.010" of runout both axially and radially.
And last night I finished mounting the tires.
More photos to come.