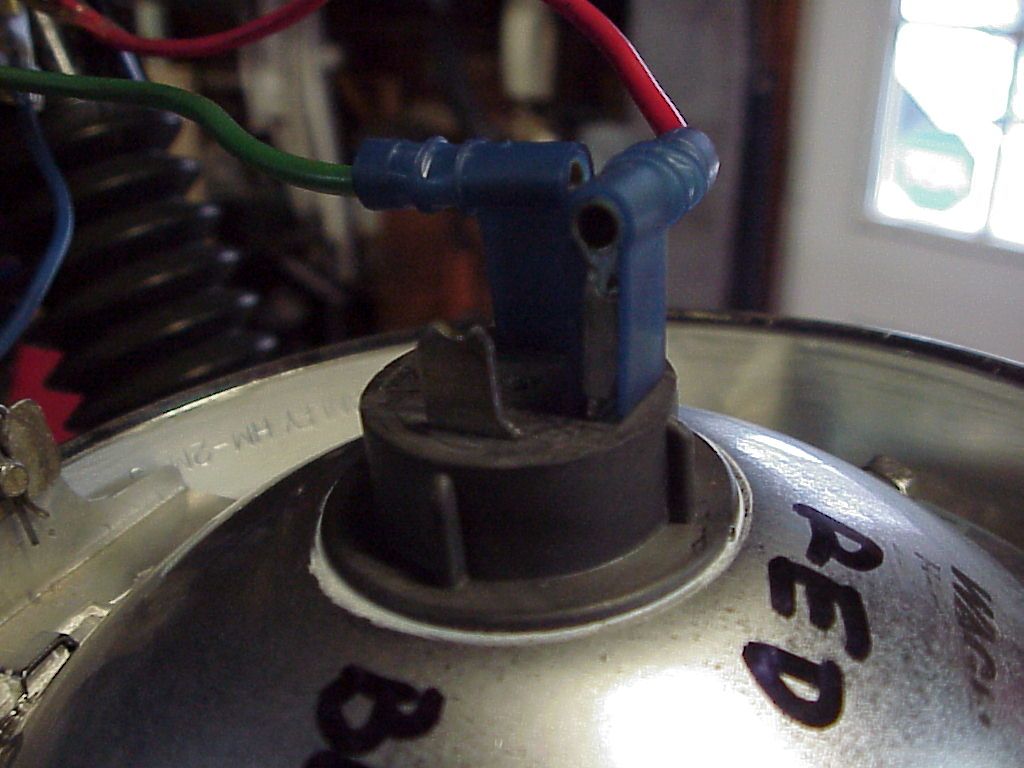
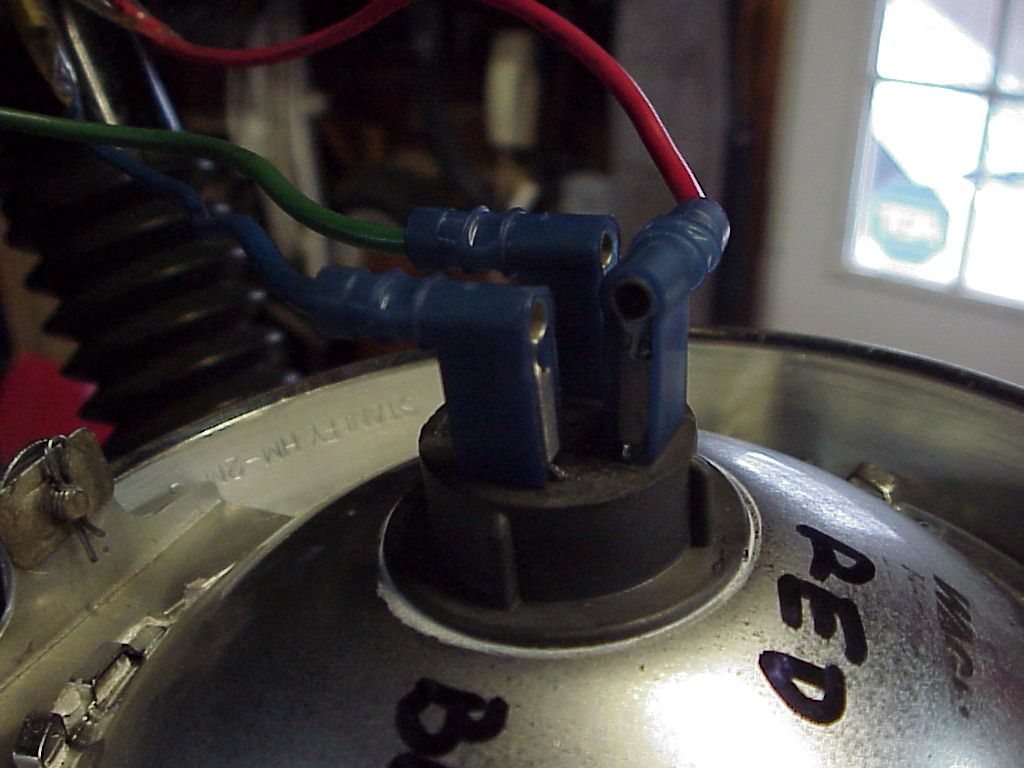
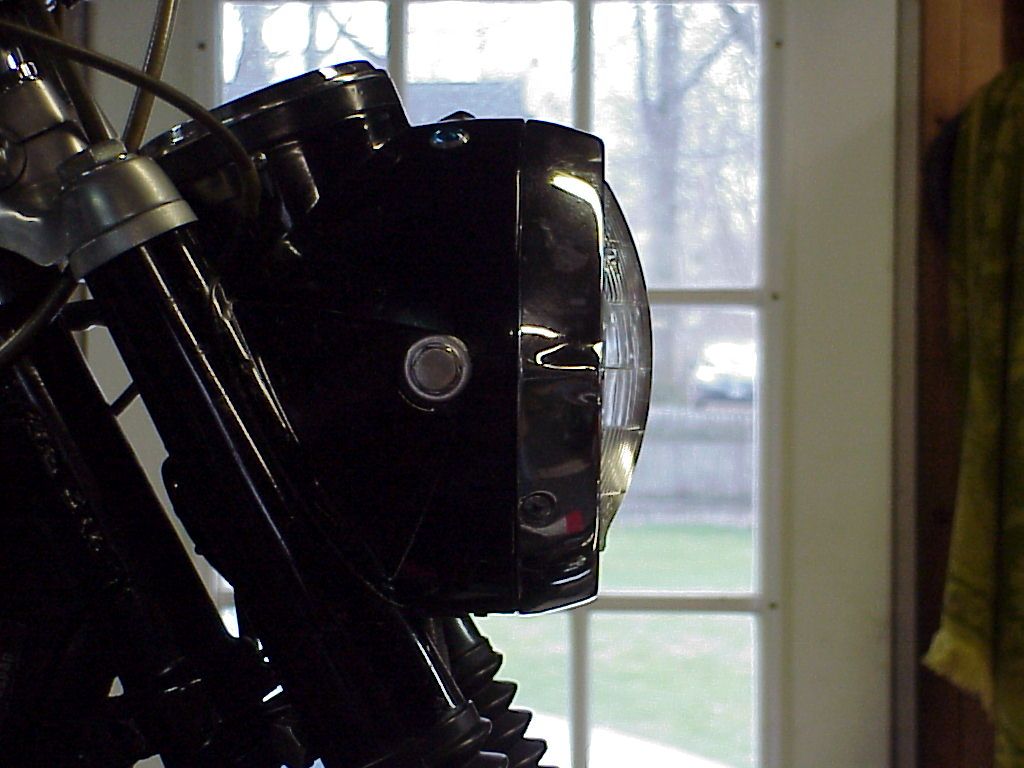
I wanted to come up with a way to put a readily available headlight in my late model headlight rim. This is the rim that has two ears in the rim that mate with two ears on the reflector/sealed beam unit and attach with a screw, and has a 3rd ear thru which the adjusting screw goes for side to side beam aim.
I had an old 5-1/4" automotive sealed beam, unit in my cabinet. This is also the same light that is used in a number of Harleys. I thought it was a good candidate and came up with a way to mount it in the rim. Another challenge with these headlights is clearance to the speedo cable. There is not a lot of room in there. This provides adequate clearance as well.
For those planning on doing this, I have no special sheet metal tools. The tools used were:
Band saw
Sabre saw (can be used if you don't have a band saw)
Ball peen hammer (using the flat hammer end and NOT the ball end)
Drill press (hand drill will work)
Files and sandpaper
Polishing wheel (find paper, steel wool and Mothers polish can be used in place of this)
Pieces of 4 inch PVC pipe
Piece of wood
Home made bending break (vise, mallet and piece of wood can be used)
I first made an adapter rim that fits into the OEM rim. It is made from 1/16" aluminum sheet. I started with a cardboard template and once I had it right, I transferred the pattern to the aluminum sheet, which I then cut out on the bandsaw. ID was cut with the sabre saw.
I cut a goove of the proper radius in a piece of pine to let me start the bend in the rim. I acutally did not expect this first iteration to come out as good as it did so the inside of the bend is rougher than I would have liked due to the punch/chisel I used.
With the goove cut in the wood, I used a rounded piece of flat steel as a forming punch and tapped the metal into the groove a little at a time for the full diameter. Once the bend was started and I now had a dished piece, I used a short piece of 4 inch PVC pipe, upright in my vise as an anvil and then continued to form the dished bend on the adapter rim with a ball peen hammer and the edge of the PVC pipe.
With that done, I put the rim, concave side down, on the bench and lightly tapped the ID with the ball peen hammer to dish it as well. You will see why in the photos below.
Here is the finished rim adapter
Front, polished side. This will face out and be seen.
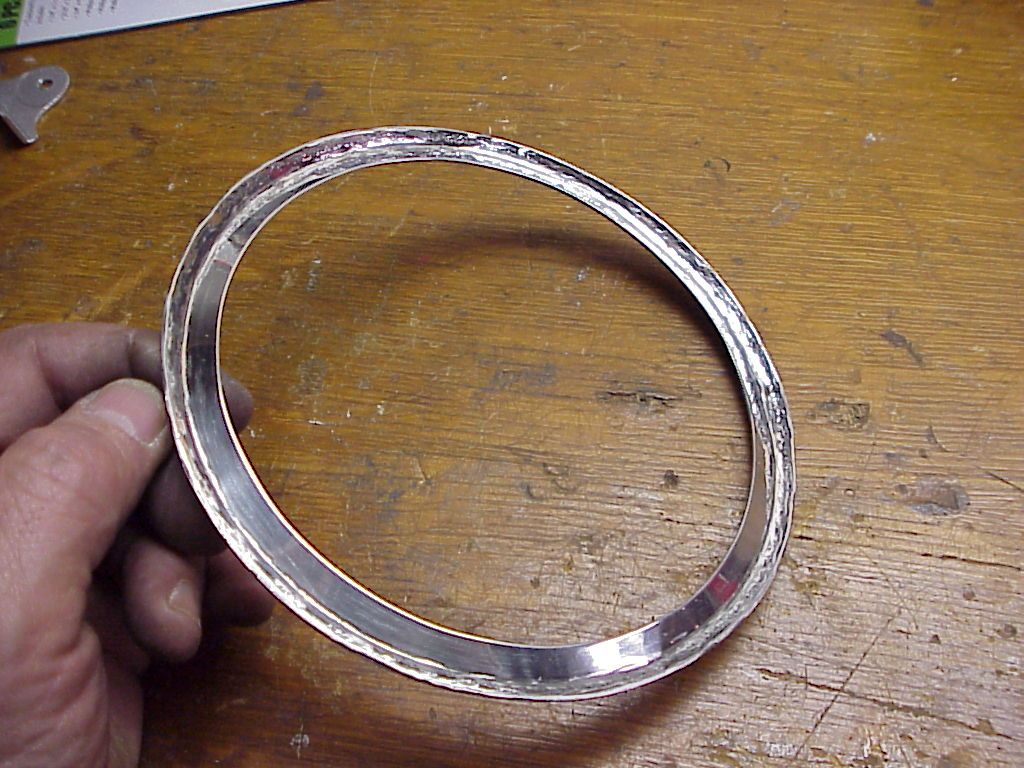
Back side which faces inside the headlight shell.
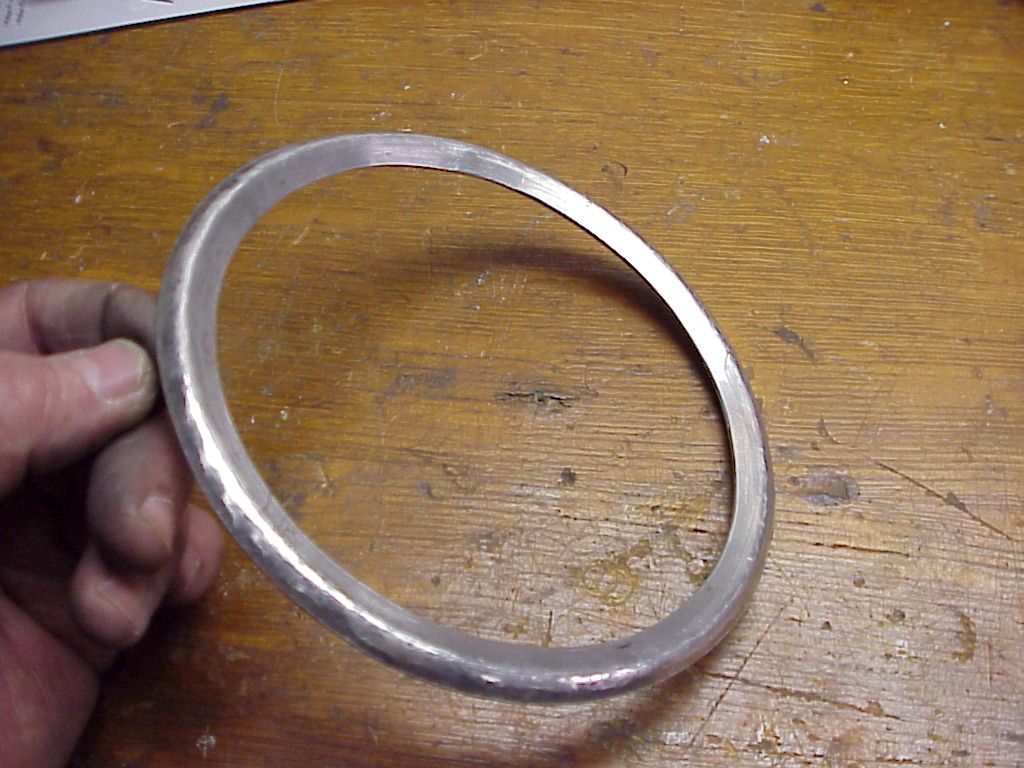
Here is the adapter rim mounted in the OEM rim. Not that the concaved shape fits over the raised edge on the inside of the OEM Rim.
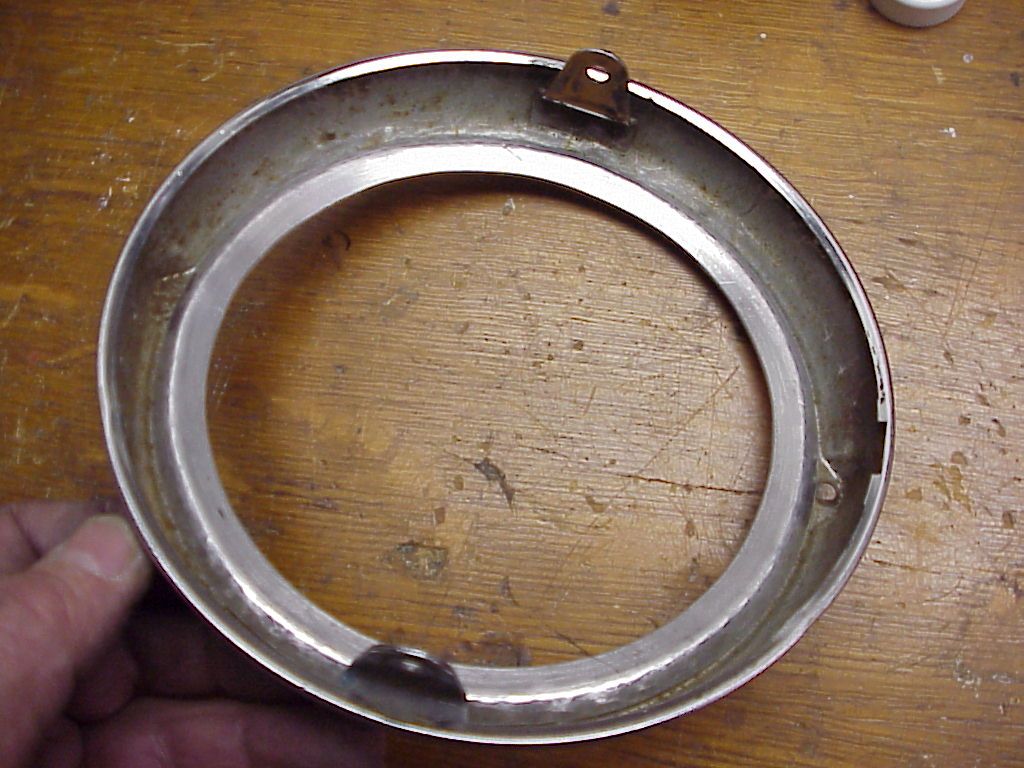
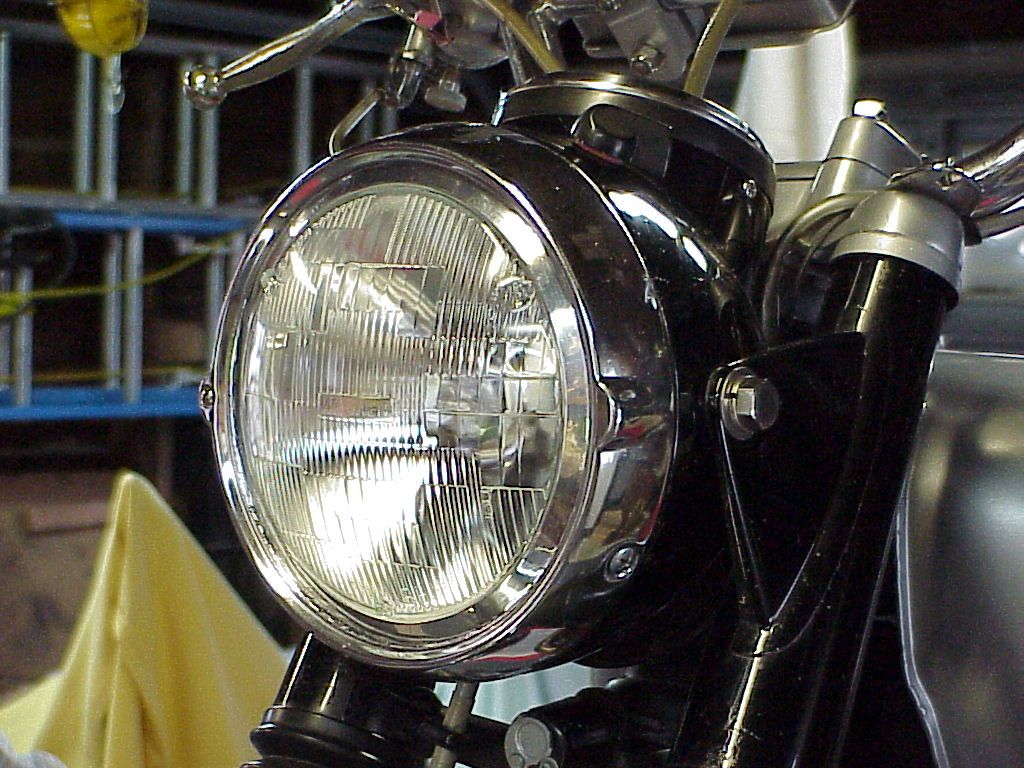
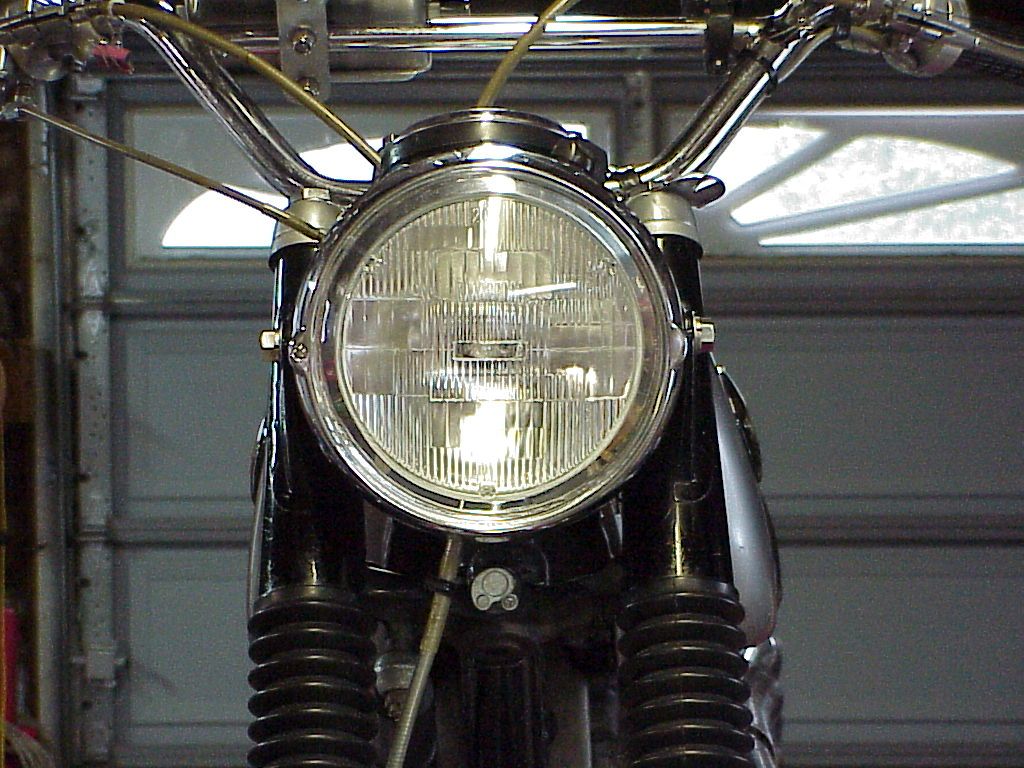
Here is the headlight unit mounted in the OEM rim with the adapter.
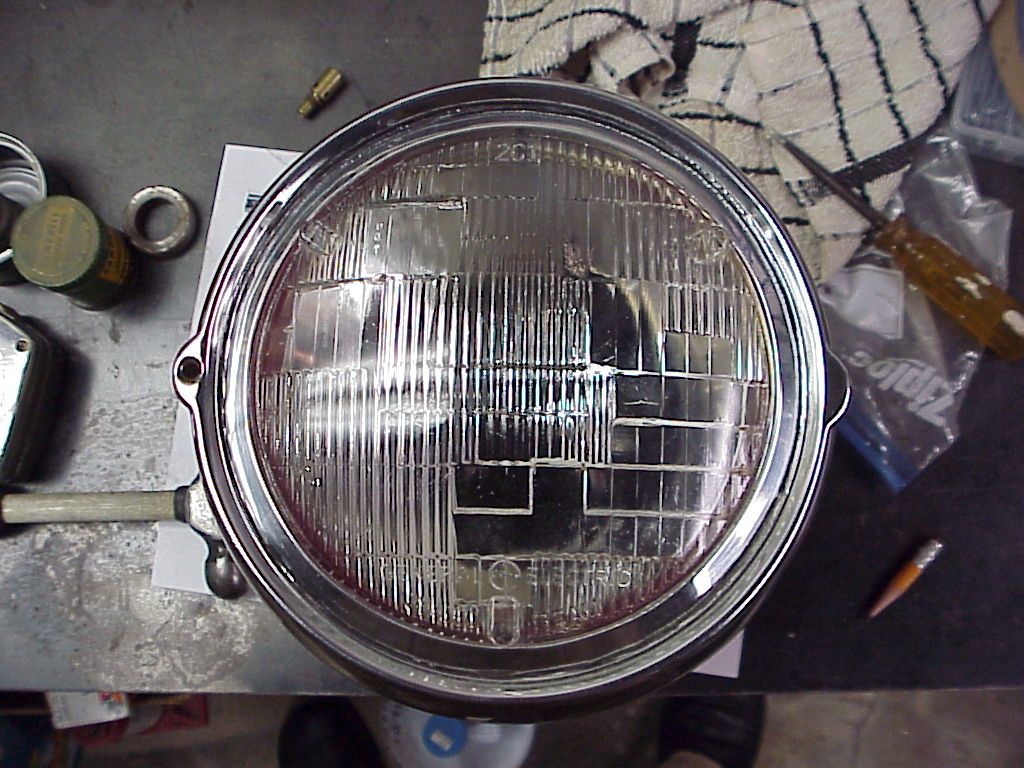
Here is a view from the side showing why I dished the ID of the adapter. It makes the adapter flow into the shape of the headlight, making it look like they belong together.
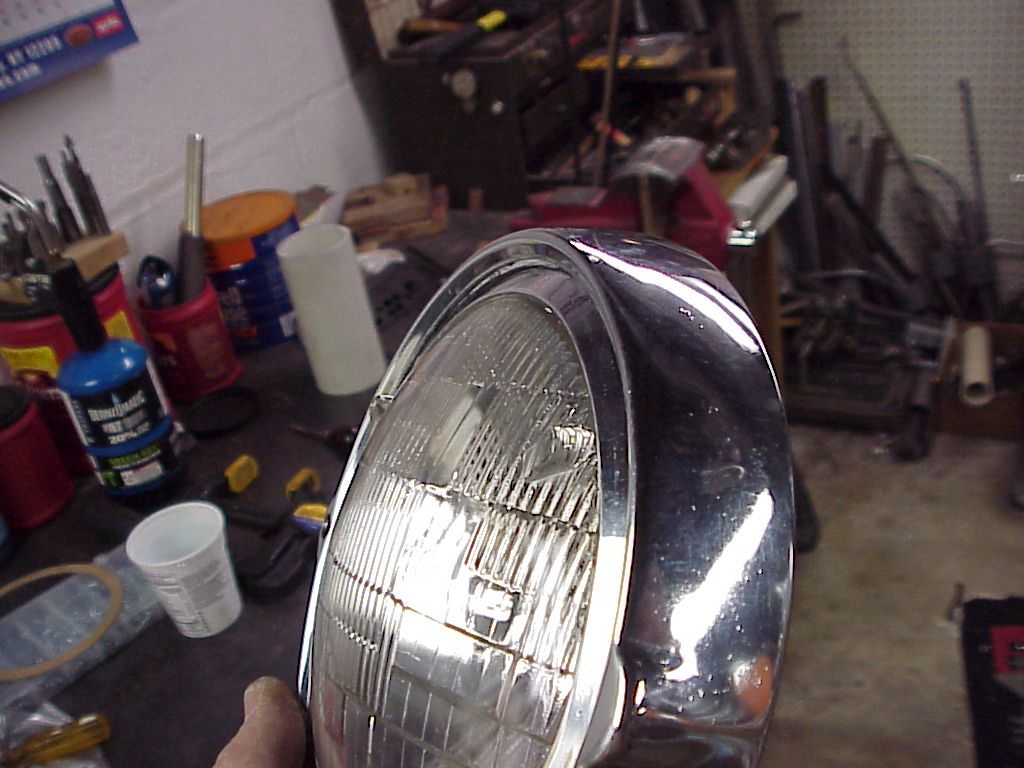
With this done, stared at the assembly for a long time, even went up and had lunch while I noodled on how to fasten it inside the OEM rim. I tried making spring clips from some 0.048 music wire I had. But it just was not a good application for those clips because of the distance between the ID of the OEM rim and the OD of the headlight.
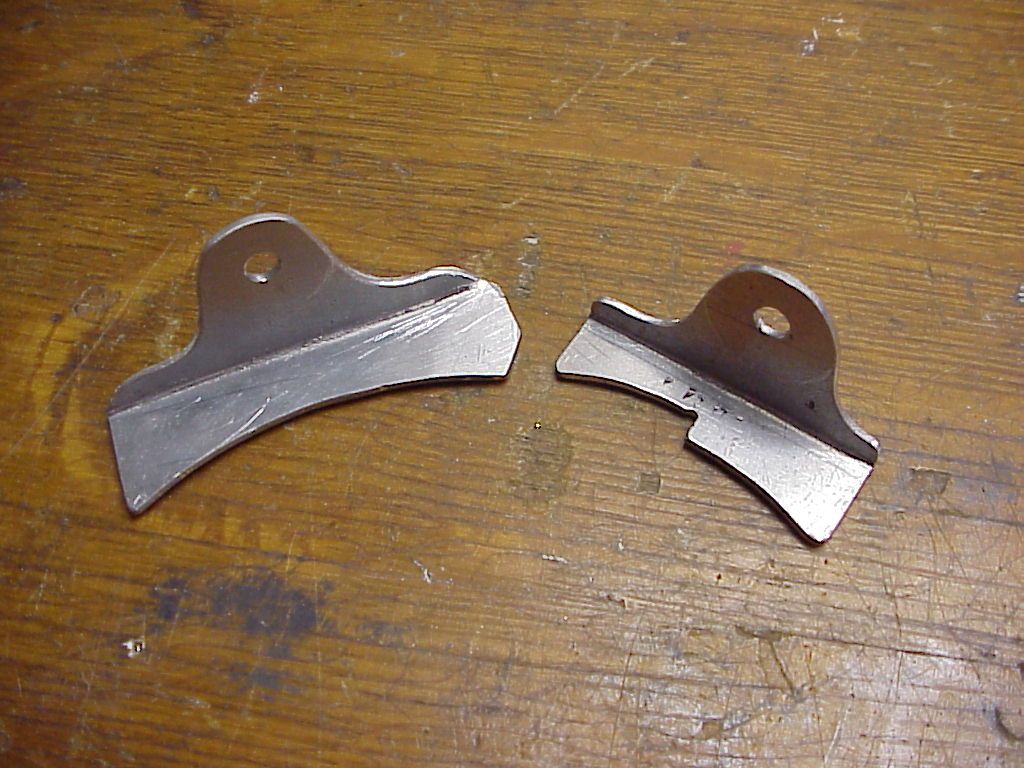
So, I decided I would make use of the two mounting ears on the OEM rim and made two brackets that fasten to those ears. The shape of the brackets is such to engage the indexing lugs on the back of the headlight to keep it properly oriented in the OEM rim.
Here are the two brackets
Finally, here is the headlight, mounted in the OEM rim with the two brackets.
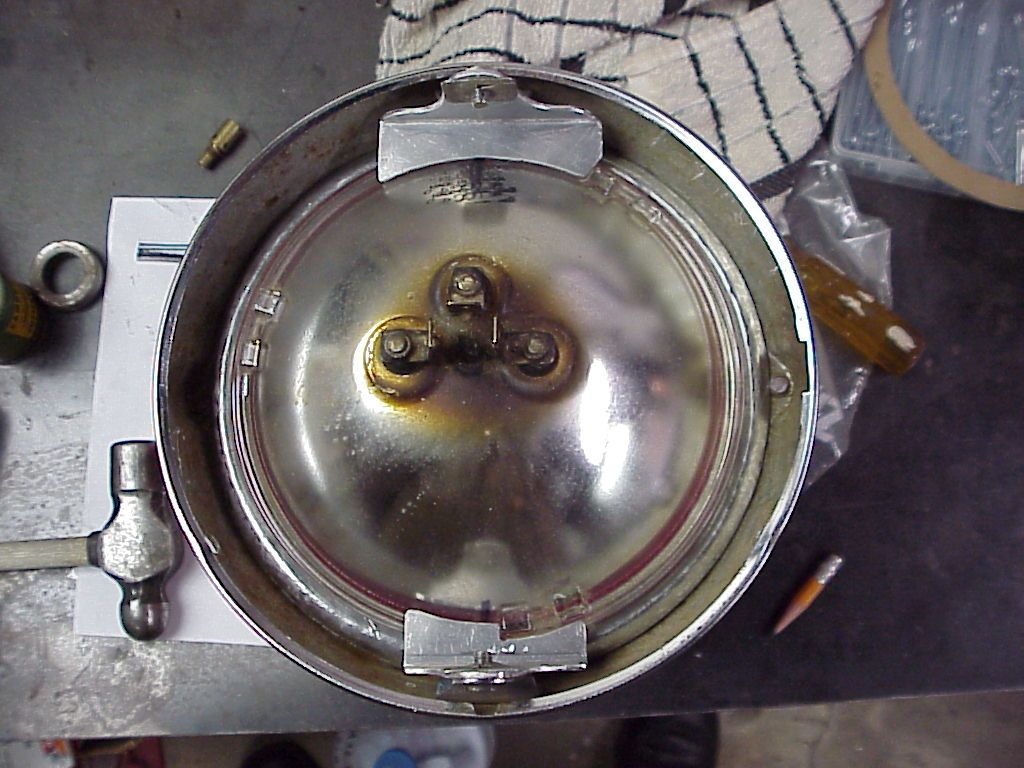
Turns out, the headlight I found in my cabinet, had a burned out filament. So I need to buy a new one. Halogen headlight is $8.50 at NAPA. 35w/35W light so not any more taxing than the OEM bulb on the charging system.
When I get that light, I will bond the two mounting brackets to the headlight with 3M 5200 urethane adhesive. This will provide a flexible mount. I may also put a bead of silicone around the OD of the adapter rim on the inside of the OEM rim, which makes it more secure and is still removeable.
I put the adjustment screw, spring washer and nut back together in the original hole and tightened it down to be sure. It just plugs the hole, nothing more.
I think this "kit" has merit as an aftermarket mod kit for these bikes. rim would be a simple stamping and same for the brackets. Not sure if there is a market, though.
regards,
Rob


