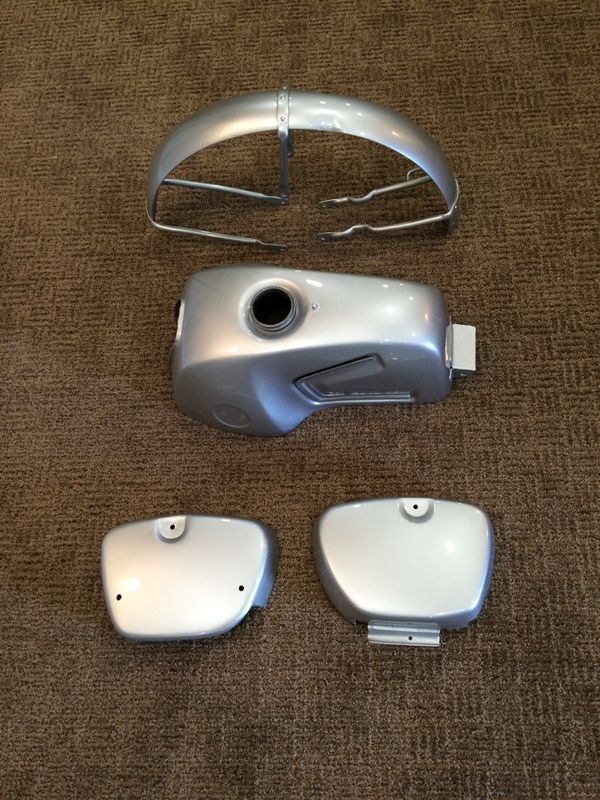
The CB92 came out originally with DID wheels, so I was happy to find an exact OEM replacement pair from David Silvers Spares. The spokes were still in good condition, so cleaning and polishing them would suffice.
The front wheel ready for disassembly. The pitting was worse than this picture makes it look.

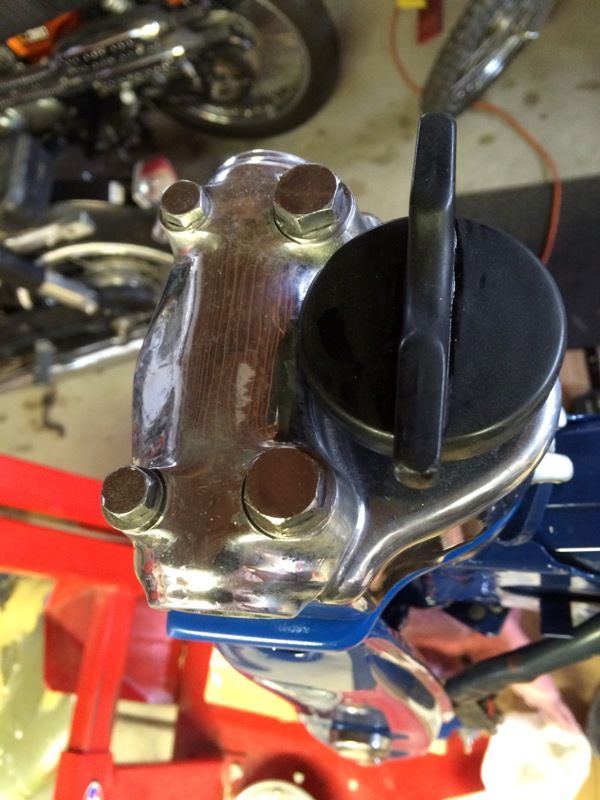
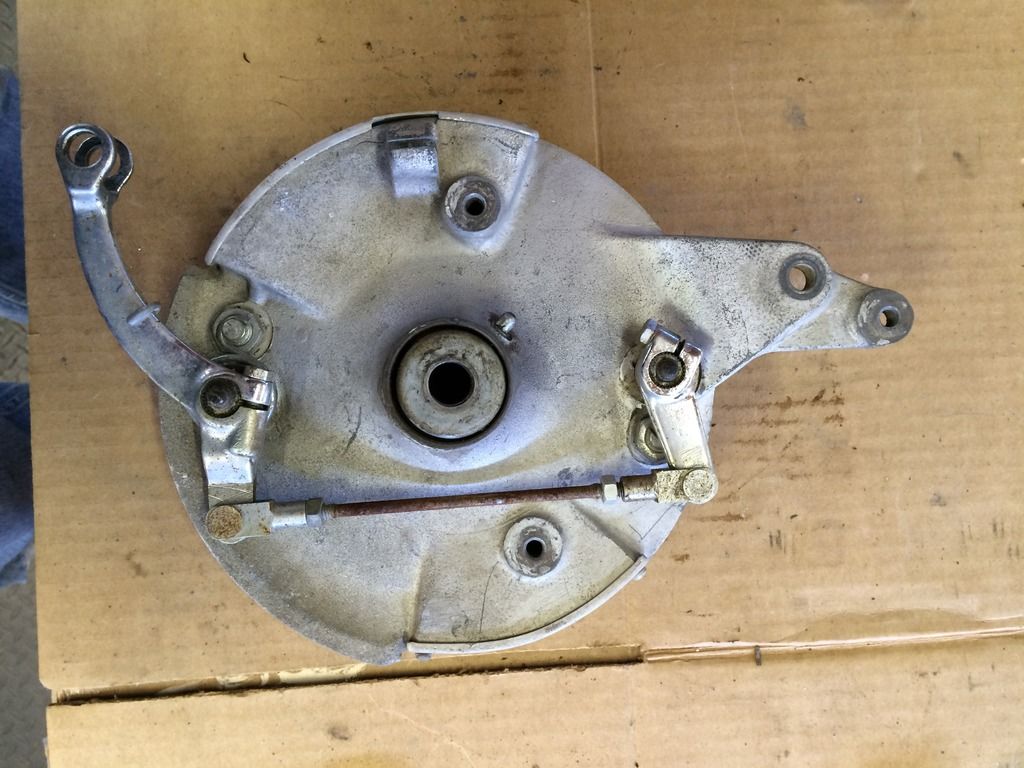
Here you can see that the chrome front brake linkage needs some cleanup as well as the magnesium backing plates.
I know that there's plenty of instruction on the web as to properly lacing in a new wheel, but thought I'd go through some of the steps I use when doing it. Every vintage Japanese bike I'm aware of uses a Cross 4 pattern so once you get the hang of that, it's pretty straight forward.
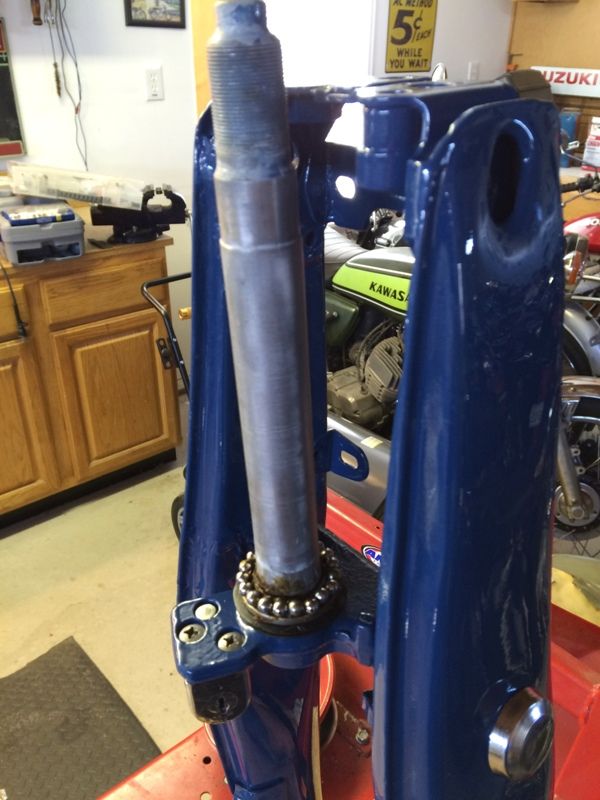
The first thing you should note, is a measurement of the wheel offset, by laying a straight edge across the brake hub and then measuring the distance at the ends to the wheel. Doing one side is sufficient. Then when you start removing the spokes and if you plan to reuse them be aware that the outer spokes are bent at a sharper angle at the hub than the inner spokes, so always keep them separated. I wanted to also point out that before you start putting in spokes haphazardly, that you pay attention to where the valve stem will be located. Make sure the spokes angle away from the valve stem to give you clearance to inflate the tire. Also both spokes adjacent to the valve stem are always inner spokes.
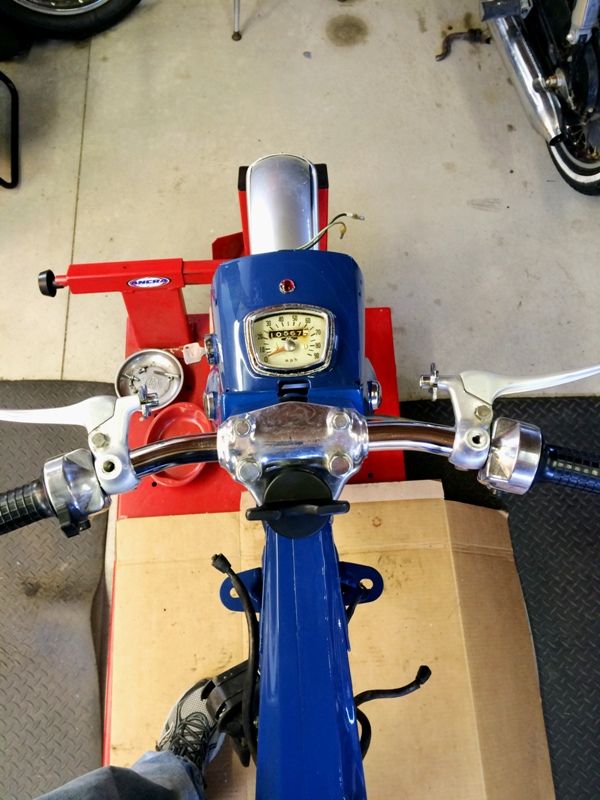
Picture of valve stem location and adjacent inner spokes.
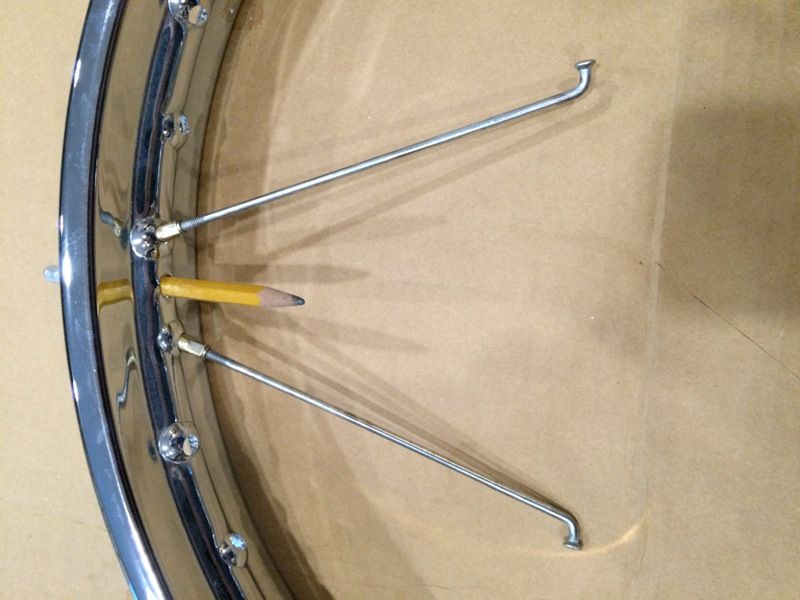
When actually installing the spokes I like to place all the inner spokes through the hub skipping every other hole on both the left and right side of the hub. You should also use the same holes that were inner spokes before. Usually there are indication marks on the hub where the outer or tails left a mark from the previous installation.
After all the spokes are inserted, make sure they are crossed over just like this photo, because you cannot change the sides which they cross after you start putting the nipples on through the rim.
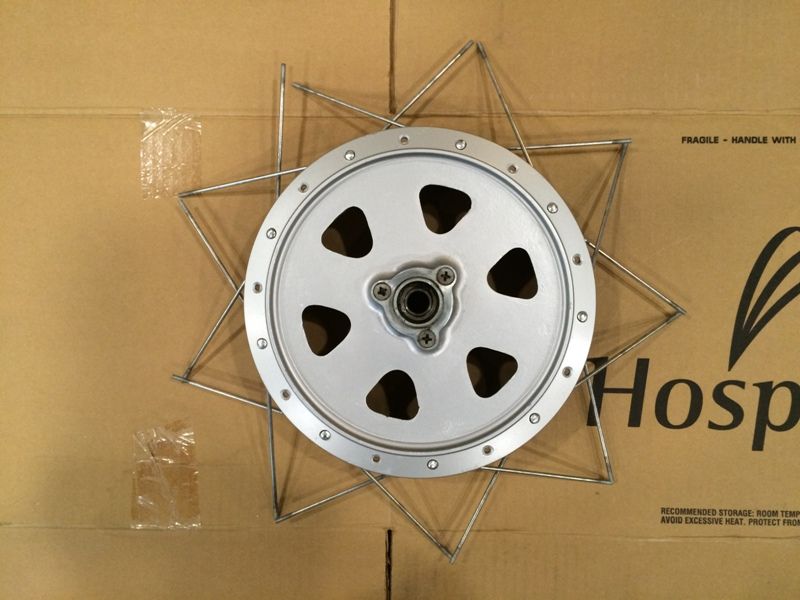
Laying them out in this pattern also allows you room to put the wheel over them. Then begin at the valve stem by installing the nipples, leaving about 4 threads visible all the way around the rim.
...and here's the wheel with the inner spokes installed.

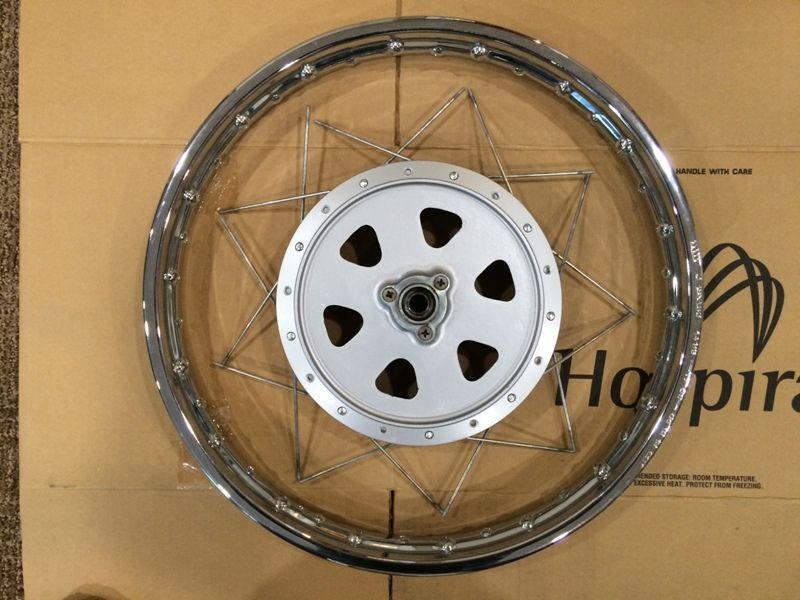
The outer spokes can then be easily installed in the remaining hub holes by pushing them through from the opposite side, without any clearance issues. Once they are installed, then it's on to the truing stand to start to begin the somewhat tedious process of aligning the wheel. I start by first getting the "hop" out of the wheel (or out of round) by slowly tightening the four spokes directly across the hub from the high point. Once I'm satisfied with that, I work on the wobble by tightening the 2 spokes on the opposite side of the rim. Usually work in small increments of one half or one quarter a turn at a time.
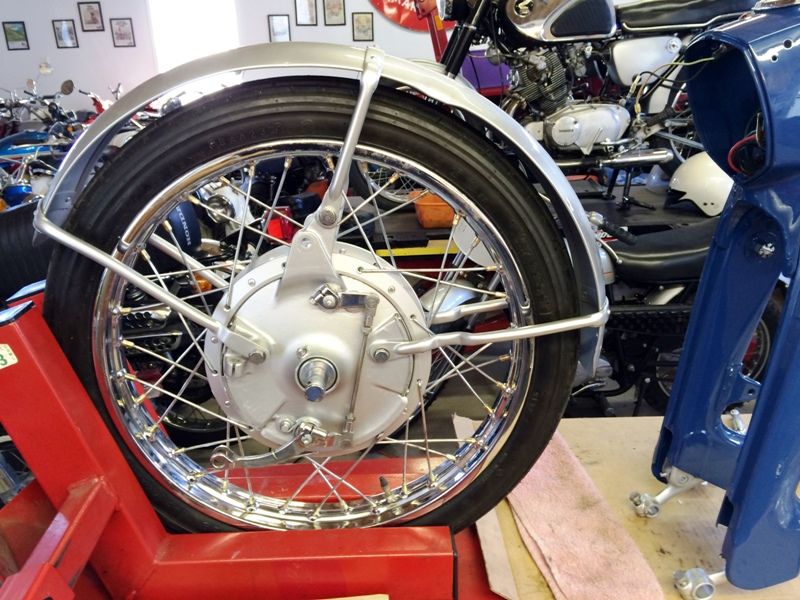
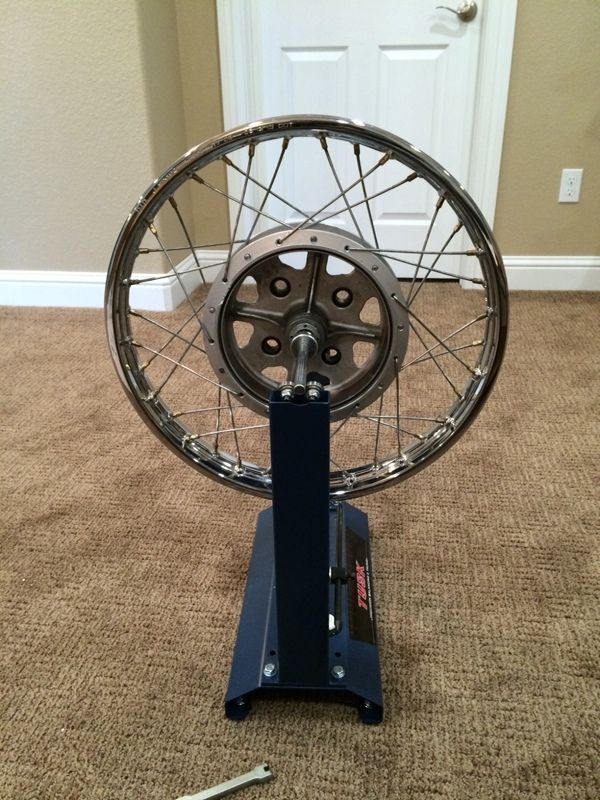
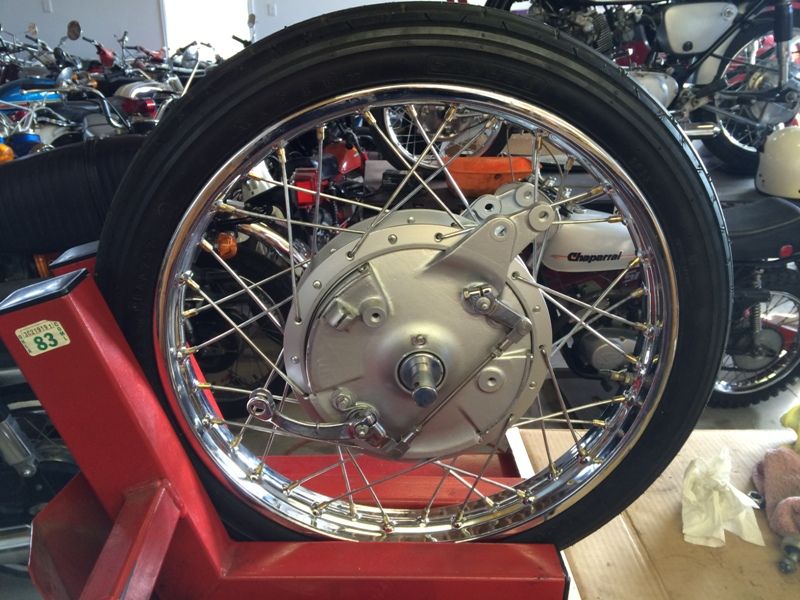
Here's the front rim on the stand will all spokes installed and beginning the truing process. Note the distinct groupings of 4 spokes, making up the cross 4 pattern.
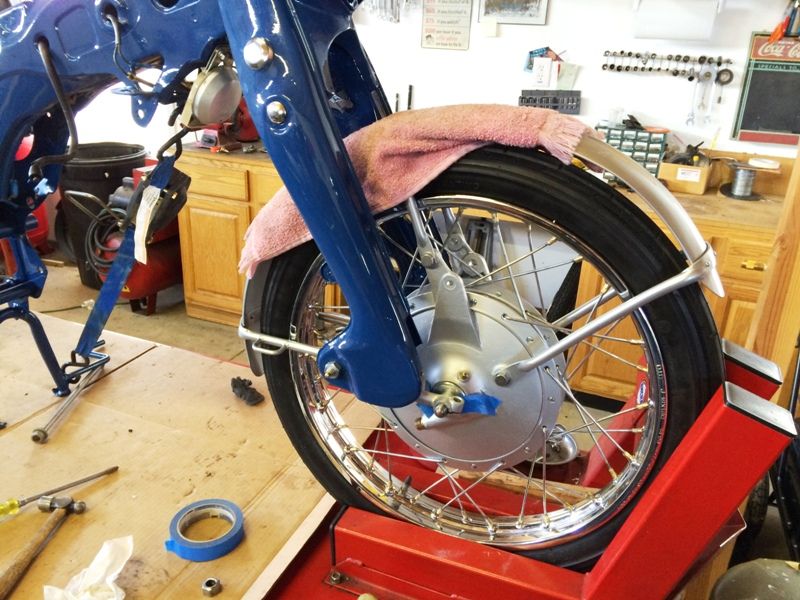
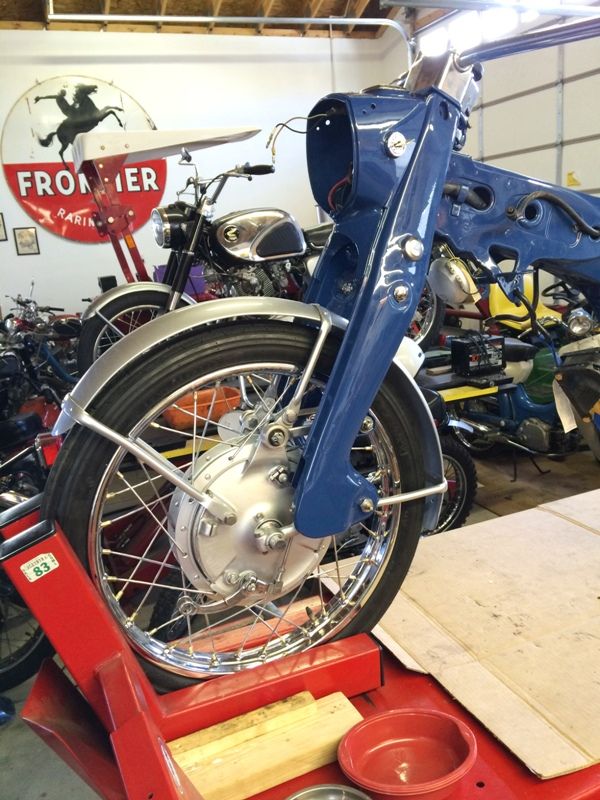
After installing the tire, here it is back in the wheel chock with the brake plates installed.
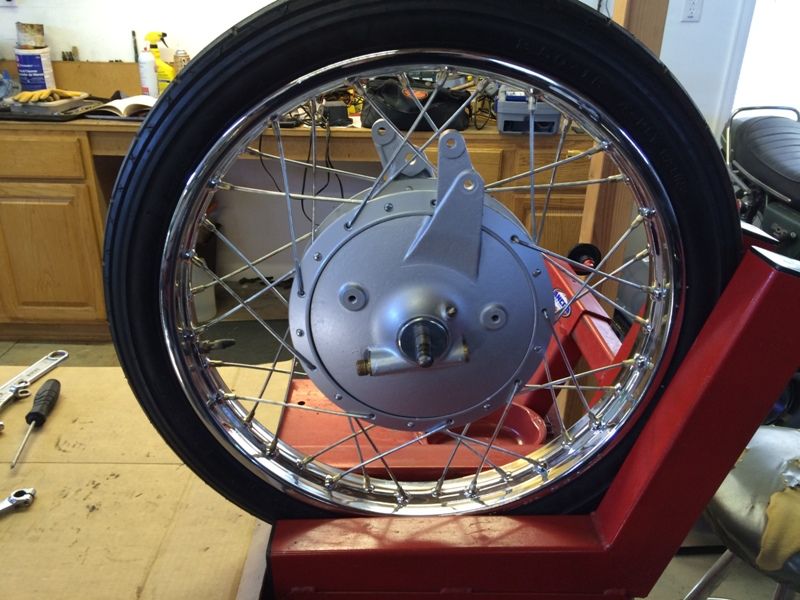
The magnesium hubs and plates were cleaned and then painted with a matching color caliper paint. Also left unpolished, as they originally had somewhat of a rough texture when new.
....and then the linkage is synced back up for proper brake engagement.
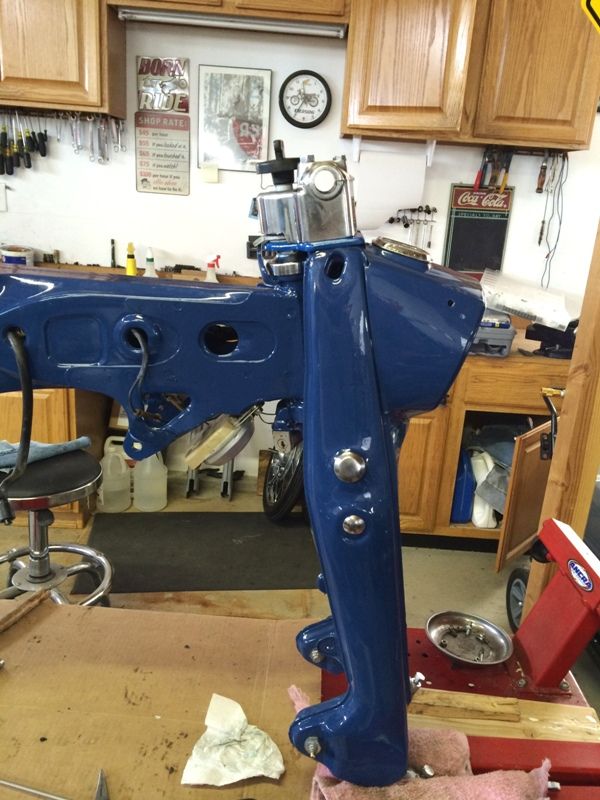
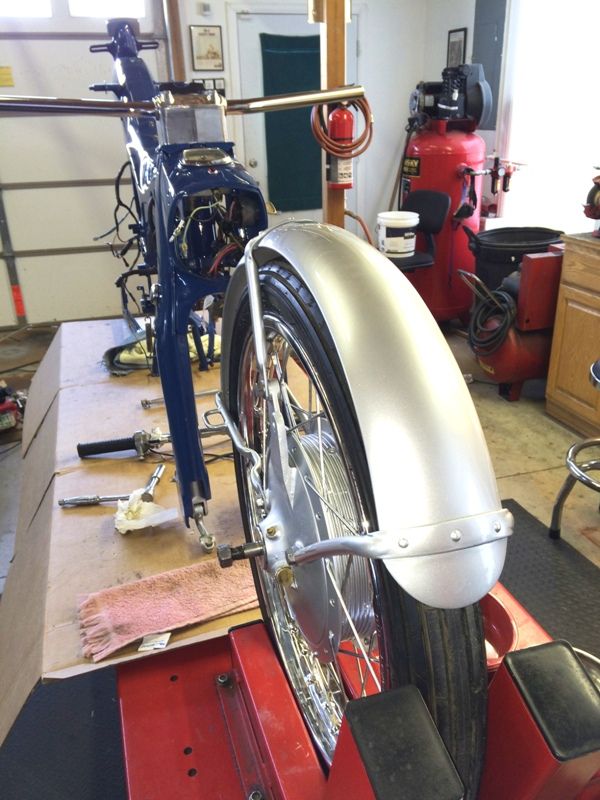
Here's the renowned CB92 front brake that was considered to be ahead of it's time in 1959. Notice I have the air scoop covers on.
later...when further updates are available.